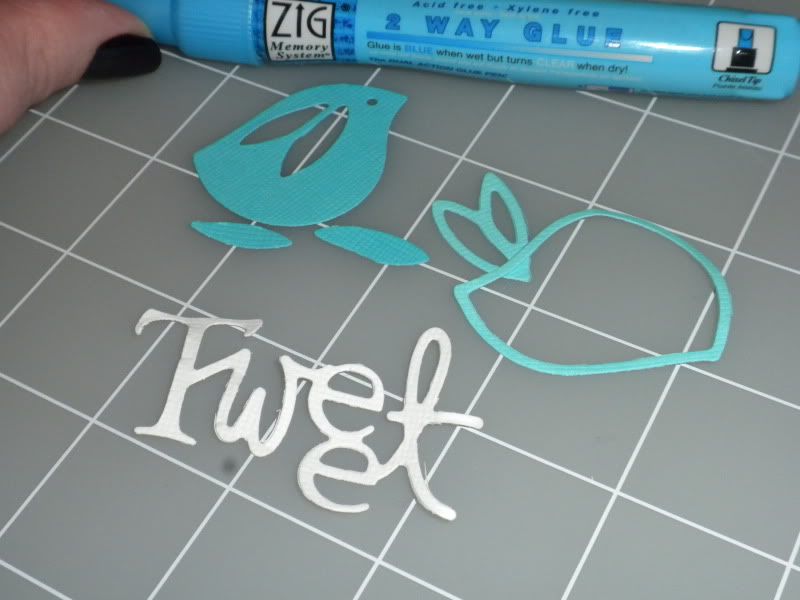
Sewing collage tag.

Playing with the new Tim Holtz alterations 'sewing room' die for use in Big shot or Cuttlebug die cut machines.


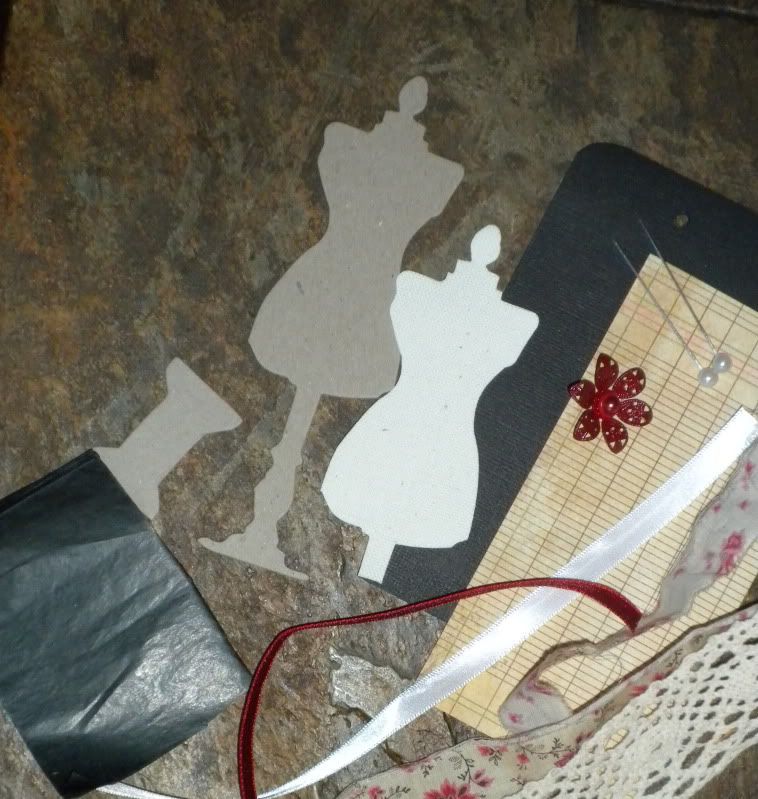
Supplies:
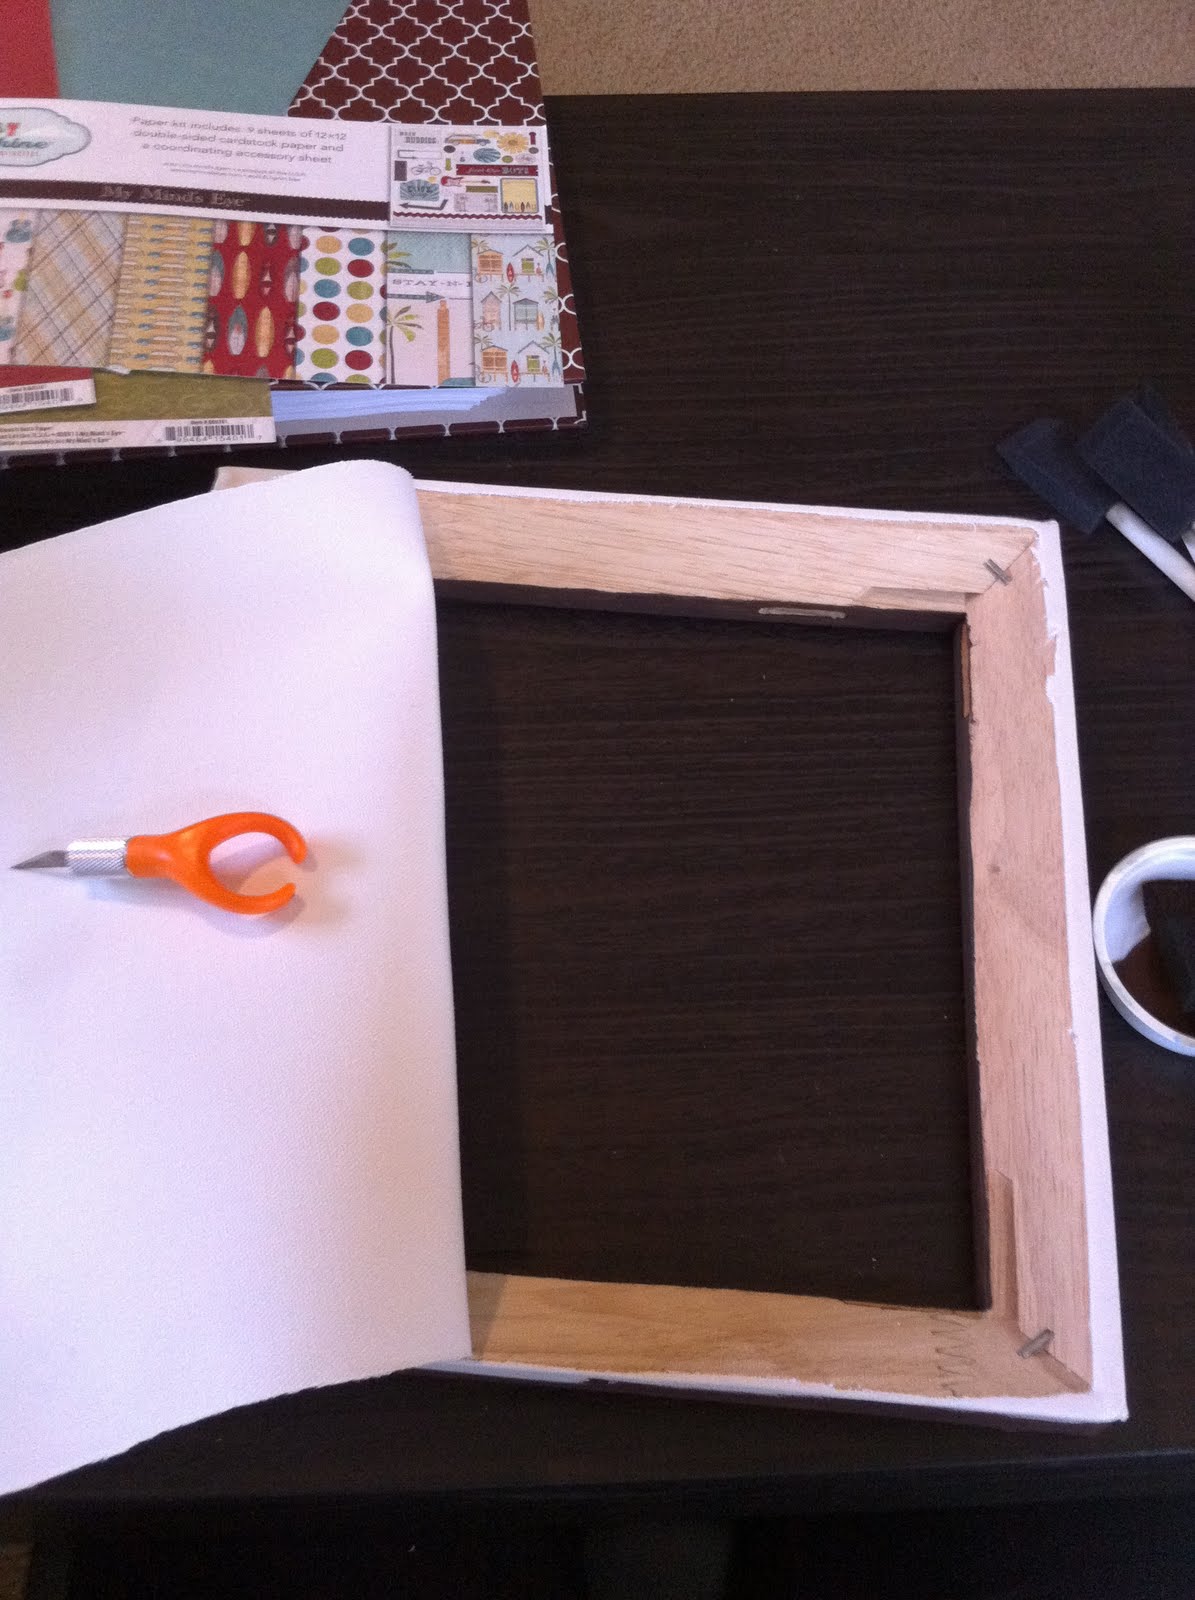
Canvas - about a 3" x 4" piece. (I used a sheet of prepared canvas sold in tablets for artists. This canvas is pre treated with gesso on one side - making it ready for painting on, I am using the other side- or raw side of the canvas. you can run un-treated canvas through your big shot machine as well.
Chipboard for die cutting
black cardstock - 6" x 3"
black tissue paper- a stack of 12 sheets or so all cut to about 3" x 2 1/2"
ledger or or choice of printed paper - cut to 6" x 3"
Lace- you'll need about a 1 1/2" x 1 1/2" piece
red ribbon- about 6"
Scrap of fabric- about 1" x 18"
cream ribbon- about 12"
decorative brad
Required tools:
paper trimmer
scissors
corner rounder punch
hole punch
Big shot die cutting machine
Tim Holtz Sewing room die (you'll use the mannequin and spool from this die)
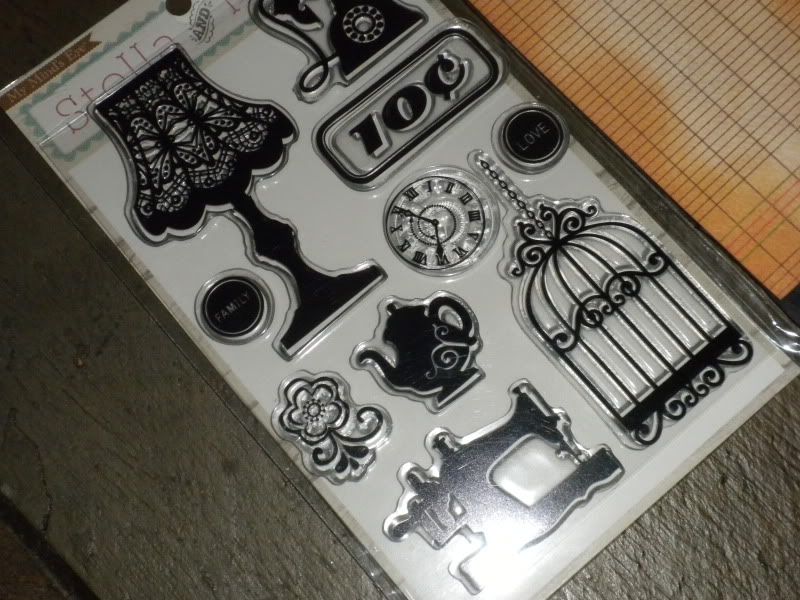
Vintage sewing machine stamp (this is from a set of clear stamps by My Minds Eye- stella and rose collection
Tim Holtz distress ink in a brown color of your choice
foam blending tool (or make up wedge sponge)
Tim Holtz tiny attacher tool (mini stapler that can go through chipboard easily!)
Martha Stewart fringing scissors


Step 1
Gather materials
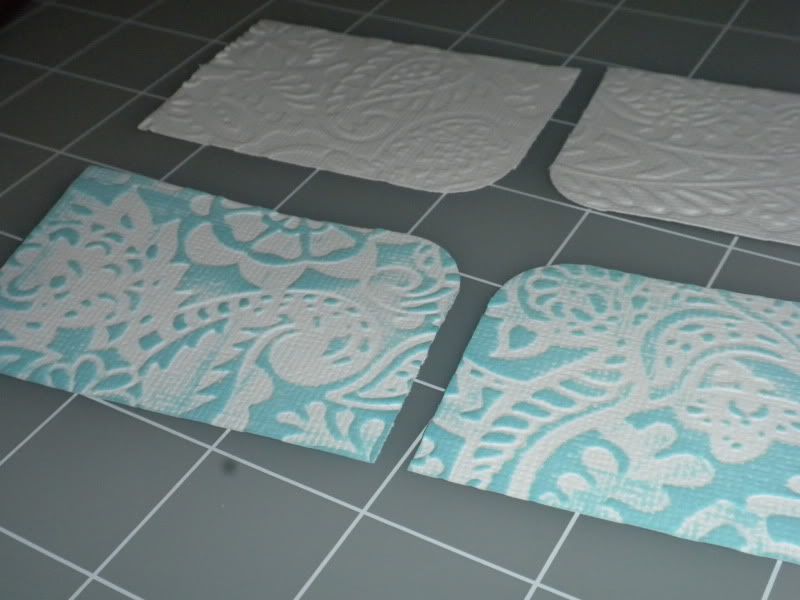
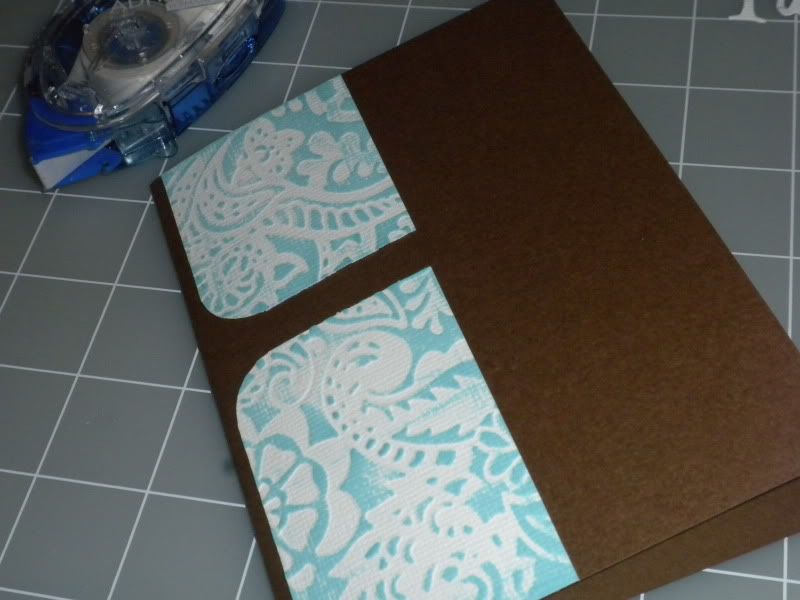
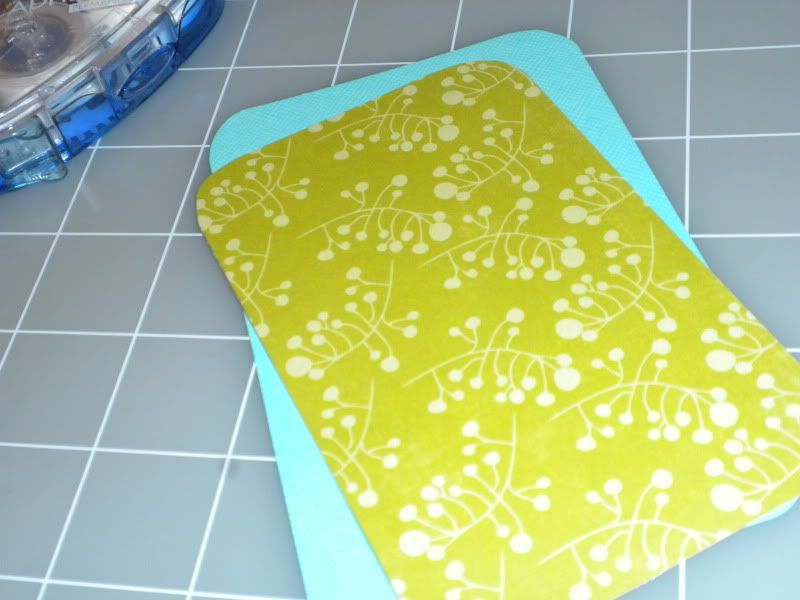
Cut papers to size
die cut the sewing room dies from chipboard
die cut the sewing room mannequin from the canvas
rip fabric to size
use corner rounder punch on the 2 top edges of the black cardstock 3"x6" piece, and then punch a hole between these rounded corners - creating your tag.

Step 2
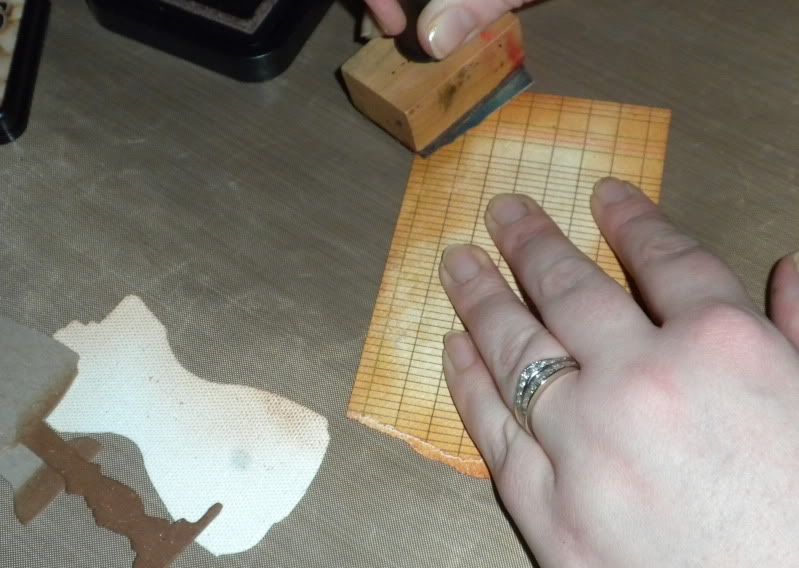
tear about 1 - 2 inches off of one of the short sides of the 3x6 inch pattern paper.
use foam applicator to add distress ink to all sides of this paper
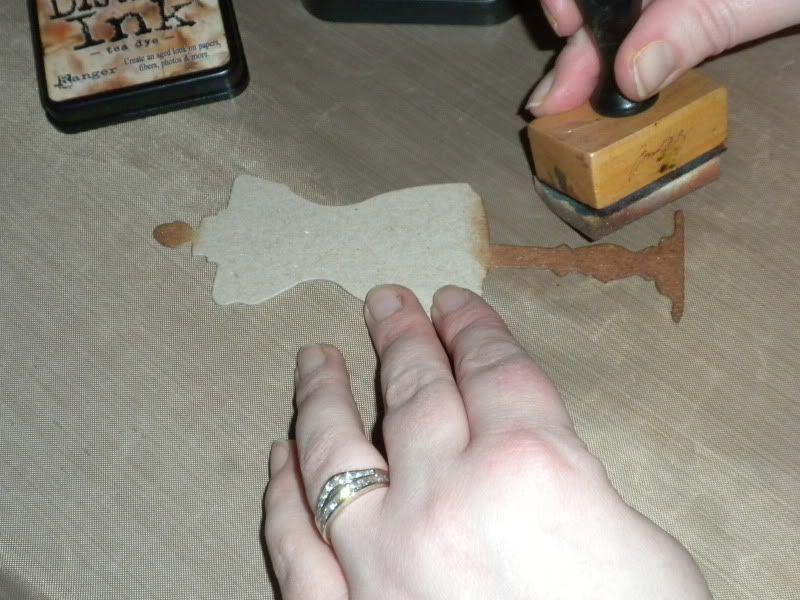
also use to add a little color to the canvas mannequin, and to the top and bottom portions of the chipboard mannequin and chipboard spool.


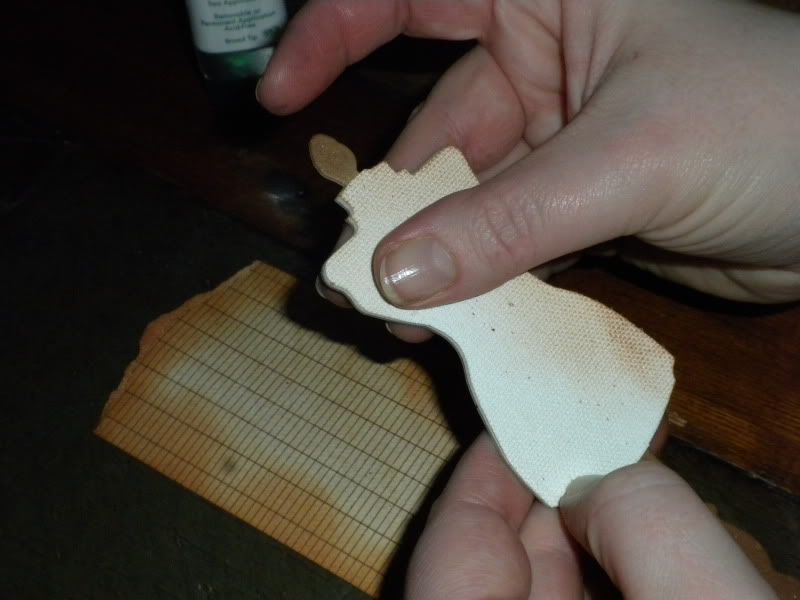
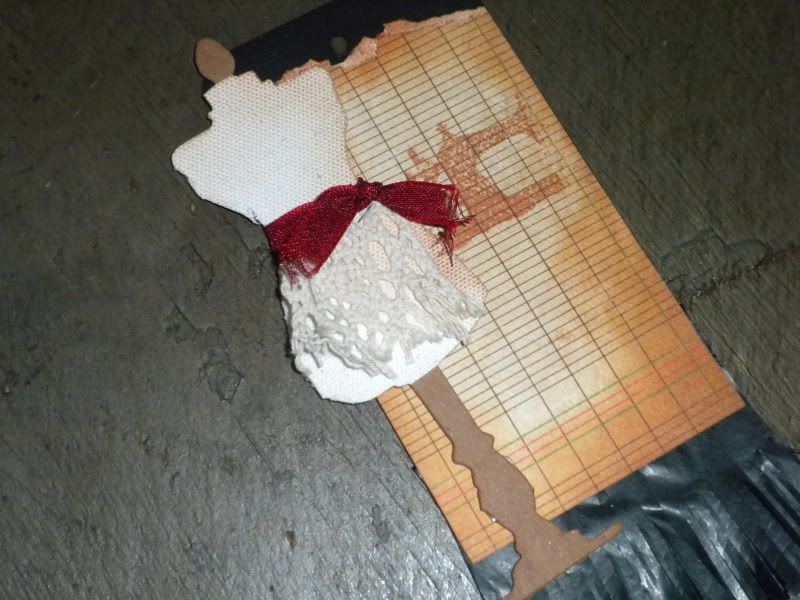
Step 3- dressing the mannequin
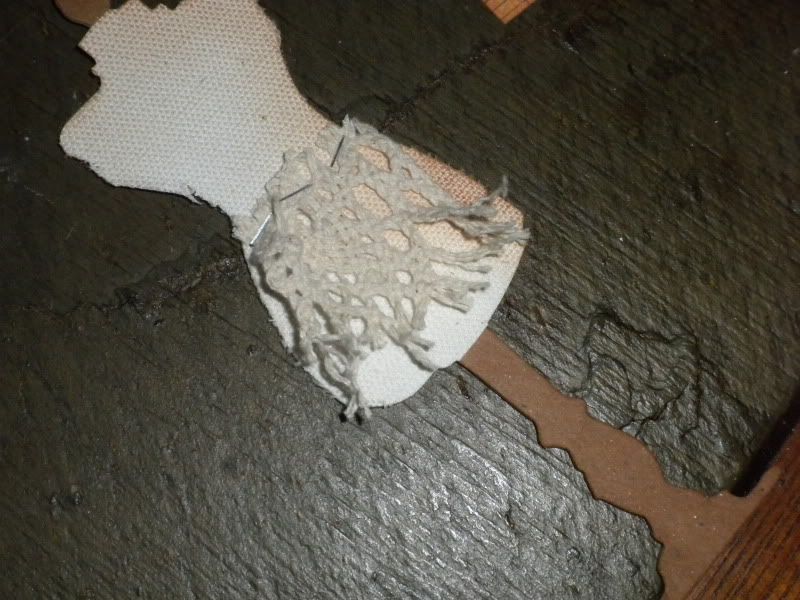
trim the top and bottom of the canvas mannequin if needed and then adhere to chipboard mannequin

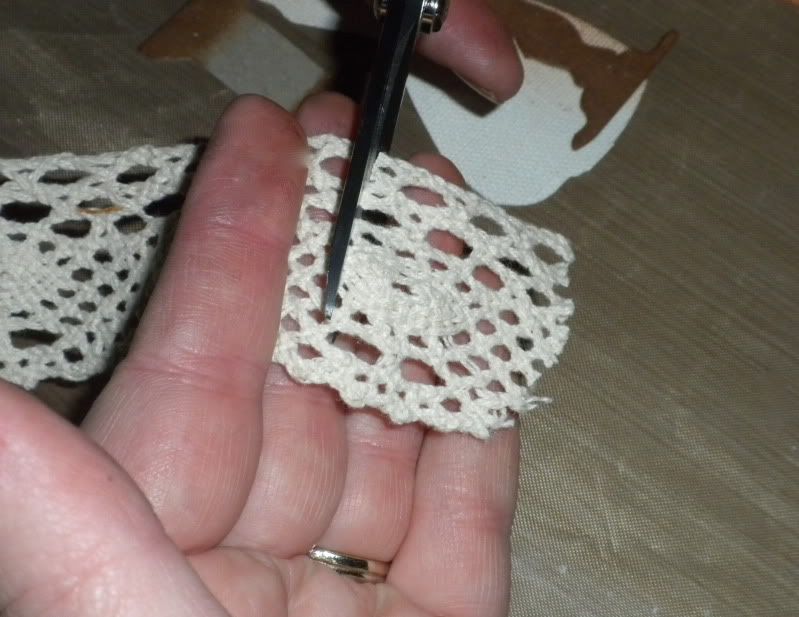
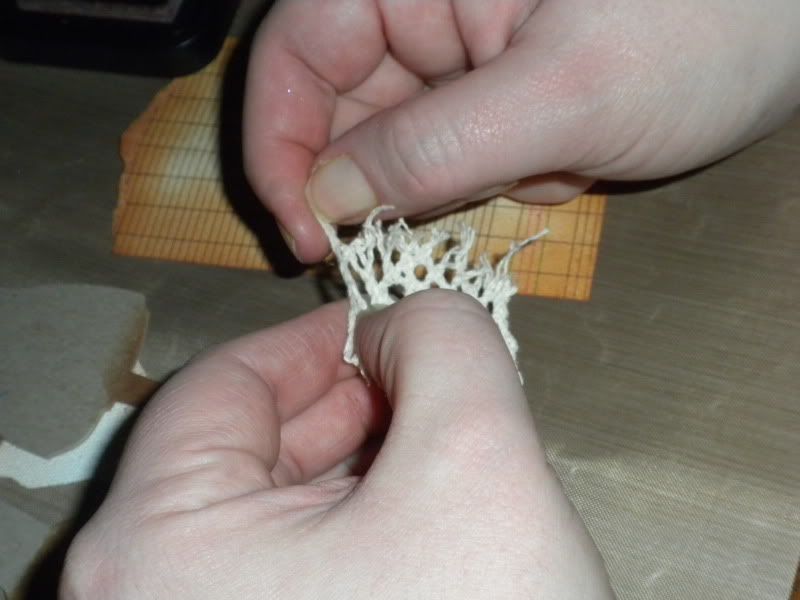
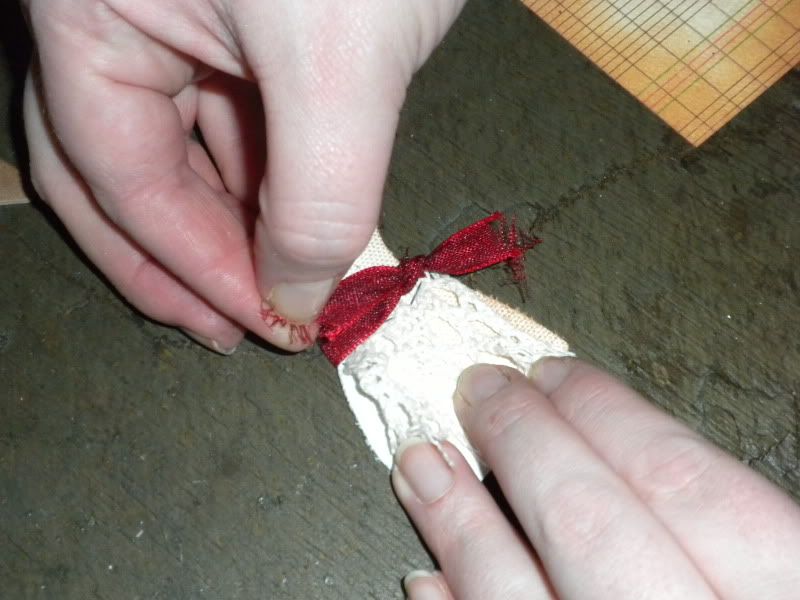
next, trim lace to size and pull at loose ends to distress. then use the tiny attacher tool to adhere to the waist line of the mannequin
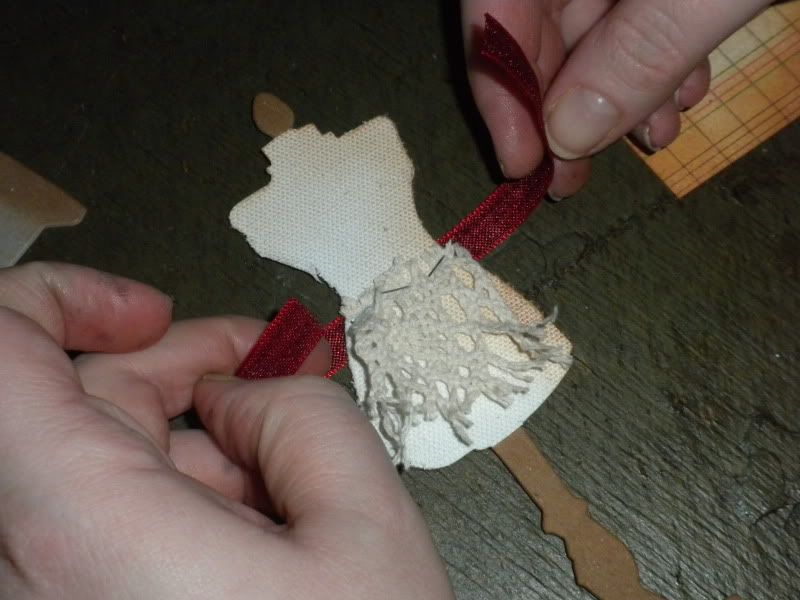
Wrap the waistline with the 6" red ribbon and tie in knot in front. trim loose ends to size and pull at ends to fray a bit.


Step 4- preparing tag
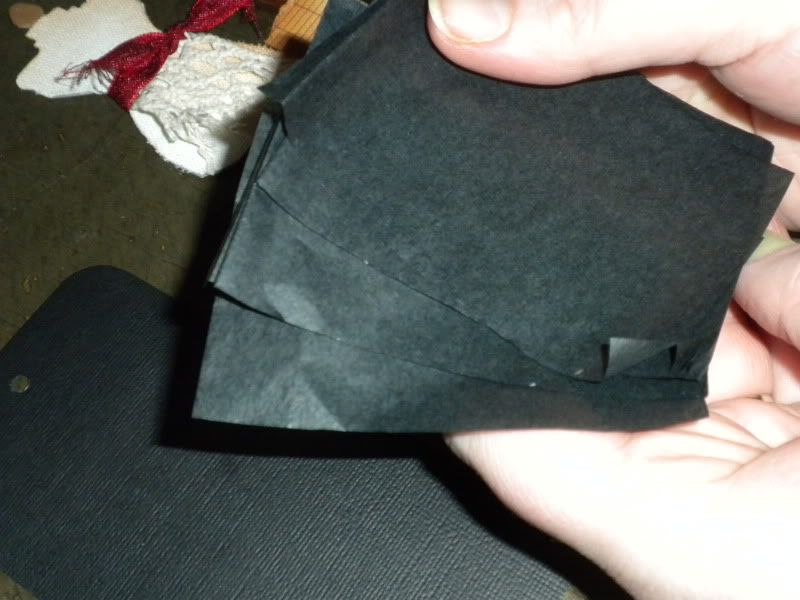
gather sheets of tissue paper.
line up at bottom edge of black cardstock tag and attach the tissue paper to tag using tiny attacher tool.
If your tissue paper is a little to long for tag shape you can trim to size with scissors.
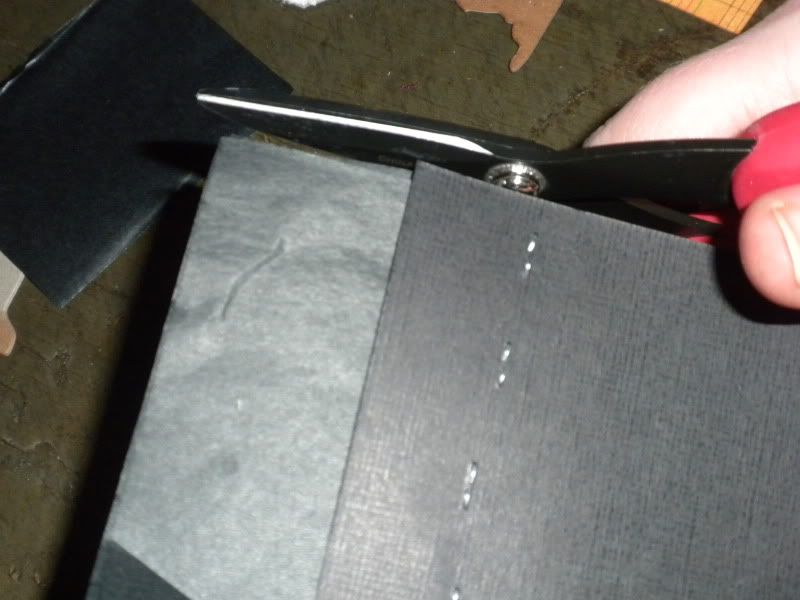
then- looking at the backside of your tag- use fringe scissors to cut tissue paper in to fringe.
fluff with your fingers if you like
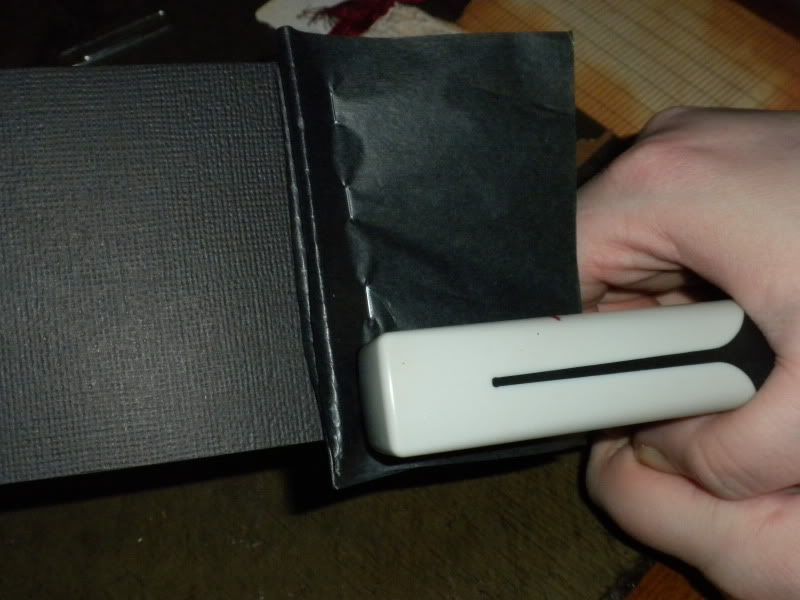
turn tag to front and adhere your torn, and inked pattern paper to tag front- covering up the staples used to attach your tissue paper fringe.
(if you have old tissue paper sewing pattern material left you might use that instead of the black tissue paper I used!)
ink the vintage sewing machine stamp and stamp off center onto prepared tag


Step 5- the spool
you'll need to wrap your chipboard spool with the torn fabric. hold back about 4" if the material as a tail and wrap the rest around the spool several times until you have about 4" left. you want to then tie your tail and your left over section together into a knot on the front side of your spool.
add a couple of small pop dots or foam tape to the backside of spool.


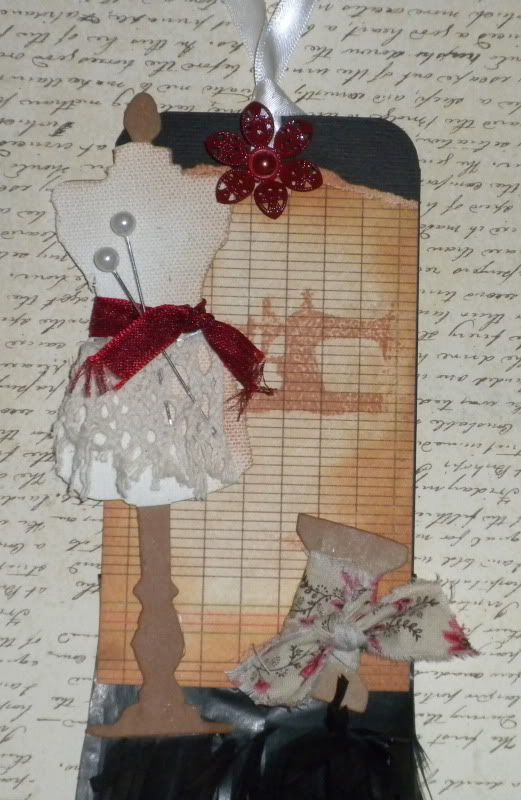
Step 6- putting it together
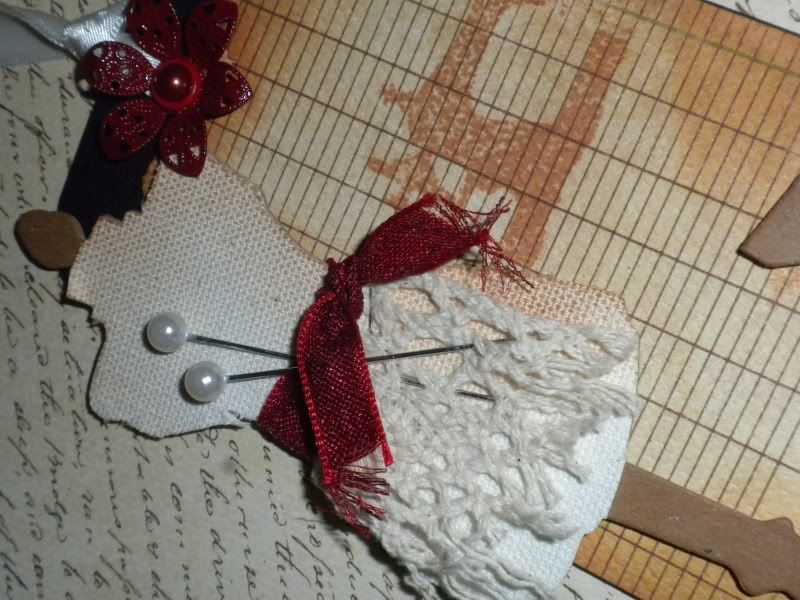
adhere your prepared mannequin to tag front- off center
adhere your prepared spool to tag front under stamped image
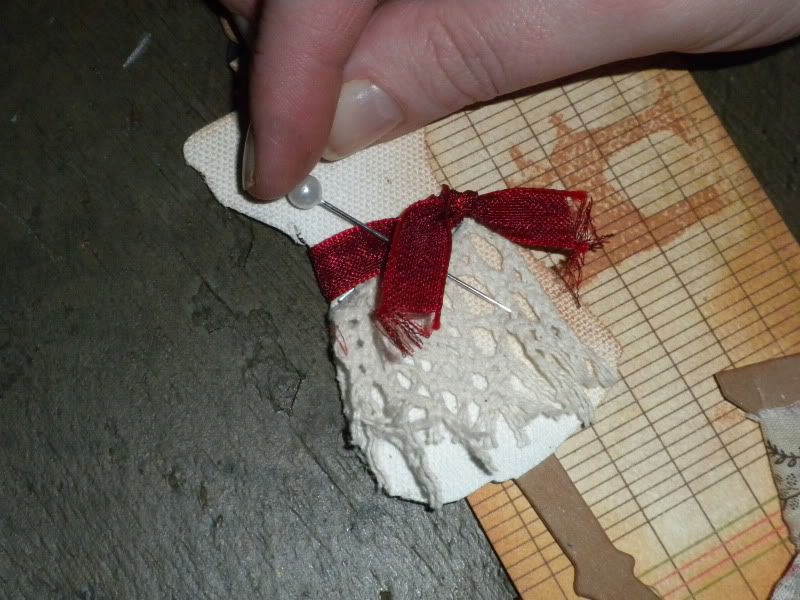
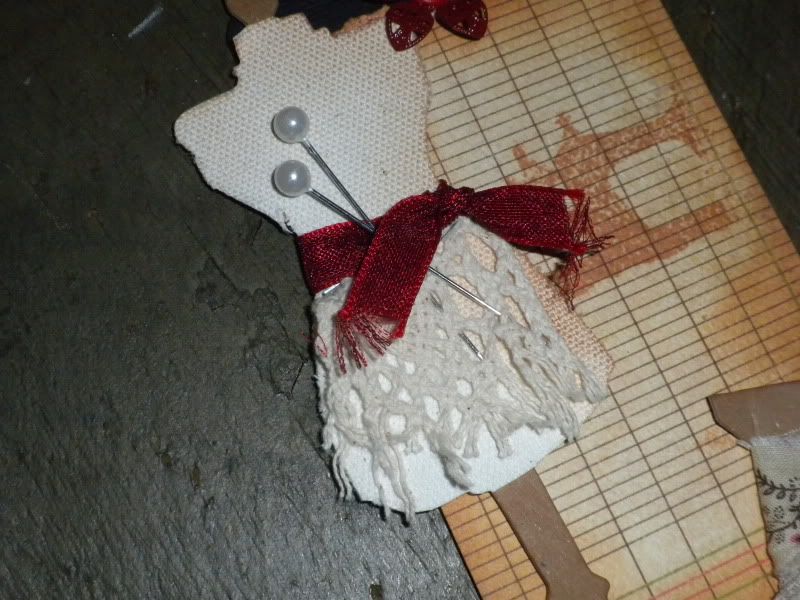
add a couple of decorative pens to waistline of mannequin
run cream ribbon through tag hole and tie off.
add a decorative brad to hole in tag


Creating on tags, or artist trading cards, or circle journals are all great ways to experiment with new techniques, styles, and products.
This sewing collage tag might be a fun embellishment on a scrapbook page about sewing, or fashion, or vintage/heritage themes. It might also be pretty as an embellishment on a frame or wood plaque or even inside a shadow box frame.


 And you have completed your Canvas Shadow Box!
 Supplies:


