


Tutorial on how to create this punch/die cut art skunk card.
Supplies/Tools.
Big Shot or similar die cutting machine
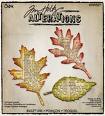
Tim Holtz ornamental die cut (for face/head)
Tim Holtz tattered leaves die cut (for ears)
Spellbinders Leaves die cut set (for tail, and stripe on head)
Scallop circle punch 2"
Circle punches (or die cuts if you have same or similar sizes) as follows:
1/2 "
1"
1 1/2"
white gel pen
sticker heart - this is the classic heart from Mrs. Grossmans, you could use a heart punch, or hand cut one too)
Kraft card (A2) size
black, white, and blue cardstock for die cutting and punching
pop dots and tape runner


Step 1.
Gather supplies.
Cut a 3" x 5" black panel from cardstock and set aside (will become body)
Cut a 2" x 4" white panel from cardstock and set aside (will become tummy)
Die cut the ornamental die on Big Shot - black cardstock (will become face/head)
Die cut the largest full leaf from the Spellbinders leaf set in both black and white (will become tail)
Die Cut the largerst elongated leaf from the spellbinders leaf set in white only (for white stripe on face)
Die cut the tattered leaves - the smallest leaf of the 3 from black cardstock- x2 (for ears)
Punch 2 1/2" circles from black cardstock (for puplis)
Punch 2 1" circles from blue cardstock (for iris's)
punch 2 1 1/2" circles from white cardstock (for eyeballs)
Punch 1 1 1/2" circle from black cardstock (for eye lids)
Punch 1 1" circle from black cardstock (for nose)
Punch 1 2" scallop circle from black cardstock (will become the paws)

Step 2
fold the ornamental die cut back about 1/3 of the way.
apply glue to the inside of the folded part of die and lay in the 3x5 black panel to act as the body of your skunk.

Tear the white full leaf and the adhere to tip of the black full leaf creating a full white tipped tail.
Arrange tail behind the body in a position so the tip of the white tail is facing up. Use a hole piercer to punch a hole through body and tail at once. Secure tail to body with brad.
Glue white tummy panel over middle of body (should hide brad) and be tucked under head.

Step 3
glue the elongated white leaf die cut down the middle of the face
glue the 2 black leaf die cuts to back side of head just so the tips peak over to create ears

Step 4
creating the eyes
glue the blue punch circles to the white circles
glue the small 1/2" circles to the blue circles
now cut the single 2" circle punch in half - these halves are now the eye lids.
arrange them on top of the layered eyes. Try arranging the lids in different manners before glueing them down to achieve different expressions. yOu can make the expression mad, sad, sleepy, crazy, or cute depending on how you arrange the lids!

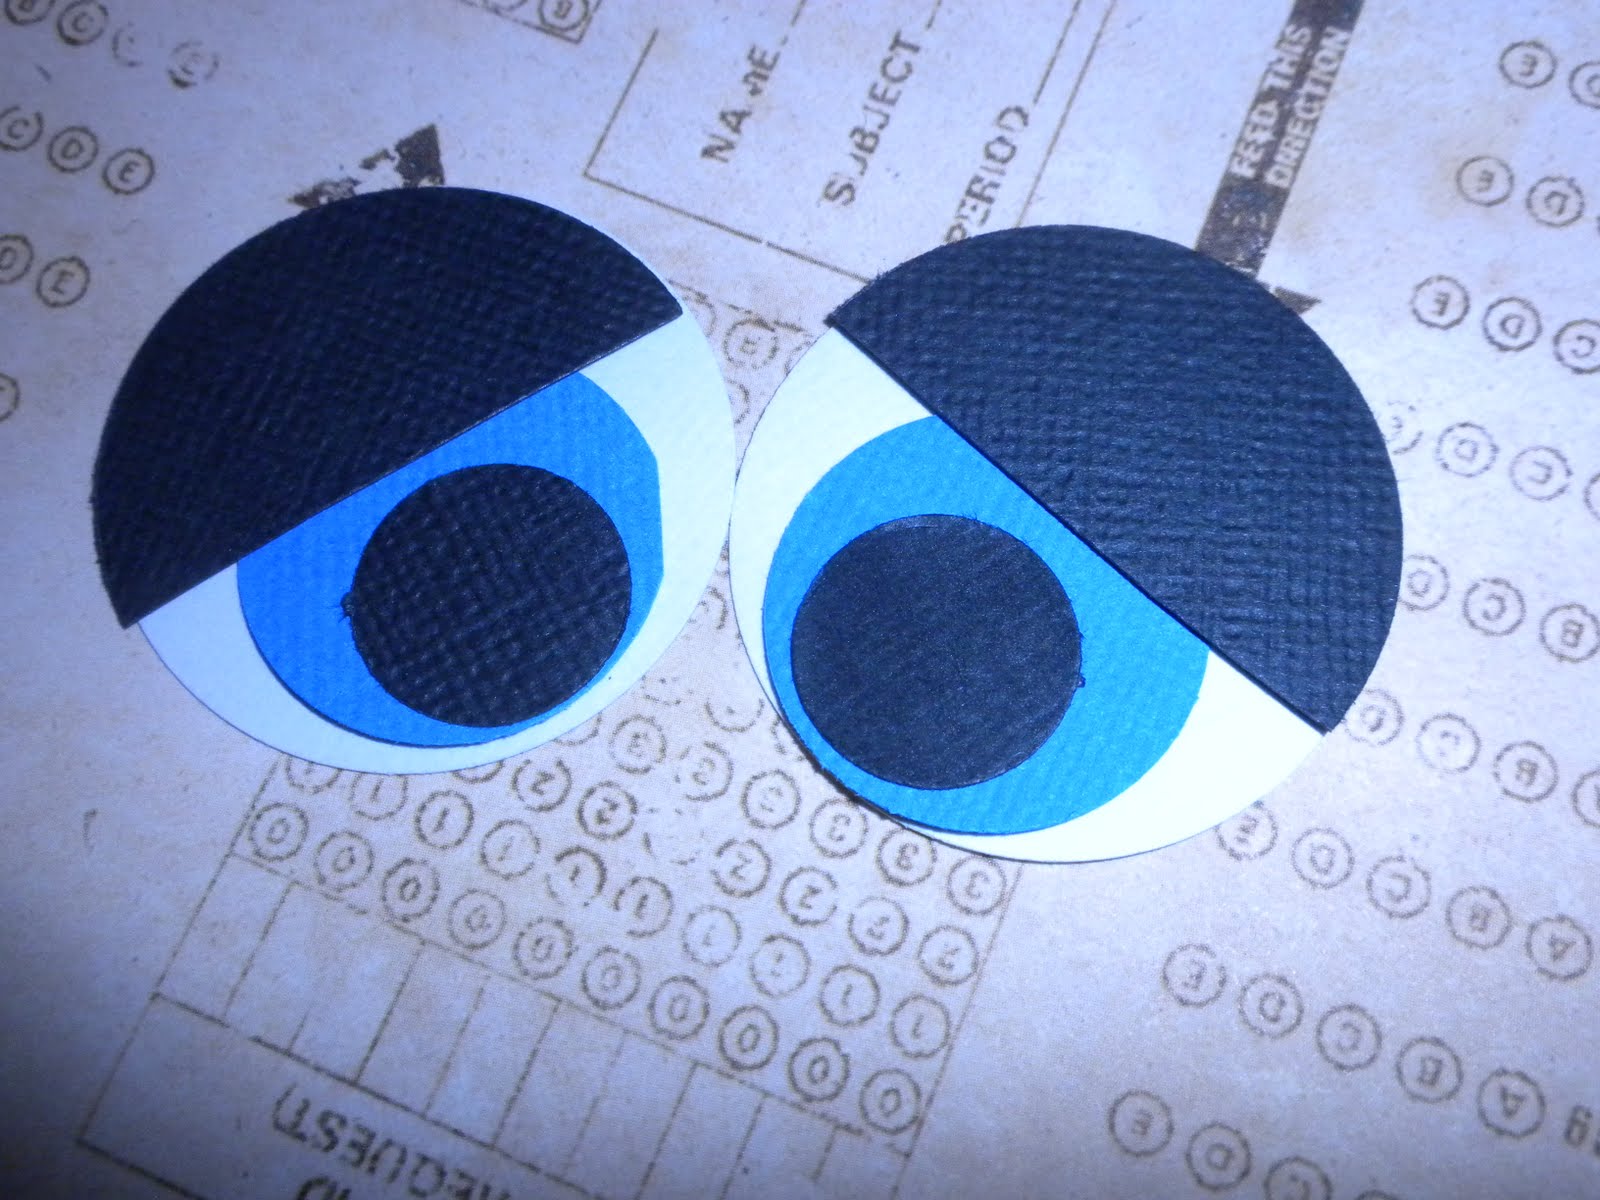
When you are happy with eyes, go ahead and glue to the skunk face.
Next add a pop dot to back of the last circle punch and put in place for a nose.

Step 5
Place red heart sticker on cardstock and cut it out.
place a pop dot on back of cut out heart and place low on belly of skunk

To create little paws to hold the heart you need the scallop circle 2" black piece you punched out and your 1" circle punch.
hold the 1"circle punch upside down and position the scallop circle punch inside so that you only see 3 of the scallops, and punch. Repeat once more. Now you have 2 little paws.
Add a tiny pop dot to each paw and secure next to the heart so the paws are 'holding' the heart

Step 6
turn skunk over and apply adhesive everywhere on the back EXCEPT the tail.
adhere to card front.
your should be able to make the tail move.
Use white gel pen to add freckles, eyelashes, etc for a touch of life and personality. Maybe even add some 'stink lines' over the tail if you like.
Also you can curl the tips of the ears down more if you want.
Step 7-
if you choose , you can create a greeting for inside you card. Mine reads 'U. R. Stinking CUTE'


That is adorable!!!
ReplyDelete