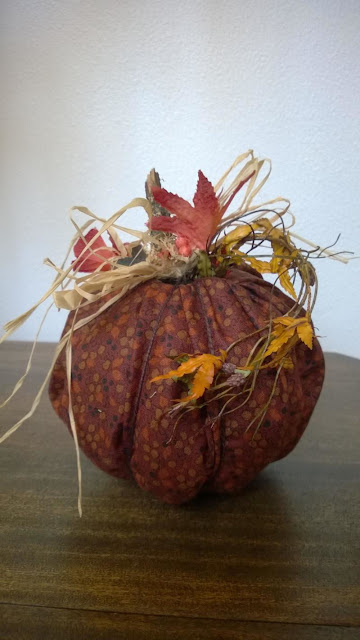
Did someone say "No Sew"?
Yes! These pumpkins are only 6 steps and you don't need a sewing machine!
Great project to get the kids involved with.
Have them search for sticks to add to the tops of each pumpkin!
Supplies:
- 16" - 18" square of fabric (a fat quarter works well too)
- 1 cardboard tube from an empty roll of toilet paper.
- Polyester fiber fill.
- Piece of quilt batting the width of your toilet paper roll.
- A few straight pins
- Low temp glue gun
- 2 yards of twine, ribbon, raffia or yarn
- Embellishment items like knobby twig, leaves, berries ect...
Directions:
- Using your low temp glue gun, glue poly fill to the TP roll.
4. Bring Fabric up over the edge of the top roll and tuck inside the tube. Don't grab a lot of fabric at once, small pleats work best. If the fabric doesn't want to stay in the tube, stick a straight pin though the fabric into the cardboard tub to hold it. Continue making your way around the tube until all fabric is tucked into the tub and the fabric is relatively smooth. If it looks a bit lumpy or uneven, pull the fabric out and smooth or massage the fiberfill around and try again.
5. Center your twine, ribbon or whatever you are using under your pumpkin. Bring the ends up, cross them over on the top, down and up several times creating the pumpkin sections. I rearranged them several times before I was happy with the outcome. You can tie it off on the top or underneath. Trim off the excess or tie a bow.
6. Embellish as you wish with twigs, moss, artificial leaves, berries ect... Then glue into place using glue gun.


No comments:
Post a Comment
Thank you for your feedback! We love hearing from you!