Tuesday, March 27, 2012

How to Pack for a Crop by Elizabeth Wiederspohn

How do you get ready for a scrapbooking crop? Do you pack your whole car up with supplies? Do you page plan? Do you get frustrated that you don't get as much done at a crop?

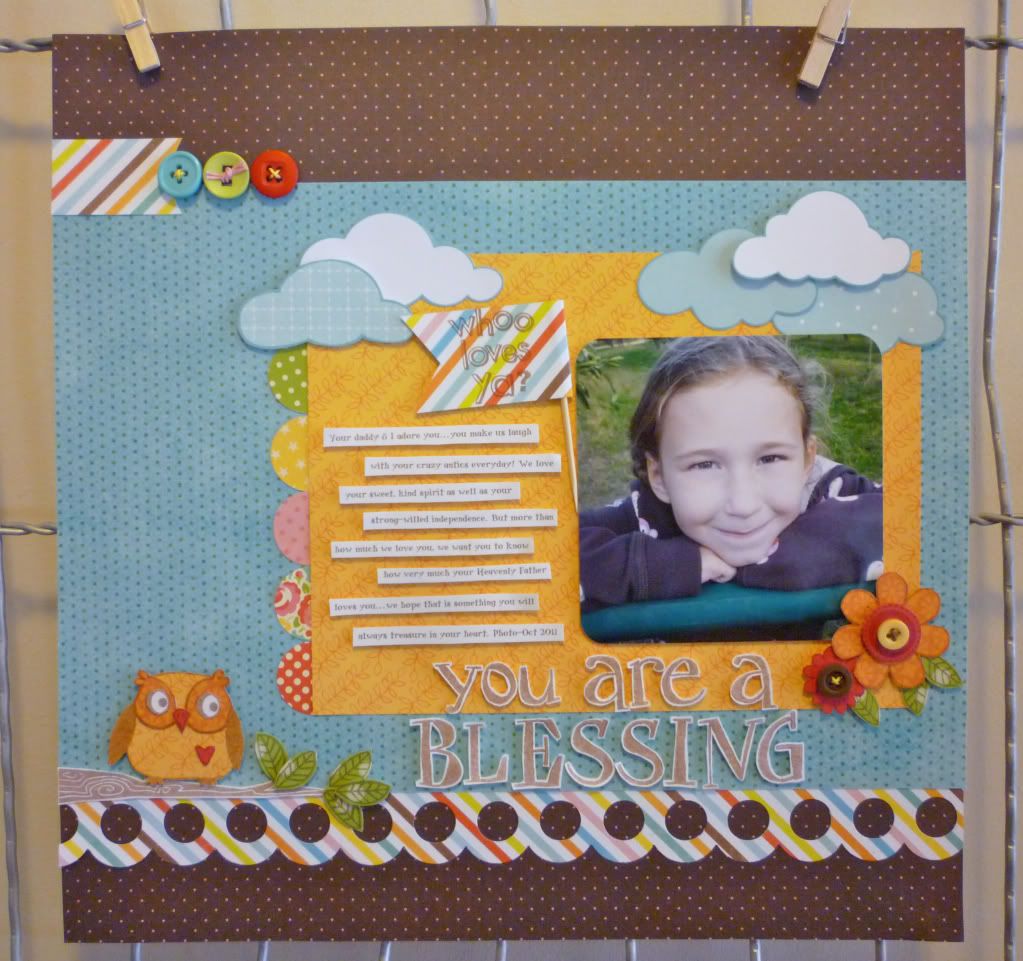
We are excited to have 2010 Craft Warehouse Design Team member Elizabeth Wiederspohn, here to share with us how she prepares for a scrapbooking crop. This girl is so organized! We can all learn a tip or two!

 Photo of basics bag

Getting ready for a crop is something that took me a really long time to wrap my mind around. The first couple of times I brought two rolling suitcases with a bag over my shoulder which was pretty much my entire scrapbooking supply collection just in case I needed something. This drove me crazy not because of the mass amounts of stuff I had to crawl through to find things but because when I got home, I had to reorganize everything put everything away and much like my filing it never got done. Plus I didn't get much done because I spent most my time trying to figure out what I was doing and where to find things.

So after a few of these times not knowing where anything is and spending most my time organizing my stuff at the crops instead of scrapbooking I created a system. This system allows me to scrapbook mass pages during a crop and have to put away very little when I come home.

First of all I pack my basics bag (see photo above). This bag has the basic pens, cutting board, scissors, adhesive, ribbon, and tons of letter stickers in it.

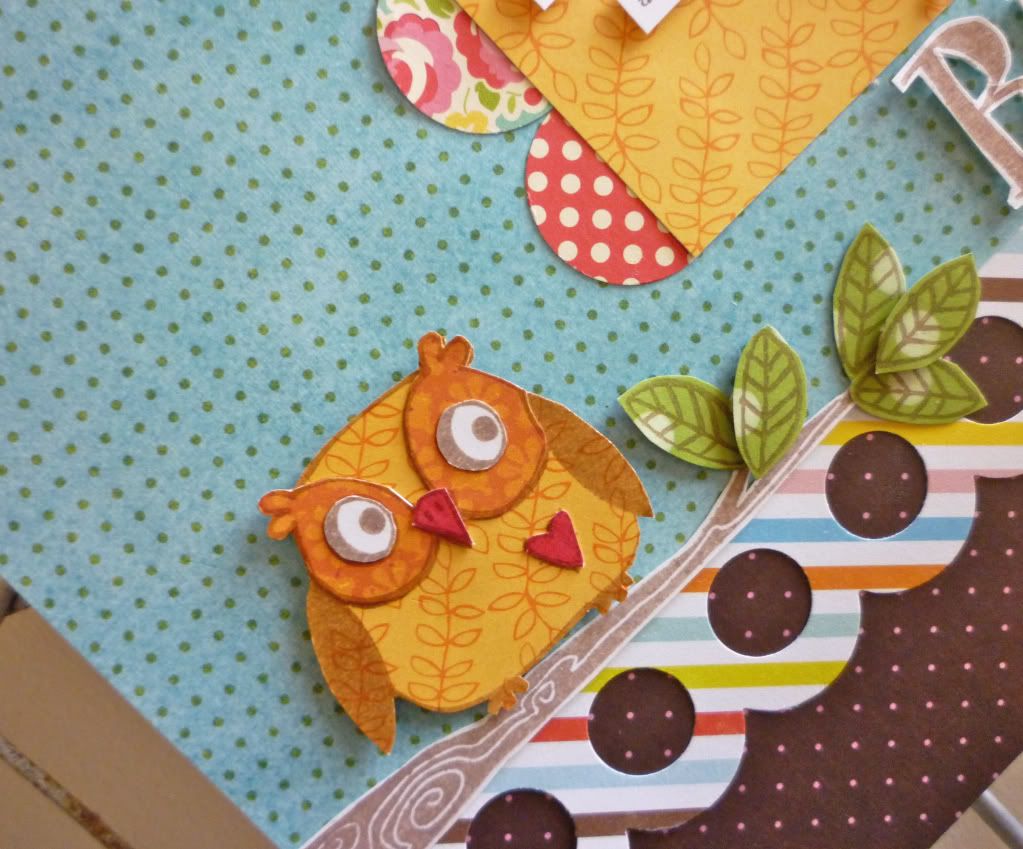
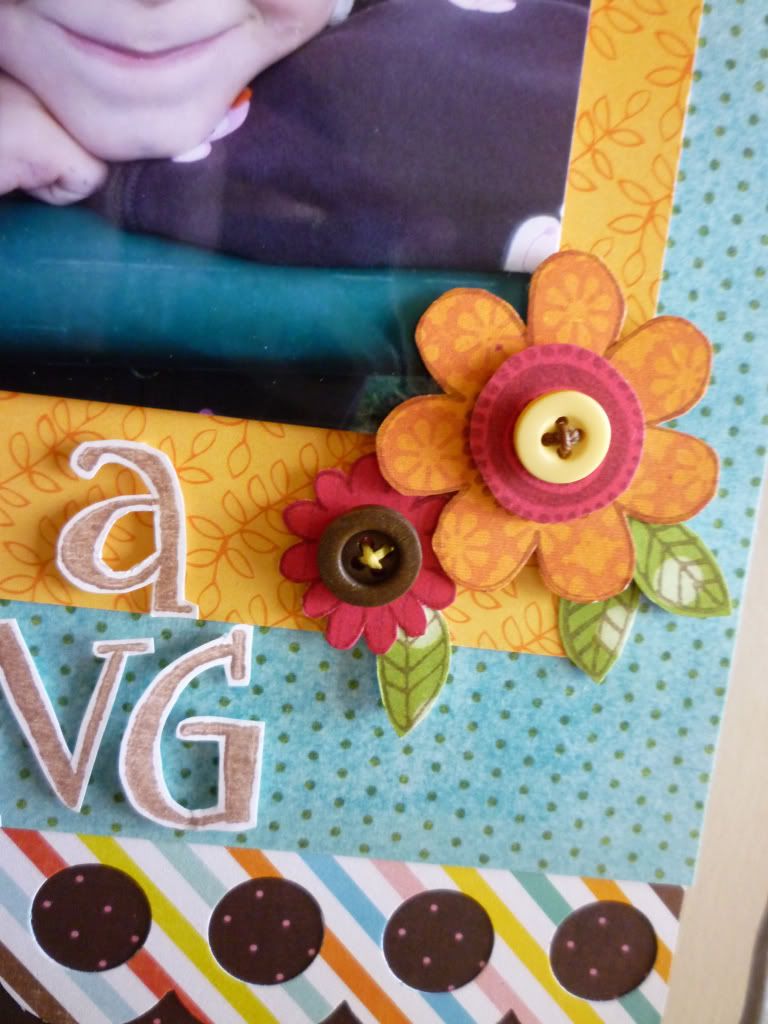
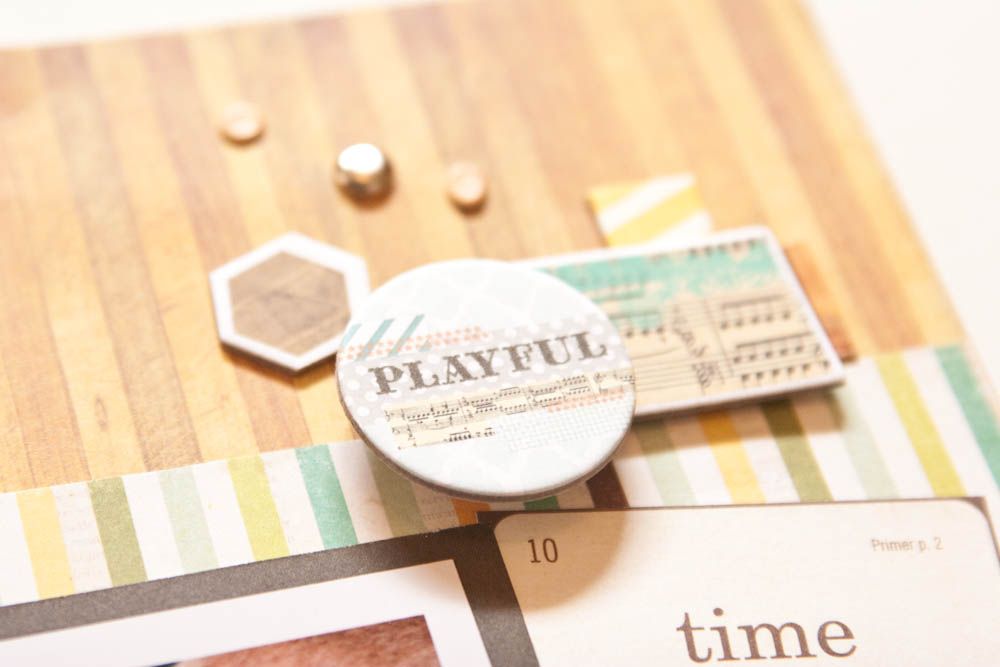
Then I pack a bag of all my favorite embellishments. My current bag is a Clinique giveaway. (On a long trip I might pack two of these bags.) When finished this bag stays packed on my desk for me to pull from at any time. Pulling embellishments from a small bag saves me tons of time on my layouts.


Then I start on my photos. I take my memory cards in once a month to get pictures printed. Immediately after getting them printed I place each event in a 2.5 gallon resealable bag.


Then I place them in a Ikea storage cube until I am ready to make page kits. Sometimes I will have an idea or a piece of paper that really fits these pages right away and I slip those ideas and products in the bags before I even start making page kits.


Next, when I run out of page kits or before a crop I do a mass taking over of my living room and layout all of the bags with photos in them.


I start in one corner and work my way down the lines filling each bag with an idea from a magazine or printed online.


Then after all the bags have ideas I match the ideas and pictures with patterned paper. Making sure to Look at the idea I have and determining if I could use scraps or if full sheets of paper are needed


Then lastly I add my basic solid paper to all the bags.


There is one more step but I rarely get to it and that is journaling. I try to journal on all my pages and journaling is one of the hardest things to do at the crop. So if I am very organized I will look through all my page kits and write down the subject of each kit in a small notebook. I slip the notebook in my purse and while waiting for appointments or during breaks at work I bring out the notebook and pre-journal for the page. then I bring the notebook with me to the crop and I will have both journaling and titles for the pages ready to go. Like I said rarely does this step get finished but I try and when I have this done, that is when I can complete 10-15 pages in one night.


So in all the only things in my page kits are photos, ideas from magazines or printed online, patterned paper, and solid paper. Now when I am ready to crop I grab a bag, some page kits, and my embellishment bag and I am ready to go.


On a short trip I can get away with just bringing my one bag and a cutting board. That is a big difference from the two rolling totes and and shoulder bags.

Thursday, March 22, 2012

Back 2 Basics Video Series - Card Tutorial

Welcome to our blog video series called Back 2 Basics!

Let's face it, we are busy. We don't always have two hours to spend on a layout or project. Back 2 Basics will help teach those that either want to learn how to scrapbook or want quick and fast tips to help you get your project done in 30 minutes or less! Each video in the series will be less than 5 minutes long; which gives us more time to create and less time in front of the computer!

Today we have a card created with Echo Park This and That paper and stickers!


 Here are the supplies to create this card:

Pattern Paper and Stickers by Echo Park "This and That" line


My Mind's Eye "Follow Your Heart" Stamp Set


Tim Holtz Ribbon & Distress Ink


Versafine Black Ink


Premade Card
Adhesive
Foam Squares & Trimmer


In the video you don't see me add the "doily paper" but, I thought the card needed a little something extra! I just cut a little piece for the top and bottom. ;)

Watch the short video to see how to make this simple but elegant card!


Wednesday, March 21, 2012

Simple Stories Documented by Design Team Member Steffanie Seiler

Design Team Member, Steffanie Seiler shares with us her new projects with new Simple Stories Documented line soon to be in your local Craft Warehouse!

I received Simple Stories Documented collection and as I looked at the collection more, I knew I wanted to add some color.  I noticed the birds and butterflies and nature came to mind.  Hence, the hiking photos in my first layout.

Simple Stories Documented Layout with divided page protector


I cut the word LIFE from one of the 4x6 cards in my collection and basically built from there. I found the right photo to place the transparency over and what I chose gives a very subtle effect but I like it!  I used some dimensional adhesive for depth; Stickles on the butterfly and the Journey card; and went with some 3x4 photos in my 4x6 pockets.  I really tried to keep it pretty simple.   

For the card, I really wanted to make some little flags.  They're quite trendy right now and I thought they would be the perfect embellishment for what I had in mind.

Card---Designer's Choice


I used plain toothpicks and added my own button and some twine.  I did a lot of matting to dress it up.  There is just a tiny amount of Stickles on the dots above and below the bird.  I also added some dimensional adhesive behind the bird.

For the last layout, I went with a beach photo from this last summer. I chose it because it's primarily a silhouette photo with the only real color being blue.  I added a digital frame before printing.

12x12 Scrapbook Page---Designer's Choice


I am thrilled with how this one came out!  I think I crossed into the shabby chic world... just a bit.  I am usually the clean and simple scrapper but this collection pulled something out of me I didn't know I had!  

I used American Crafts and Tim Holtz ribbons for the flowers.  I just cut them off and distressed a bit with some Distress Ink to make them less white.  I made pleated paper ribbon - another first for me!  The title (besides the Thickers alphabet stickers) was simply one of the quotes from the collection cut apart to suit my needs.

I'm pretty excited about my results.  I used very little "other" product.  That's the great thing about these Simple Stories packs - they can really almost stand on their own. My oldest son (13) told me he thinks the last layout is the best I've ever made!  He's so sweet!

Visit the Craft Warehouse website to see more detailed photos here. Stay tuned into our Facebook page to find out when Simple Stories Documented line arrives on Craft Warehouse shelves!

Monday, March 19, 2012

Product Spotlight - Lucky 8 Punches

Lucky 8 Punches are amazing! Now you can make any color or pattern paper into a die cut shape! Each punch gives you 3 different looks (there is a lever on the punch that allows you to choose options).

Check out these videos to see how it works, and the styles now available at your CW.


Friday, March 16, 2012

Back 2 Basics Series - Handmade Party Decorations


 Welcome to our new blog video series called Back 2 Basics!

Let's face it, we are busy. We don't always have two hours to spend on a layout or project. Back 2 Basics will help teach those that either want to learn how to scrapbook or want quick and fast tips to help you get your project done in 30 minutes or less! Each video in the series will be less than 5 minutes long; which gives us more time to create and less time in front of the computer!


Did you know Craft Warehouse now carries Cake Pop supplies?! Making homemade decorations are not only economical but fun! It gives your party that special touch.


The supplies needed to create this bunting cake topper are

Pattern Paper & Stickers from Echo Park  This and That- Graceful Line


Liquid Adhesive

Popsicle Sticks


The supplies needed for this party decoration are


Pattern Paper & Stickers from Echo Park  This and That - Graceful line


Banner Punch by Fiskars


Sew Easy Floss by We R Memory Keepers


Liquid Adhesive

Popsicle Sticks


Watch the 3 minute video cake topper tutorial to learn how to make your own.


The possibilities are endless! You can use different paper to make themes for boys, spring,  retreats, parties, or other events! Make sure that you check out the other cake pop supplies at your local Craft Warehouse including pans and kits! You will find out that making homemade party decorations are easy and loads of fun!

Tuesday, March 13, 2012

Using Multiple Stamps on Scrapbook Page by Design Team Member Cara Goedeking

Design Team Member, Cara Goedeking, started paper crafting about 14 years ago using stamps. Now, a scrapbooker, she shares with us how to use multiple stamps on a scrapbook page...

For this layout I decided I really wanted to use some of my stamps! I inherited a huge amount of acrylic stamps from my husband's mom and I myself have a large supply of stamps that I think are adorable but don't use much (especially on my layouts). I really want to put all of these awesome stamps to good use. My goal is to start trying to incorporate them more into both my scrapbooking and card-making.

I decided to try doing some creative layering with different patterned paper to "color in" my stamped images.


With the owl, for example, I stamped the image four times....once on the yellow patterned paper, once on the orange, once on the red, and once on white. Then I cut out the pieces from the paper I wanted to use and glued them all together.


I did the same thing with the larger flower. I also stamped the tree branch, the separate leaves, the smaller flower, the "Whoo Loves Ya?" saying and used alpha stamps for the title.


 Brown polka dot patterned paper (Imaginisce), Blue polka dot patterned paper (My Mind's Eye), Yellow patterned paper (Bella Blvd), Multi-striped paper (Echo Park), Clouds (fussy cut from Echo Park paper), Orange patterned paper (Crate Paper), Red paper (Unknown), Other patterned paper (October Afternoon), Owl, "Whoo Loves Ya?" and branch stamps (Sandylion), Flower stamps (Sandylion), Leaf stamp (Hampton Art), Alphabet stamps (Autumn Leaves), Border punch (EK Success), Circle punch, Corner rounder, buttons, twine, foam tape


I really enjoyed using a variety of stamps on this layout and am excited to get back to stamping!

So, I CHALLENGE you to try and use some stamping on your next layout! When you have, visit our Facebook page and upload a picture. I would love to see how you were inspired!

Monday, March 12, 2012

Using Pinterest to Inspire Scrapbooking by Design Team Member Andrea Ancich

Today Design Team Member, Andrea Ancich, shows us how she uses inspirational photos to inspire the colors of her next layout.

Don't you just love finding inspiration online? Pinterest is my favorite place to look for inspiration all in one place. By the way, did you know we have our own Pinterest page? Check out our page by clicking Pinterest above in the navigation bar.

While searching Pinterest, I found this gorgeous picture by Rachel La Grand from Nest Full of Eggs and printed it out. I stick most of my inspirational things in one of my SMASH books to keep them all together. It's quick, easy, and in one place

That is key for keeping organized. I am able to find inspiration quickly when I'm in a rut or need something to get my mojo flowing. Maybe you have a bulletin board that you pin things to or an area in your craft space. Either way, keep your inspiration close at hand so that when you are ready to craft, you know where to go for new ideas. 


I took this picture from Pinterest, by Nest Full of Eggs, and played with some paper....


I created this page.

I don't usually use pink, but loved this pattern paper from Crate Paper. I used the pink and teal from the photo above as an inspiration to create this layout.


I love looking in all different places to find inspiration. When you see something that catches your eye print it off, rip it out, take notes, or draw a sketch. It's helpful to carry a little notebook (or SMASH book) in your purse to do just that.

Saturday, March 10, 2012

Echo Park and My Mind's Eye Scrapbook Page Challenge


I love a good challenge. When Salem's Scrap Club handed out Echo Park's new line This and That Charming papers for this month's scrap challenge I took the plunge! To take the challenge, you have to agree to use every item in the free kit on your page and bring it back by the next Scrap Club.

Wood grain, yellow and turquoise is a popular combination this season. My Mind's Eye's Follow Your Heart chipboard stickers matched the colors perfectly.

What was in the kit:

Paper from This and That by Echo Park


1 chipboard circle
1 silver brad

I added:

Alphabet stickers
2 more silver brads
chipboard sticker sheets by My Mind's Eye
Smash Date Stamp by K&Company for EK Success  


To adhere my first layer, I use a liquid glue instead of an adhesive runner. This keeps the top layers from falling off later in my album.


The second and third (sometimes fourth and fifth) layers are added with three dimensional glue and foam squares. Keep adding chipboard stickers as you like. I even left some of the backing on the element so that i could add a foam square.


To make my banner curl around I slit the triangles a little so the chipboard would bend.


See how one sticker is on the bottom and then I layered over top of it lifting the elements with adhesive so you could still see it peeking through? Cute!

I also cut the kite from the other two. Why not use them on another project?


I love how the SMASH Date Stamp has 2011-2022 on it. It is going to last a long time and be used over and over again. To just ink the date and not the words, I used a Q-tip by rubbing it on my ink pad and then on the stamp. Perfect!

Salem Scrap Club meets once a month on the last Monday of every month at 1pm and again at 6:30pm. To see if your Craft Warehouse has a Scrap Club, check our event's page.

LinkWithin

Related Posts Plugin for WordPress, Blogger...
Blogging tips