Happy Easter! All week we are celebrating by inspiring you with fun, simple, and creative holiday projects! This project is from our creative vault that we knew you would love to see again!
Hey Craft Warehouse fans! This is Michelle Wofford, from the 2011 Design Team Alumni, here to share how to make a simple banner for Spring. I've noticed that we don't have a lot of seasonal decorations around our house and I wanted to create something that we could hang for during the spring months.
I picked up a 6 x 6 pad and a package of tulip shaped chipboard pieces from my local Craft Warehouse. Here's my finished piece. Keep reading to learn how to create one of your very own.

For this project you will need the following supplies
- Pattern Paper (6 x 6 or 12 x 12)
- Chipboard Shapes (tulips used here)
- adhesive (Beacon's 3 in 1 or Pioneer's embellishment glue stick)
- American Craft Thickers Alphabet Stickers
- Crop-A-Dile
- Ribbon
- Scissors
- Sanding Tool (optional)
- Ink Pad (optional)
- Sponge (optional)
- Martha Stewart Butterfly Punch (optional)
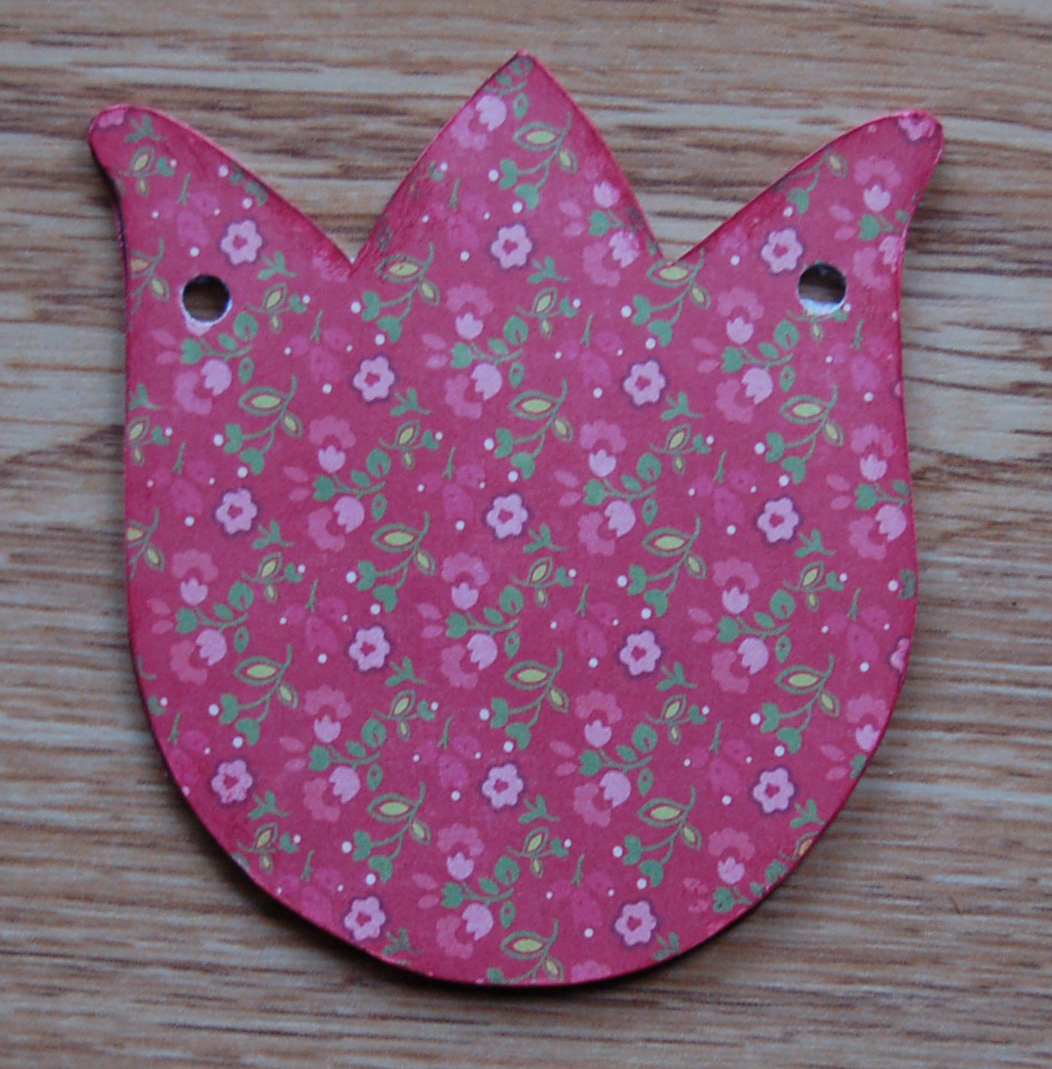
Start by selecting your paper and chipboard pieces. I wanted to create a banner that didn't use the traditional pennant shape. Depending on how large your chipboard pieces are you can use 6 x 6 patterned paper. This size worked perfect for the tulip shape I selected, I covered the front of two tulips with one sheet of paper.
Once you have your paper and chipboard selected start covering the chipboard with the paper. I would use either beacon's 3 in 1 or pioneer's embellishment glue stick for this part.

I like to adhere my paper and use a kraft knife to trim away the paper when it is dry. If you are not comfortable using a craft knife you can trace the chipboard shape on the back side of the paper you are using a and cut out the shape first and then adhere it to the chipboard. Once the front is dry and cut out I like to cover the back side so the finished product has a nice finished look. Your pieces should look like this.

The next step is to punch holes on both sides of each piece so you can string on ribbon to hang. Since the tulips didn't already have holes I created a template to use as a guide so all the holes were in the same spot. To do this trace your shape on a piece of scratch paper and cut out with scissors.

Next fold your template in half and using a crop-a-dile punch the paper where you'd like your holes to be.

Unfold and lay template on top of your paper covered chipboard and punch holes on both sides of each piece.


Your pieces should now look like this.

The next steps are optional but I like to do them because I feel it gives the pieces a nice finished look. You'll need a sanding tool, sand paper will work, but you don't want it to be too coarse. And sanding file is great for those hard to reach spots between the petals. After sanding I cover the edges with ink that matches the paper. I like to use a sponge, it makes it easier to get in between the petals and it gives a subtle distressed edge.

Your pieces should now look like this now.
Next adhere your Thicker's Alphabet stickers, here I used SPRING.

Next string your banner pieces on your ribbon. Start by threading the ribbon thru the top of the first piece and pulling up thru the back on the other side. If your ribbon is wide enough you shouldn't have to knot it to keep the pieces in place.

The final step is adding any embellishments you want to use to enhance your banner. I decided to keep mine simple and just add a few butteflies that I punched out using the Martha Stewart butterfly punch. You can add as much or as little as you want.


That's it, hope you enjoyed this tutorial. I'd love to see any banners you create.
~ Michelle ~