Showing posts with label boxes. Show all posts
Tuesday, February 5, 2013
Valentine's Day Party!
Next week is Valentine's Day! All week we are going to share with you Valentine Inspiration! Whether you are creating something special for a loved one, your kids, a teacher, or even for yourself there will be plenty of creative inspiration to help you along!
I think the best part about this holiday is just letting someone know you care. I had a blast creating these sweet Valentine's Day party supplies! They are simple enough, even your kids could help! How fun would it be for them to bring these cuties to their classroom party or for their teacher?!
For the above collection, I used American Crafts XOXO Paper Collection, which by the way is SO much fun!
For the pop bottle: I measured the label and cut paper to fit around the bottle. Using regular scrapbooking adhesive, I glued it to the bottle covering the label perfectly! Then, I just punched a hole in the pre-made XOXO tag and tied ribbon to the top. After stamping the "cutie pie" from the Lawn Fawn stamp set (shown below) onto another XOXO die cut, I glued it to a lollipop stick and slipped it into the ribbon's bow. Then, I added another die cut to the tag to prop up the stick by adding a foam square to the back of it.
Valentine's Day Card: Using a pre-made white card, I glued cardstock to the front leaving a white border around the edge. Then, I cut patterned paper to fit over the cardstock leaving a nice edge around again. I measured some American Crafts' twine to fit across the card diagonally and glued it down with liquid adhesive along with a mini clothes pin. Then, I added a XOXO sticker right under the clothes pin.
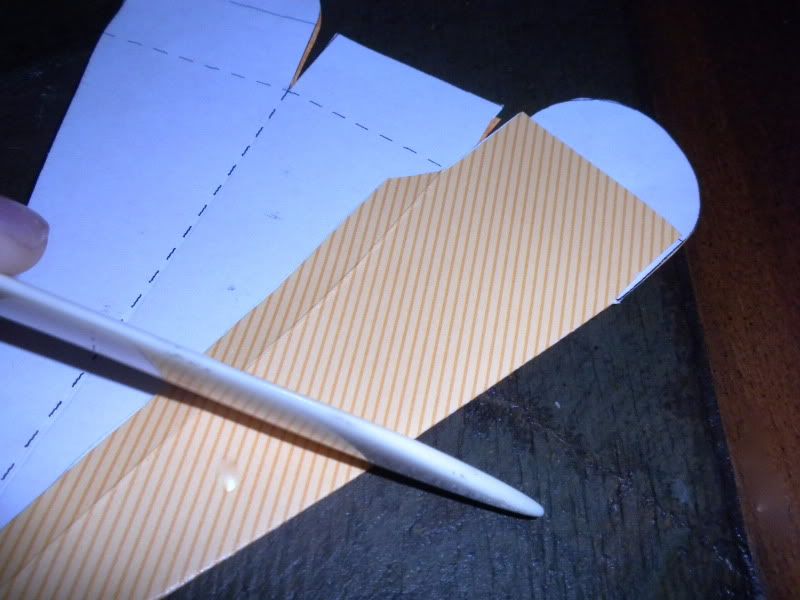
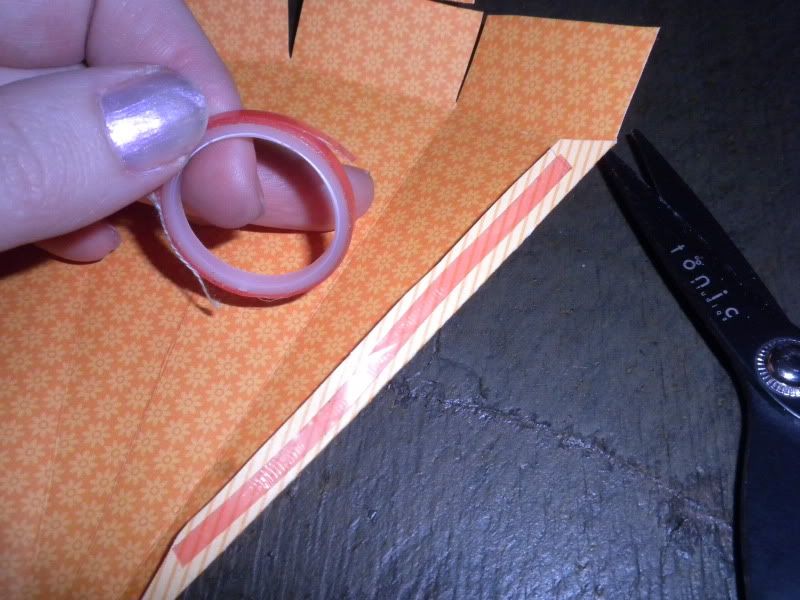
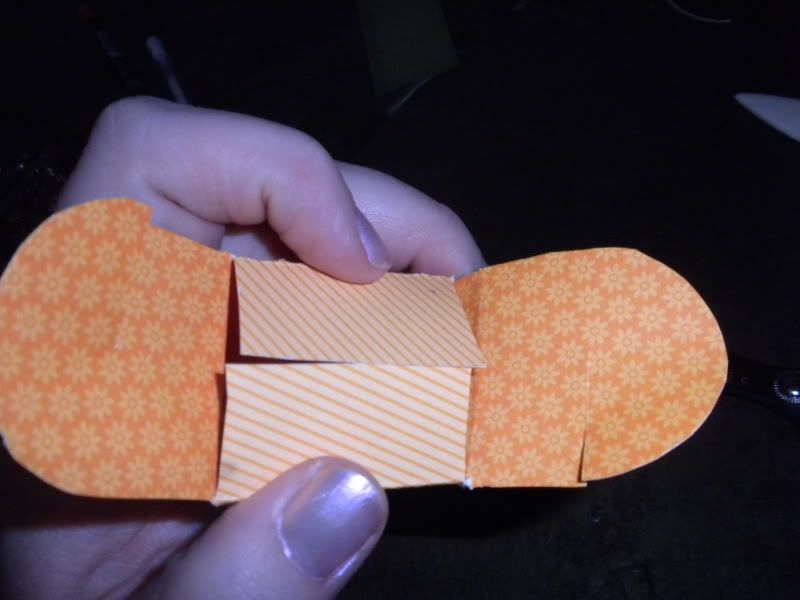
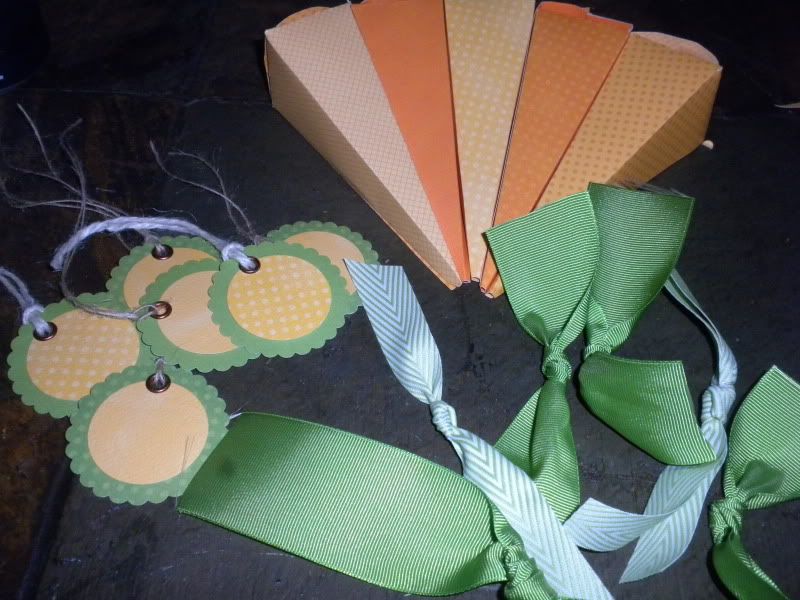
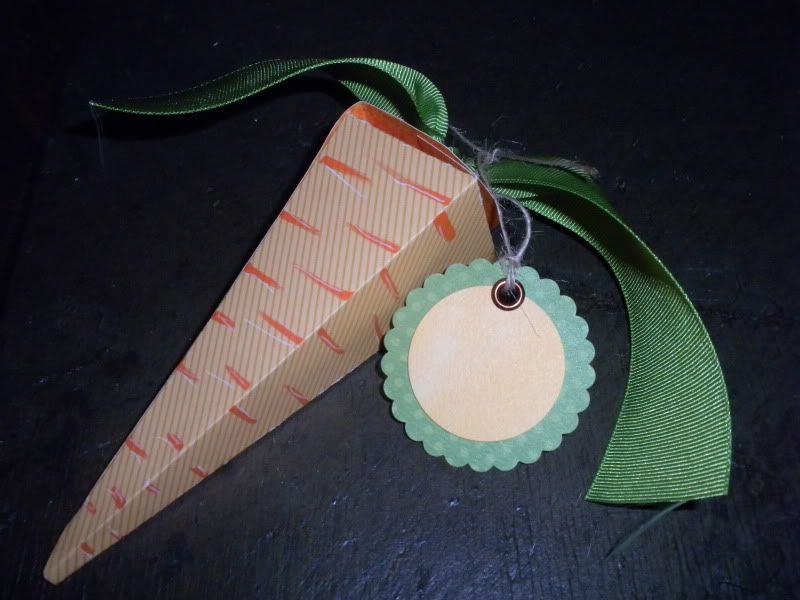
Valentine's Day Treat: To make these cute treat containers, cut a piece of paper to 6x6. Fold the paper into a tube and glue edges together. Staple one end closed. Place candy inside. Then, close the other end in the opposite direction so that you create a "take out sour cream" container.
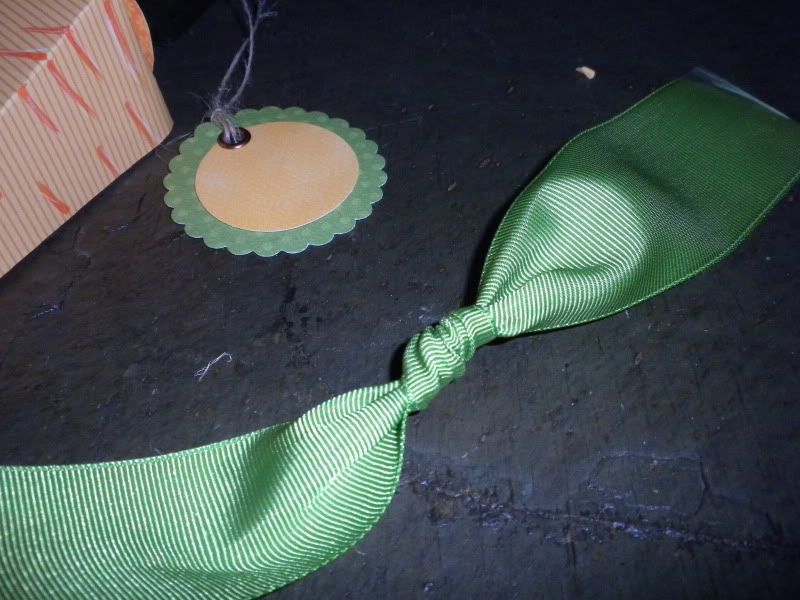
I then punched a scalloped circle and stamped in the middle. Don't forget to add a sweet bow to the front too!
Valentine's Day Socks: Purchase a pair of socks. I got a three pack for $3 at Walmart. Then measure around the sock and cut your paper to size. Use regular scrapbooking adhesive to adhere the paper around the pair of socks like a band. I then punched a scalloped circle and stamped the sentiment on to it. Afterwards, I stamped on patterned paper and fuzzy cut the socks out. I glued one sock down and the other I popped up with a foam square. I added more ribbon to the bottom and now it is ready to give away! My son made two for both his teachers! Easy, fun, and affordable!
Stay tuned in this week for more inspiration!
Monday, November 26, 2012
Heidi Swapp Calendar Box
Create a stand up calendar box for close friends and family.
Supplies:
· Cigar Box Sch-40
· Americana Coral Blush acrylic paint
· Heidi Swapp “Vintage Chic” Collection 8x8 paper pack, statement stickers, mini tags, notes, trimmings and buzz word stickers.
· Accent paper calendar
· My minds eye embellishment dots
· Teresa Collins Rhinestones
· AC Thickers sliver glitter stickers
· Tim Holtz Ideaoligy large ring binder
· Mini white frame (NST/225)
Directions:
· Start by painting your cigar
box with acrylic paint.
· Once dry, Choose a paper to
fit inside your box. Cut out and glue to both sides of your box using Pioneer
Glue Stick.
· Attach your 2 ring binder.
· Start creating your
calendar. Choose 12 papers you would like to use. Cut 2 papers 5.5x5, 2 papers
5.5x5.1, 2 papers 5.5x5.2, 2 papers 5.5x5.3 and 2 papers 5.5x5.4. This will make
it so you can see the layers of paper underneath.
· Also cut a paper 5.5x2, I
cut the bottom like a pendent. Then added the year. Every month you can take off
the month but always have the year hanging.
· Put a photo in the white
frame, add embellishments and glue on to the opposite side of the box.
* 40% off Unfinished Wood Cigar Boxes (regular $5.99) until December 6, 2012.
Monday, February 6, 2012
I love to create- Day 6- Martha Stewart Scoring Board

Each day of the year is a great day to get crafty! In February we are celebrating some of our favorite scrapbooking and stamping products because they make creating more fun, easier, and inspire us to do more. We want to share the love with you, so each day in February (it’s a leap year so there are 29 days!) we are picking one of our favotire products to share with you! Check back each day to see the daily pick, and learn more about it. We craft ourselves, and actually use and recommend these items, because we Love to Create! Today’s pick: Scoring Board from Martha Stewart |
Score flawless, crisp lines on cards, invitations, boxes, bags, envelopes, paper rosettes, and other projects on this handy scoring board tool. We love that there are measurements every 1/8inch- this allows for maximum creativity!
Comes with a bone folder, and an envelope template- each has it's own little cubby right on the scoring board for storage when not in use.
You'll find measurements for basic envelope, cards, and box sizes right on the scoring tool so you can quickly, easily, and accurately start creating right away!
Tuesday, December 6, 2011
Jewelry Frame by Design Team Member Amanda Sherman
Hi! I'm design team member Amanda here again. I hope you're having a delightful Christmas season. I've had a wonderful season so far. It's a blast watching Christmas through the eyes of my kids and the magic they see in everything.
Part of Christmas to me is making gifts for family and friends. When I received a recent circular from Craft Warehouse, I saw something in it that I just knew I had to do!! It was a hinged frame jewelry "box". I thought it would be the perfect gift for my hard to shop for mother in law. So I hightailed it to Craft Warehouse in Wenatchee and got my quick little hands on one of the frames. I absolutely love this idea because you can interpret it any way. The possibilities are endless.
This is the frame I picked up. I bought the 12x12.
First, open the back of the frame and pull out the piece of foam. I used this in my project, I just flipped it around so the cloth was in the back. Then I adhered my piece of 12x12 paper to it.
I put it back in the frame, closed the back and began to work on the front.
For the earrings (and to add some decorative touches) I used my favorite adhesive, Beacon 3 in 1 quick dry adhesive to apply a crotcheted ribbon. (Yes, the jewelry is made from elements and crystals from Craft Warehouse as well)
I then measured equal distances and use the same 4 pins that came in the frame as the "hook" for the necklaces. I put them in at an angle equally spaced.
Supplies: Hinged Frame, My Minds Eye Laundry Line Two paper, American Crafts Crocheted ribbon
The finished project came out just as I had expected. And if my mother in law doesn't like it, she's always welcome to give it back to me because I'll gladly put it to use!
Have a Merry Christmas, and Happy Crafting!
Part of Christmas to me is making gifts for family and friends. When I received a recent circular from Craft Warehouse, I saw something in it that I just knew I had to do!! It was a hinged frame jewelry "box". I thought it would be the perfect gift for my hard to shop for mother in law. So I hightailed it to Craft Warehouse in Wenatchee and got my quick little hands on one of the frames. I absolutely love this idea because you can interpret it any way. The possibilities are endless.
This is the frame I picked up. I bought the 12x12.
First, open the back of the frame and pull out the piece of foam. I used this in my project, I just flipped it around so the cloth was in the back. Then I adhered my piece of 12x12 paper to it.
I put it back in the frame, closed the back and began to work on the front.
For the earrings (and to add some decorative touches) I used my favorite adhesive, Beacon 3 in 1 quick dry adhesive to apply a crotcheted ribbon. (Yes, the jewelry is made from elements and crystals from Craft Warehouse as well)

I then measured equal distances and use the same 4 pins that came in the frame as the "hook" for the necklaces. I put them in at an angle equally spaced.
Supplies: Hinged Frame, My Minds Eye Laundry Line Two paper, American Crafts Crocheted ribbon
The finished project came out just as I had expected. And if my mother in law doesn't like it, she's always welcome to give it back to me because I'll gladly put it to use!
Have a Merry Christmas, and Happy Crafting!
Tuesday, April 19, 2011
carrot shaped treat boxes tutorial
| ||
Labels:
boxes,
craft warehouse,
gift,
paper,
template
Subscribe to:
Posts (Atom)