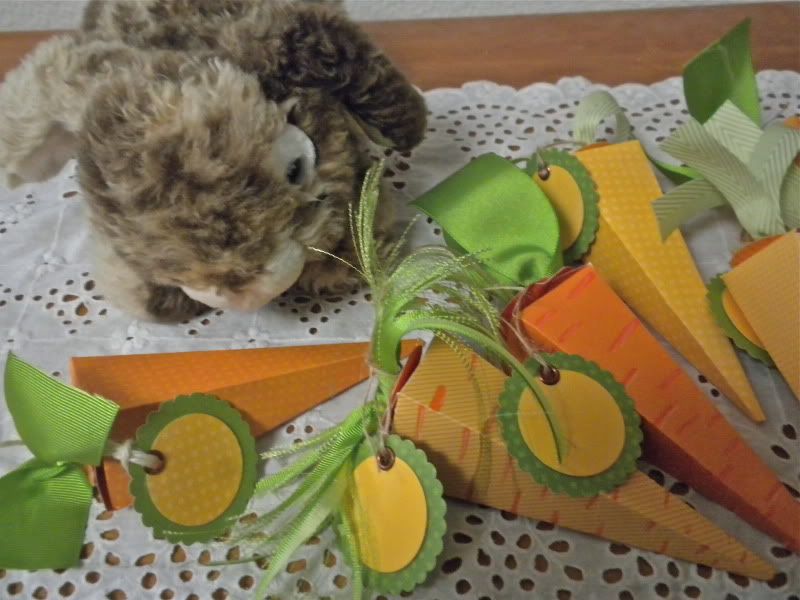
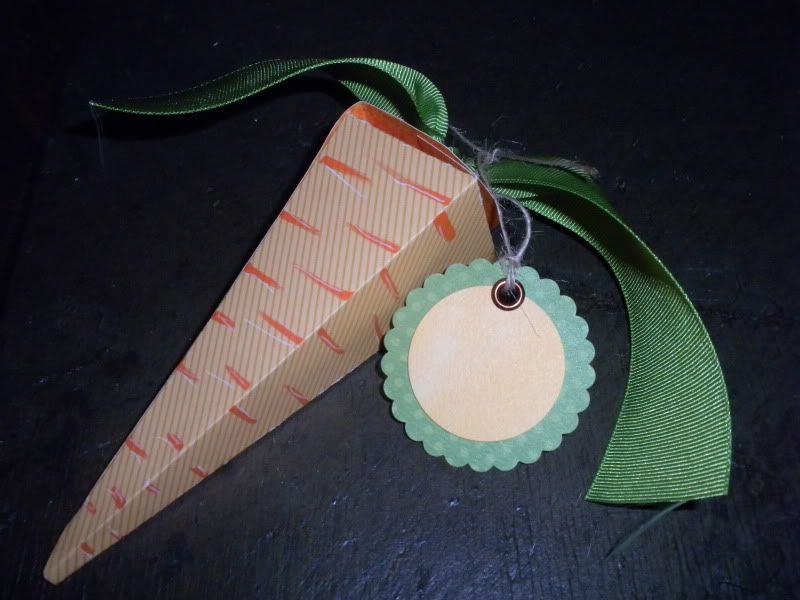
fun carrot shaped box.
Fill with jelly beans and put out a bushel of 'candy carrots' for your guests, or use as place settings and write your guests name on the tag.

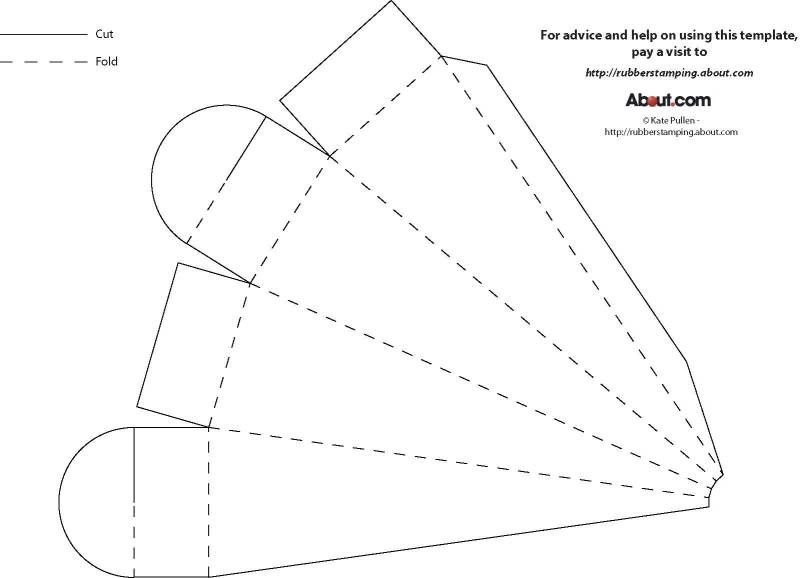
I found the template for this here:
rubberstamping.about.com/od/halloween/ss...cleBoxTemplate_2.htmYou'll need to print one to use as your template. you should be able to just click on the template below and it should open up a new window showing template full size and then you can print it! If that doesnt work you'll have to go to the link above to get the template.
Here is how I designed my carrot boxes:
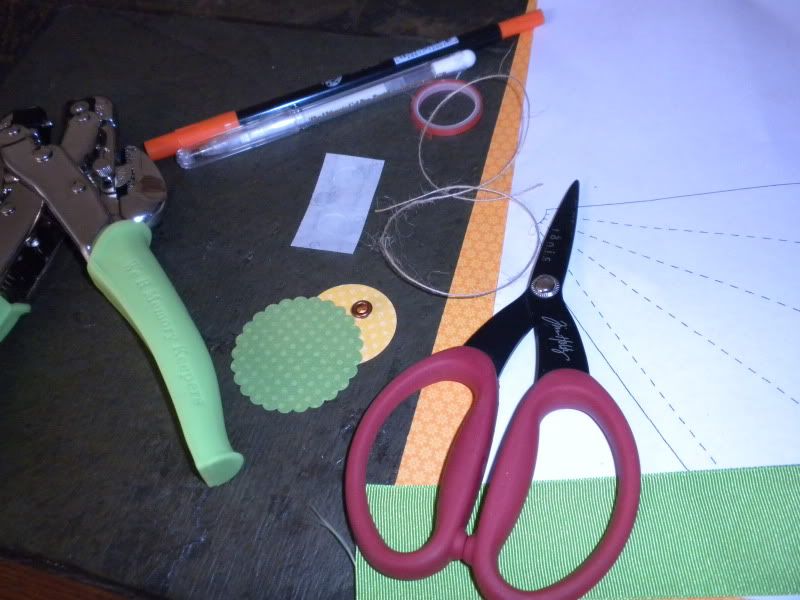
Supplies:
1 carrot box template
1 6 x 6 1/2 (ish) orange pattern paper (or cardstock) Bo bunny Press now has tone on tone dots, flourishes, stripes, flowers, and more in every color of the rainbow! Love these papers!
bright green ribbon- about 10 inches
Required tools:
removable tape (I like removable glue dots!)
scissors
red line tape or other strong adhesive
pop dot
bone folder
ruler
if making a tag you'll also need:
yellow and green scrap paper for punching
twine
eyelet
eyelet hole punch and setter- like the Crop a dile tool.
circle punch
scallop circle punch larger then circle punch
How to:
1.)
Print template
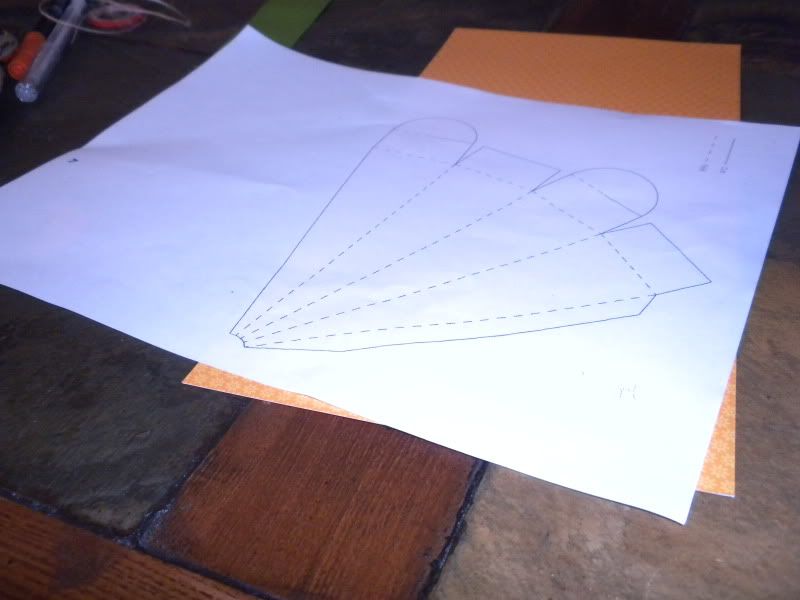
using removable adhesive, temporarily adhere template to what will be the INSIDE of your carrot. So if you are using a pattern paper like I did and you want the stripe pattern to be your carrot pattern, your template is adhered to the 'wrong' side.
use scissors to cut out template- cut all solid lines printed on template.
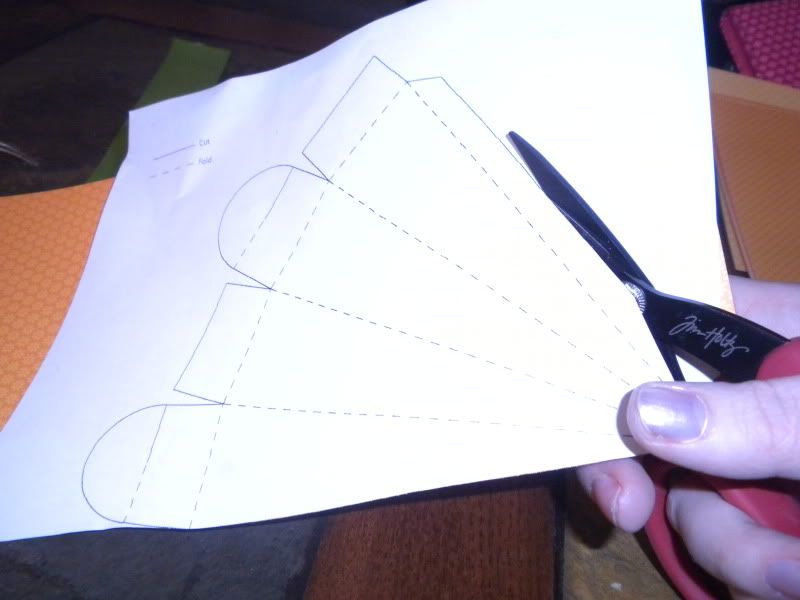
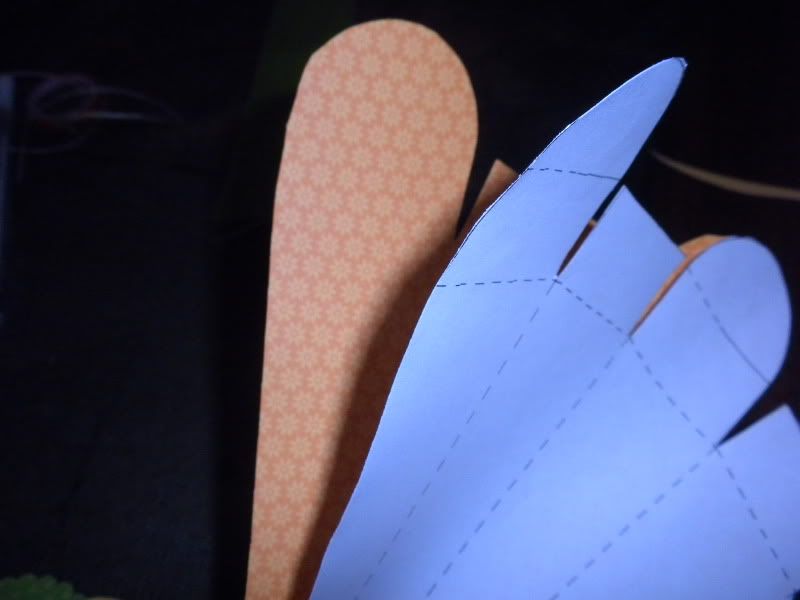
2.)
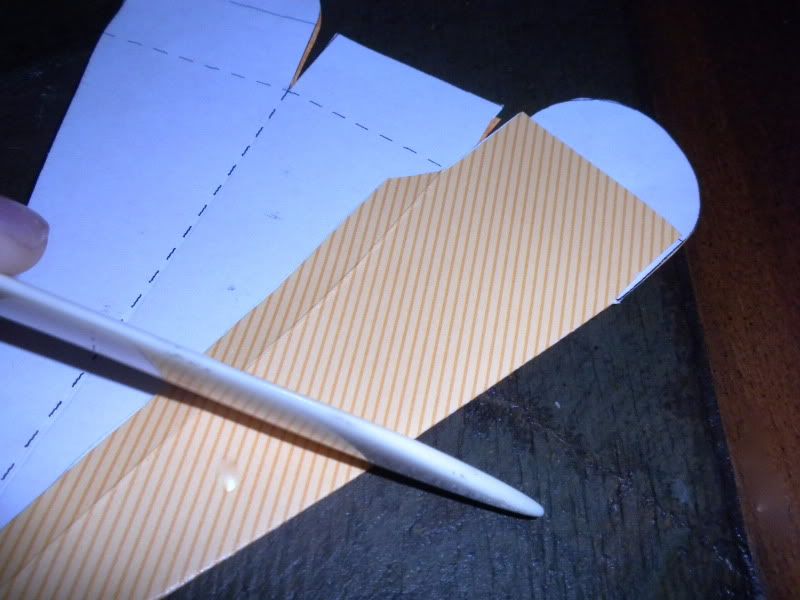
place ruler along dotted line on template (still attached to cut out orange paper!) and use bone folder to score dotted line.
repeat on ALL dotted lines.
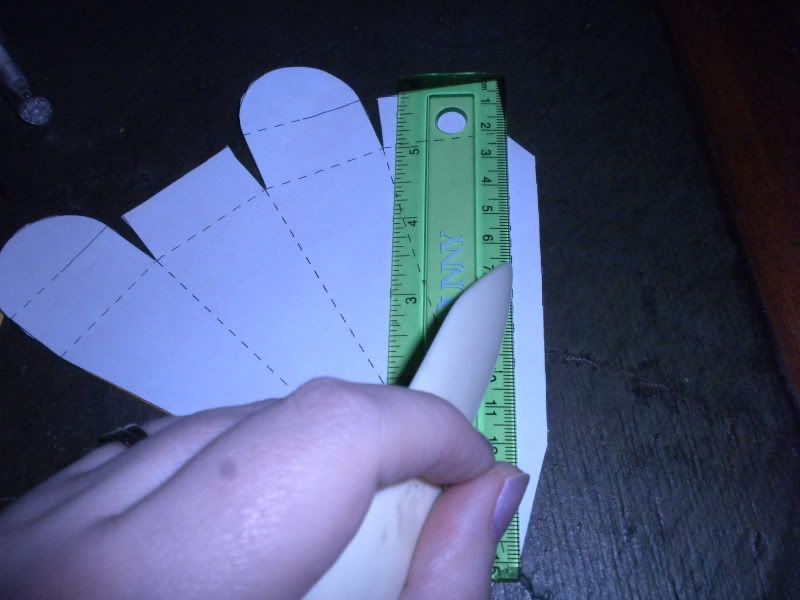
3.)
did you notice? the score didn't go all the way through. it's OK. now with the template still attached to orange paper, fold over on scored line and use bone folder to 'crisp the line'
repeat on ALL folds.
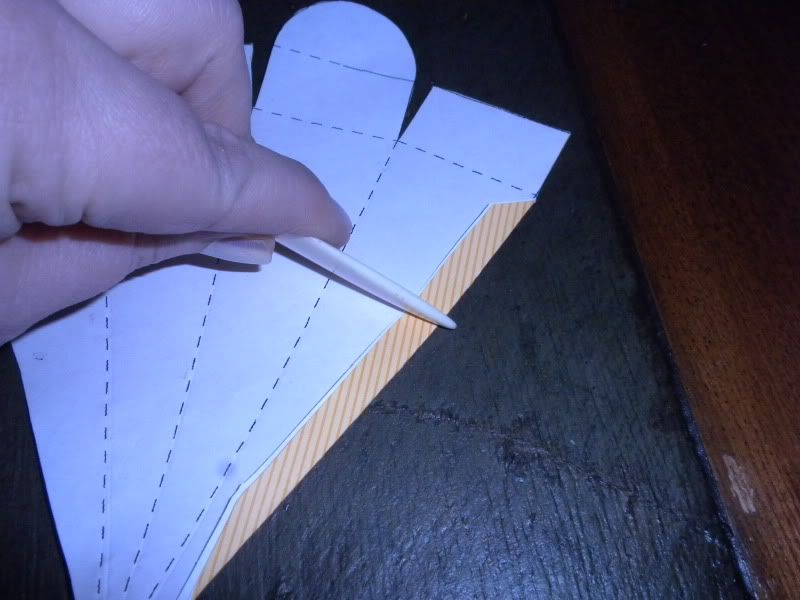

4.) one last step...... in case you missed it.
notice on your template= the 2 rounded 'petals' have 1/2 a scored line (dotted) and 1/2 a cut line (solid)
If you didn't already- cut the 1/2 solid line....only cutting half way across petal!

5.) NOW you can carefully remove template.
I love the removable glue dots because they hold when you want, and when you are done just roll your finger over them until they roll off your paper and discard.
6.)
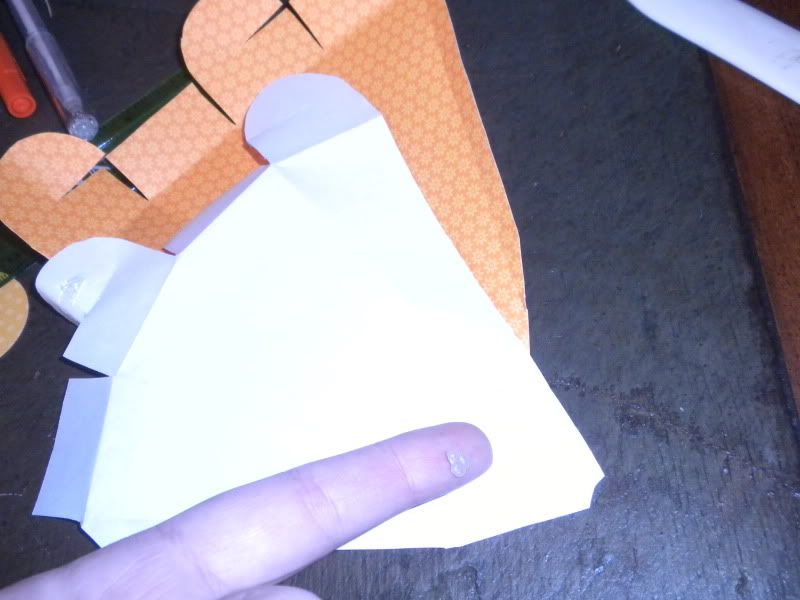
add strong adhesive like red line tape to the narrow flap on one edge of your cut and scored orange paper. adding the tape to the RIGHT side of your paper.
then secure box shape by adhering the other side of box to this taped flap.
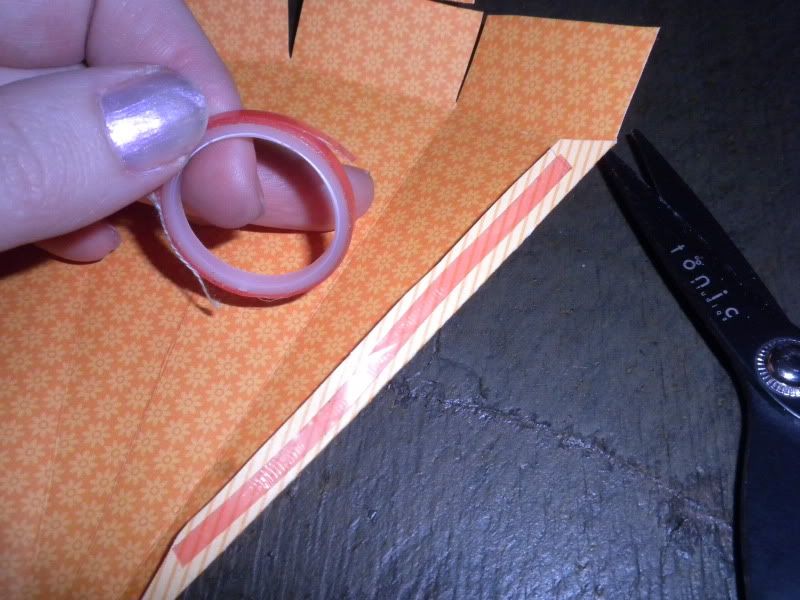

7.) FILL your carrot with treat of your choice. (Jelly beans, gold fish crackers, m&m's, etc)
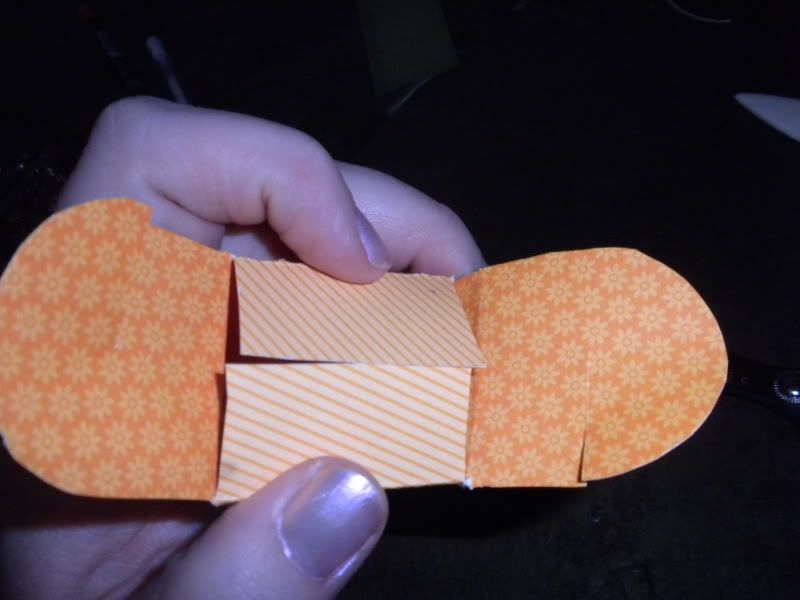
fold in 2 short flaps at top
then connect the 2 cut ends of your 2 petal shapes- they should interlock with each other
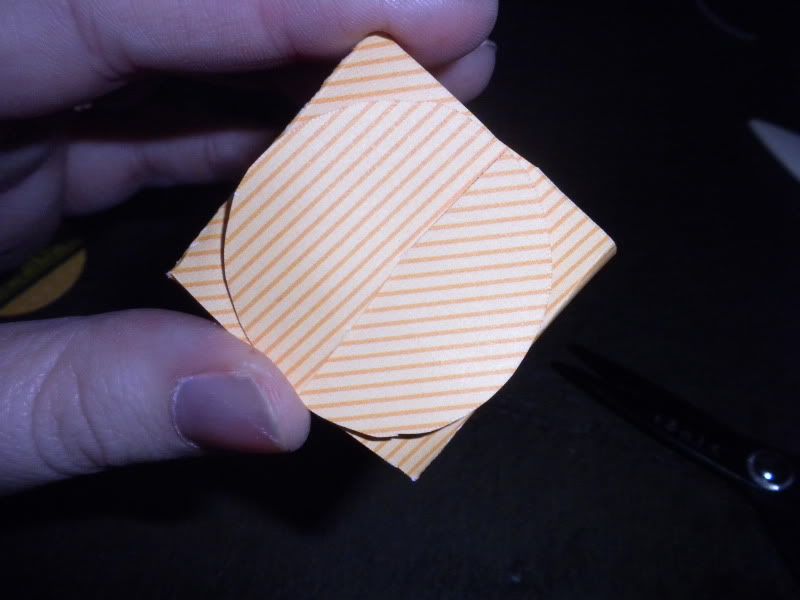
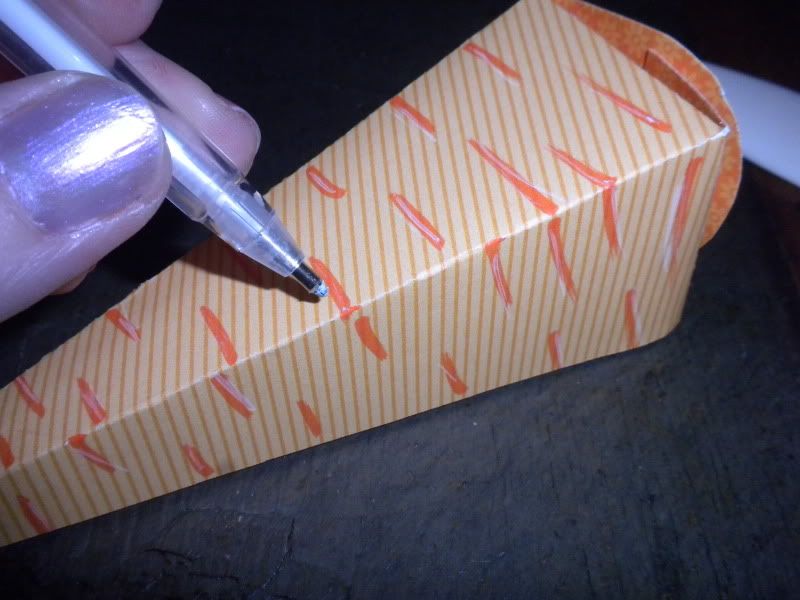
8.) use orange marker, and white gel pen to draw lines and highlights on carrot if you like.
tie green ribbon in a knot, cut ends to desired length
adhere to top of carrot box with a glue dot

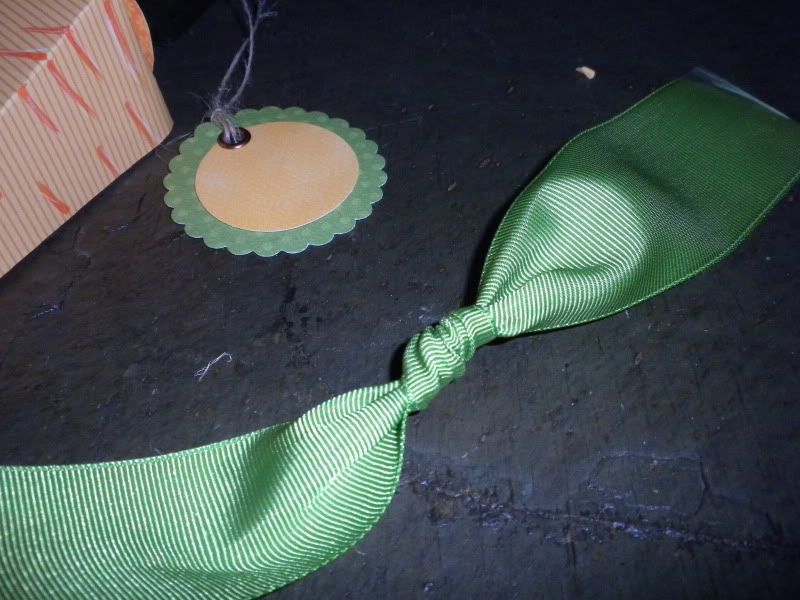
9.) if desired, create a tag by punching a yellow circle and a green scalloped circle and glue together.
set an eyelet in tag, and add twine.
tie twine around ribbon carrot top.
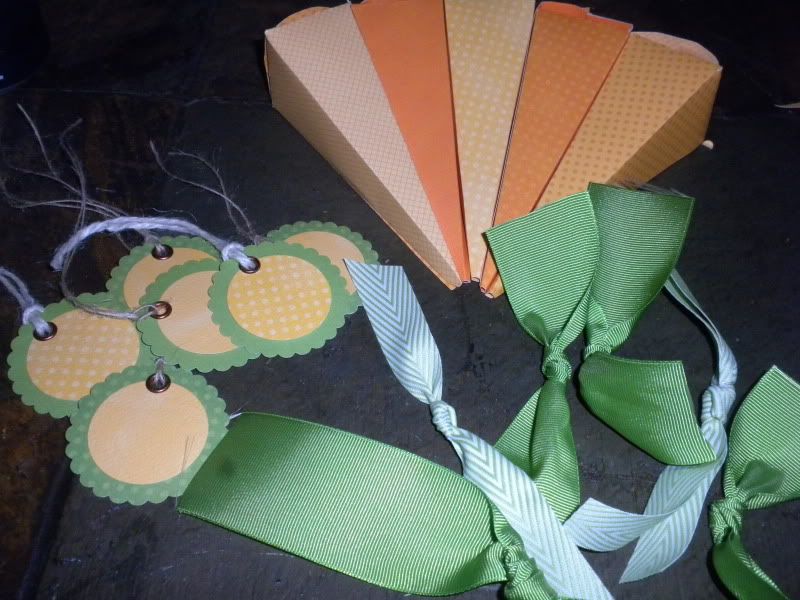
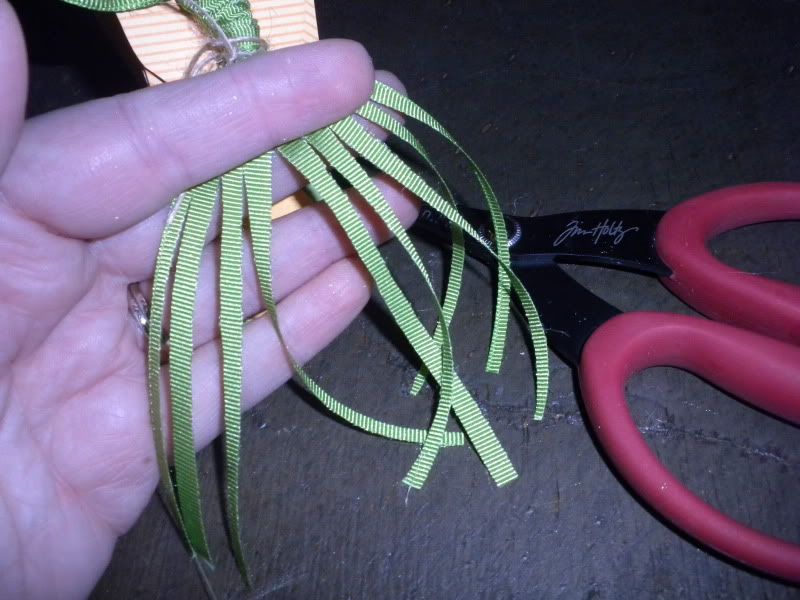
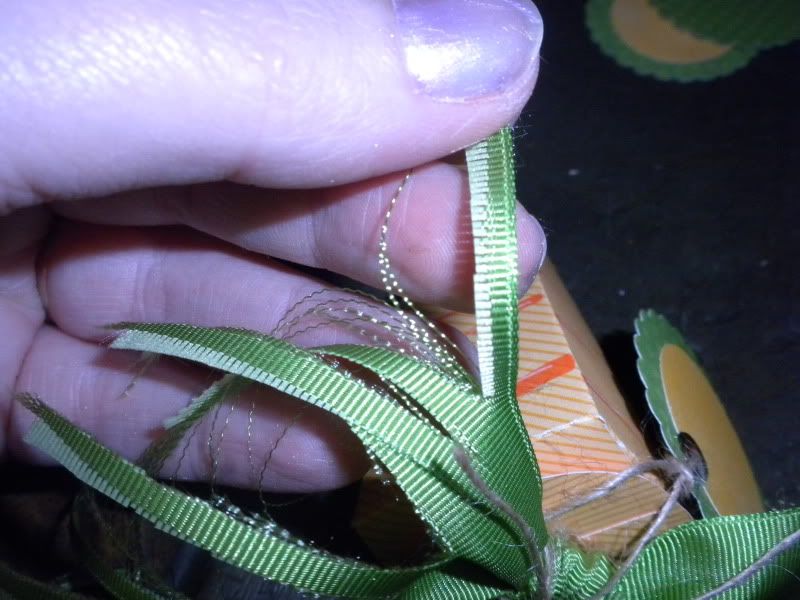
10.) if you use a grosgrain ribbon for your carrot top you can cut into fringe and then pull apart a bit to create this soft fluffy fringe.


No comments:
Post a Comment
Thank you for your feedback! We love hearing from you!