I found out while I was making these cards that paper piecing and coloring can be very relaxing. I used Lawn Fawn stamps on watercolor paper so that my coloring would be easier. Tim Holtz Distress Markers worked perfectly to color images once, then for shading I colored the area again with the same marker.
Tip: Use an Archival Ink to prevent bleeding when coloring your image.
Supplies:
Paper by Doodle Bug Design and Bo Bunny Press
Stamps - Lawn Fawn Critters in the Forest (animals and forest scene), Sophie's Sentiments (Let's Celebrate), and Bannerific (banner and birds)
Pop Up Adhesive
Quickie Glue Pen
Ranger's Archival Ink in Black
Directions:
See how I pieced the card together right here!
Would you like to design for Craft Warehouse? Who we are looking for: Artists (including scrapbooking, pocket page scrapbooking, card
making, stamping, jewelry making, paper crafts, quilting, fiber
artists, fine artist, painter, or DIY crafter) within the contiguous
United States. Click here to find out how to apply!
Craft Warehouse is introducing Americana Decor's Chalky Finish Paint! Chalky Finish Paint is extremely easy to work with and great on
virtually any surface. It creates a white washed finish in a variety of
vintage colors on any surface plastic, metal, ceramic, glass and wood!
Watch this video to learn more about the new paint and a few tips and tricks!
Add color to your summer time get together with chalky paint on glass jars!
Directions:
Remove wire from each glass holder and wash glass.
Sponge on "Everlasting" Chalky paint to each glass holder.
Sponge on 2-3 coats allowing paint to dry between coats.
Tape off strips using painters tape. Then paint holders with red chalky paint.
Place Star Nicole Stickers on to holder and paint blue.
Once you paint 1-2 coats of the chalky paint allow to dry then peel off star stickers and painters tape.
Use a sanding block to ruff up finish a bit then replace the wire and add jute string around the top.
* Americana Decor Chalky Paint on sale for $6.88 (reg $8.99) in 29 different colors until June 22nd, 2014
Welcome back to Loom Band Wednesday! Summer is here! I am so excited for summer vacation! My favorite part about summer is the trip to the beach with family, camping, and road trips! This year I am going to keep busy while on the road! I am going to be bringing my Loom Band Organizer along with my EZ Looper! It is small enough to fit into any baggage! Plus, I love that I can stop in the middle of a bracelet if I have to and pick right up where I left off later.
There are several bracelets that you can make with the EZ Looper, but today, I am sharing how to make the four peg bracelet! Watch this very easy to understand video; it is perfect for a beginner, no matter the age!
Thank you for entering last week's giveaway! The random winner of the Loom Magic Xtreme! Book is Amanda Wilcox! Email me at jenevans at craftwarehouse dot com to claim your prize!
* Loom Band Organizer 2 for $5 (reg $3.99) and EZ Looper 2 for $5 (reg $3.99) on sale until June 22nd, 2014
Craft Warehouse is introducing Americana Decor's Chalky Finish Paint! Chalky Finish Paint is extremely easy to work with and great on
virtually any surface. It creates a white washed finish in a variety of
vintage colors on any surface plastic, metal, ceramic, glass and wood!
Have you inherited an old side table and it doesn’t match your décor? Chalky finish it! No priming or prep work needed!
Before
After
Table Make Over Directions:
Clean your surface with damp cloth, then let dry.
Paint 2-3 coats of your favorite Chalky finish (Refreshing) was the color I used on the table.
Let your first color dry over night. This will help it cure before you place the second color on your surface.
Tape off the top of your end table using painters tape. Then lightly paint white chalky paint on the drawer and striped on the top of the end table.
You may need to apply 2-3 coats. Once completely dry take off painters tape and sand areas to allow the finish to come through.
Last give it a coat or 2 of the crème wax this will give it a protected coat.
Once dry buff the surface.
Watch this video to learn more about the new paint and a few tips and tricks!
Join us tomorrow for even more Chalky Paint inspiration!
* Americana Decor Chalky Paint on sale for $6.88 (reg $8.99) in 29 different colors until June 22nd, 2014
Come on.... isn't this cupcake button super cute!? I love that you can take any fun decorative button to customize a simple no loom basic bracelet. I have shown how in today's Rubber Band Bracelet Tutorial!
To create a simple basic no loom rubber band bracelet, watch this tutorial.
Now, I have created a tutorial that shows you how to create this fun Oh So Sweet bracelet using decorative buttons, like this cupcake.
If you don't want to miss out on more tutorials like these, subscribe to our YouTube page so that you can get updates!
When I went into my local Craft Warehouse, I met up with my rubber band bracelet buddy, Brietta, who creates all the store samples and does free demos. She shows me all her newest creations and there are times where she is seriously inventive.
It was this bracelet that got me totally excited! She used Perler Beads on a regular Fish Tail bracelet and because the beads are flatter, it shaped the bracelet into its own new look!
So, with her permission, I got to creating this fun bracelet!
Supplies:
Two Nail Loom Kit (you can also create this bracelet without a loom by using two pencils or your fingers!)
Black Loom Bands
Rainbow Perler Beads (right out of the package)
Directions:
Watch this tutorial video to see how to create this bracelet!
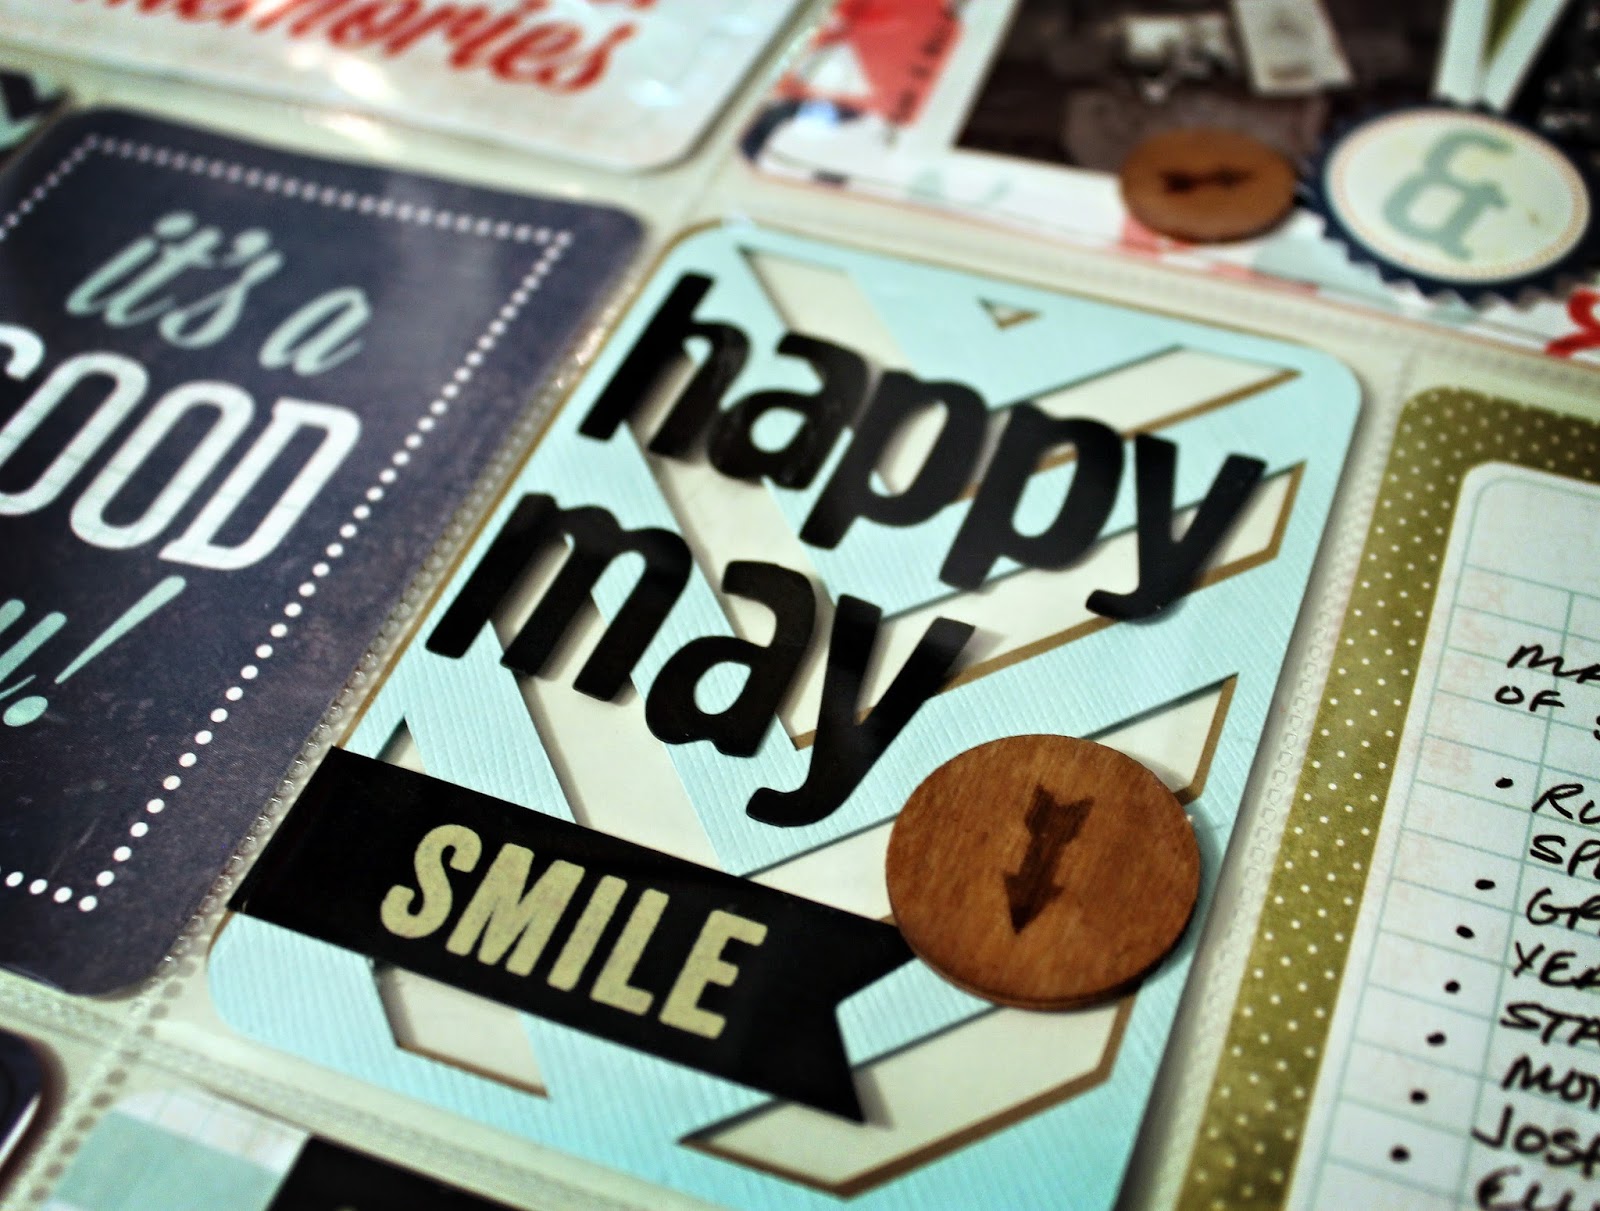
Hi, my name is Elizabeth Wiederspohn and I am very excited to design for
Craft Warehouse! Today I get to share a new passion of mine with
you-pocket scrapbooking. Many people know it as Project
Life, Project 12 , Photo Freedom, Snap, or many other types of page protector types of
scrapbooking out there. Crafters love this method of scrapbooking
for the simplicity of telling their stories. Not just a page of
one event but of many different everyday moments and of course the
special events as well. This creates, in one simple place, the
story of your life. In one two page spread you can scrapbook seven
to 15 different stories and it is so easy to put together.
Over the last few months I have collected many types of pocket page
protectors. Each have a different layout of how you can arrange
photos on the page and embellishments. I am hooked. I have
created a Disney Album using this method as well as a December Daily
Album using this method. There are no limits to what you can do
with this type of scrapbooking. Now add all the wonderful
companies that are now selling specialty kits and papers to fit these
pocket page protectors and we have magic.
Today I am working with the Echo Park: Volume One Photo Freedom
papers. They are adorable. I love all the sayings and the
bold colors. I sat down one evening and cut out all the cards
while watching a TV show and I was amazed at how much was in a
kit.
Along with the cards they also include five different types of page
protectors. It's everything you need to get started and I
have have
laid it out for you in my video in four easy steps.
Supplies Used:
Echo Park-Volume One Photo Freedom Pack
Studio Calico-Wood Veneer Atlantic Burnished Circles
Pebbles-Lakeside Chalkboard ABC Stickers
Pebbles-Lakeside Chalkboard Stickers
Silhouette-diecutting machine
"Life Cards" Cutting Files from silhouetteonlinestore.com
by Lori Whitlock
"Be Cool Stay Cool" Cutting Files from silhouetteonlinestore.com
by Loni Leah
Tombo Mono Multiglue
ATG Scotch Adhesive
3D Foam Adhesive
To
show you how to put together a Photo Freedom page, in four easy steps,
I made a quick video. Be prepared
to move fast. There was a lot of information to
include. Enjoy and I hope you have fun.
Do you have a
great idea to share with us? Would you like to design for Craft Warehouse?
We would love to hear from you! Send an email with your name, blog
address, and a sample of your work to jenevans at craftwarehouse dot
com.
Tim Holtz Distress Inks, Stains, and Markers are a collection of acid-free, non-toxic, fade resistant, water-based dye inks, stains, and markers. They're perfect for the new vintage, stained, aged effect crafters are creating in their altered books, scrapbook pages, cards and paper craft projects.
Tim selected the colors and helped develop these inks to produce a realistic, weathered look on paper, photos and decorative fibers. All the colorful Distress Inks afford added versatility when photo tinting and color layering with the original, award winning tones.
Hi, my name is Elizabeth Wiederspohn and I am thrilled to design for
Craft Warehouse! I love Craft Warehouse. They not only sell
crafting products but they sell inspiration that sparks my
creativity. Just walking into their store is a wonderful
experience for me.
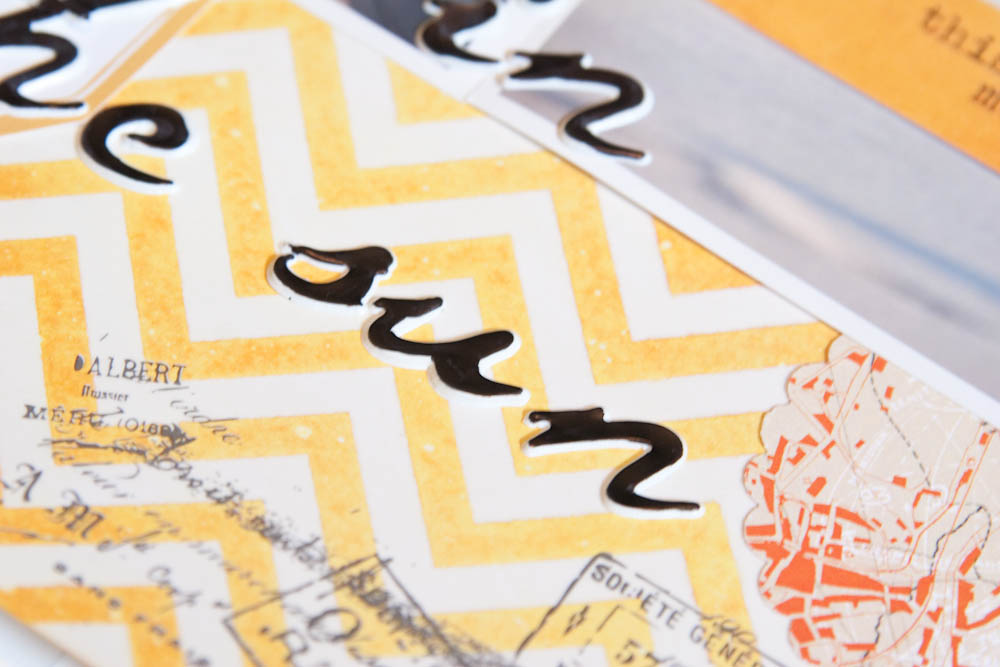
I am excited to show you my Craft Warehouse inspired mini book
today. This project was a ton of fun. I had a blast spraying
and staining Heidi Swapp Color Magic papers and Banner Delights with all
sorts of Studio Calico Mister Huey's Sprays and Tim Holtz DistressStains. There is nothing like being able to create your project
not only in design but being able to style and dye your own paper to go
with it. I also used the Canvas Corp 6x6 Stitched Book. It's
thick canvas pages and the design of the book was so much fun to alter
and play with. I enjoyed this project from start to finish.
Supplies Used:
Canvas Corp 6x6 Stitched Book
Heidi Swapp Color Magic Paper& Banner Delights
Studio Calico Mister Huey's Sprays-Sunshine, Pinstripe,& Plum
Thumb
Studio Calico Mister Huey's Mask-Chevron
Tim Holtz Distress Stains-Fired Brick&Wild Honey
Doodlebug Red Envelope
My Mind's Eye and Queen& Co. Washi Tapes
Lawn Fawn Stamps-Jessie's ABC's
We Are Memory Keepers Black& White Baker's Twine
K& Company SMASH Label Maker
Ribbon
Cardstock
Toothpicks
E-6000
ATG Adhesive
Three Dimensional Adhesive
To show you how I put together my album I made a quick video. Be
prepared to move fast. There was a lot of information to
include. Enjoy!
Ok, it has to be said. Heidi Swapp is a genius. She really is. If you follow her Creative Channel, you would have seen her use her Color Magic Paper with Mister Huey's mists and window cleaner. Yes, you read that right. Window. Cleaner.
I really wanted to try this out. The cleaner wipes the resist on the paper off so that you get a whiter resist. The paper can hold the moisture because it is thicker almost like thick cardstock. It doesn't warp like thinner resist papers.
This was so much fun! In fact, you can see below, how much!