


 Happy Labor Day! When a friend came over with a thank you gift for us, I knew I had to
share it! He brought over a bottle of homemade Bailey's Irish and Creme.
Oh. my. dearie. The bottle is what got me (hey, blame the crafter in me)! It was a snap lid bottle and I thought right away of Craft Warehouse's snap bottles and got excited about the kind of gifts I could give this fall! Craft Warehouse carries these 12" beautiful clear bottles so you can see what is inside. They also make the best backdrop for a belly band, label, or tag and are food safe!
Happy Labor Day! When a friend came over with a thank you gift for us, I knew I had to
share it! He brought over a bottle of homemade Bailey's Irish and Creme.
Oh. my. dearie. The bottle is what got me (hey, blame the crafter in me)! It was a snap lid bottle and I thought right away of Craft Warehouse's snap bottles and got excited about the kind of gifts I could give this fall! Craft Warehouse carries these 12" beautiful clear bottles so you can see what is inside. They also make the best backdrop for a belly band, label, or tag and are food safe!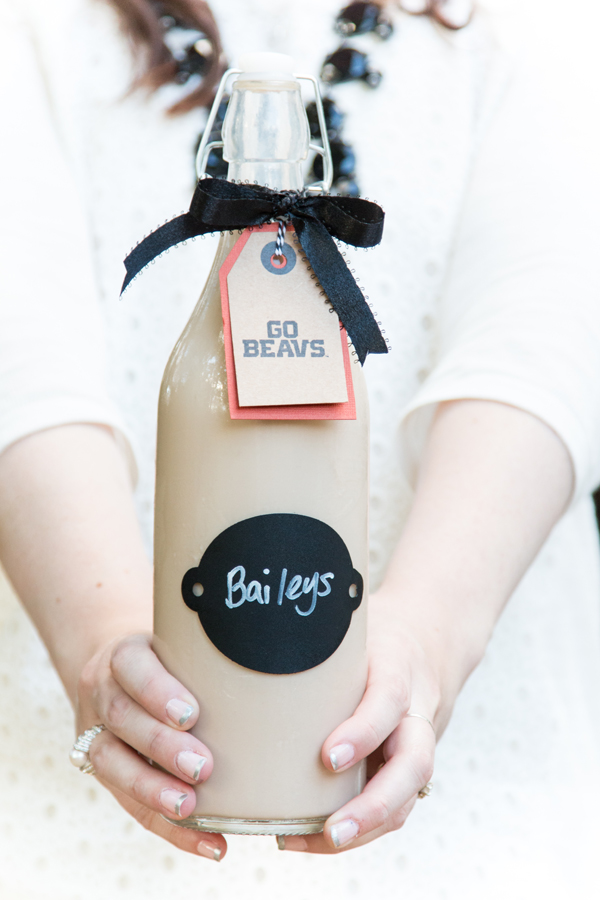
Homemade Bailey's Irish and Creme
2 cups of whiskey
2 cups of vodka
2 Tbsp instant coffee
2 Tbsp chocolate syrup
2 cans sweet condensed milk
2 cups heavy cream (can use 1% fat free milk)
In a large stock pot, combine ingredients and then carefully pour into bottle. Refrigerate. This recipe can fill one bottle with a little extra for you to drink at home.
Here is a Vegan Non Alcoholic version I found to share.
Decorate the Bottle
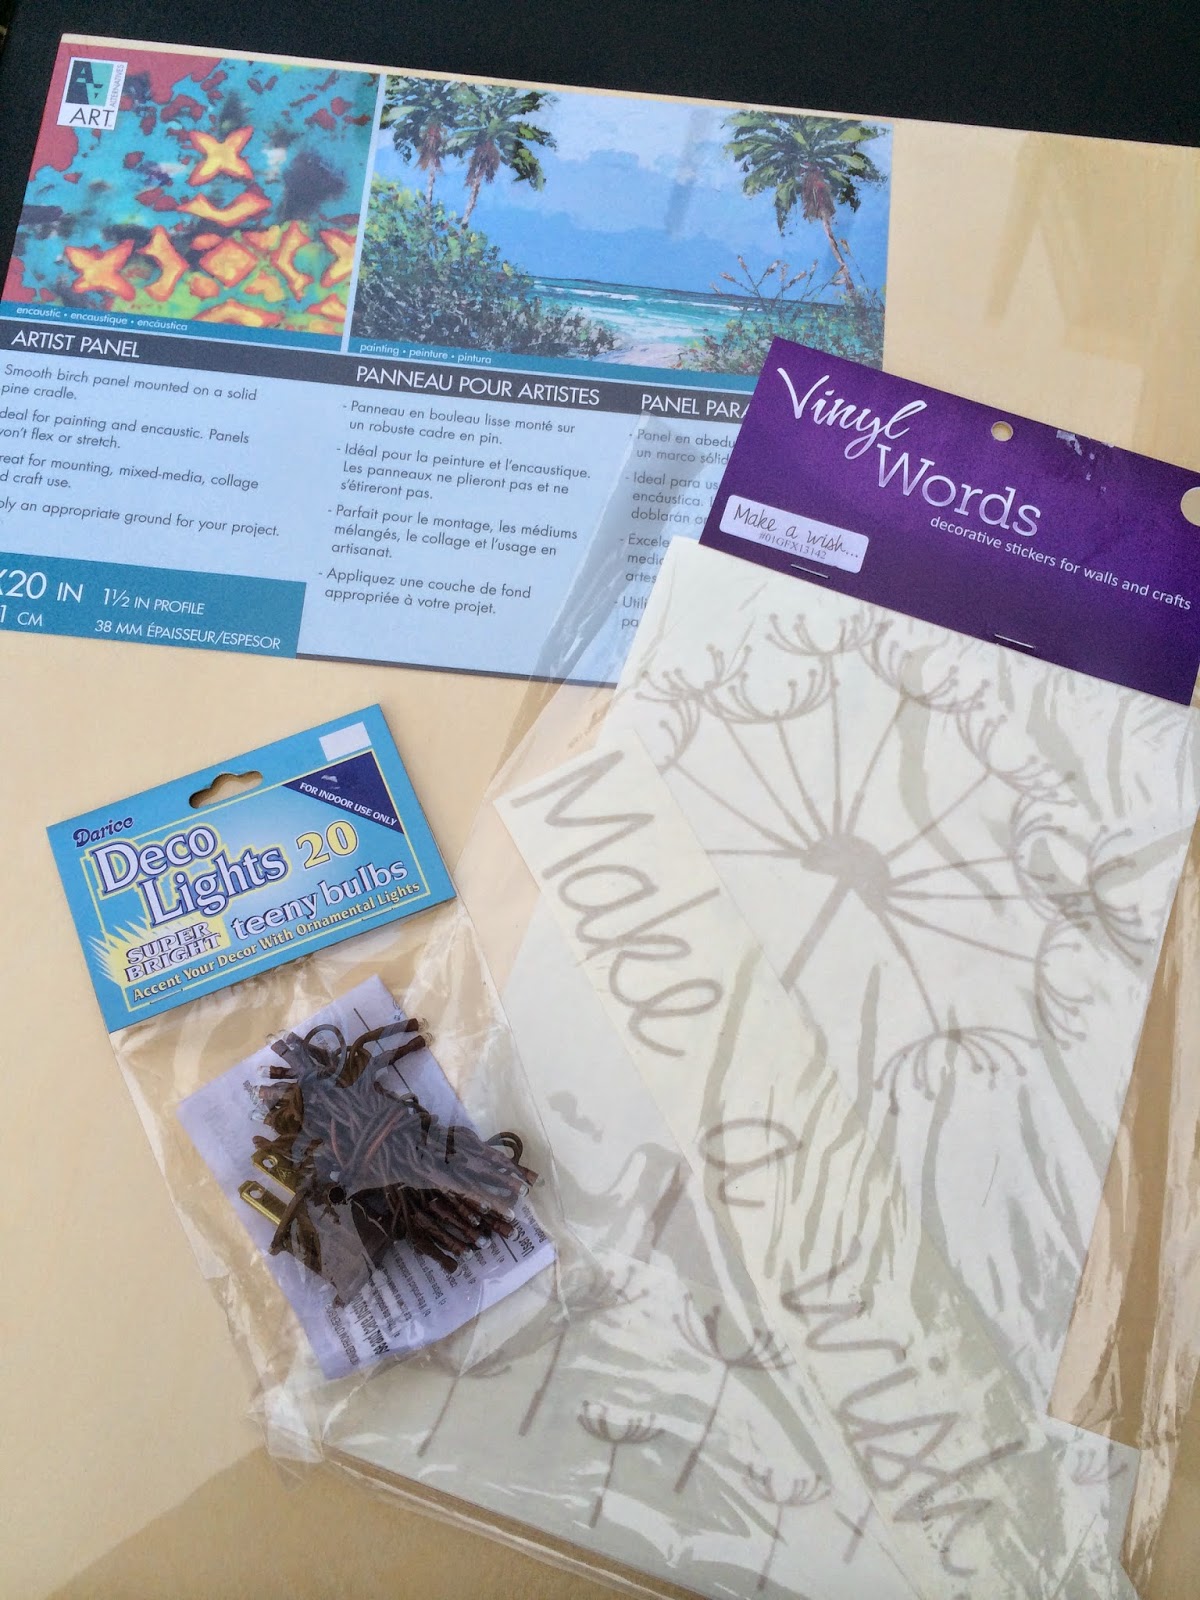
Supplies:
1 12" Snap Lid Bottle
WeRMemory Keepers Homemade Die Cut Set
Chalkboard Sticky Back Paper
American Crafts Ribbon and Twine
Card Stock
Bistro Chalkboard Marker
Clear Snap Color Box Rubber Stamps (available in NW teams)
Kraft Tag
Ranger Ink Archival Black Ink
Sizzix Big Shot Die Cutting Machine
Directions:
1. Stamp image on to tag. Mat the tag by cutting card stock a little larger than the tag and keep together. Punch a hole in the card stock at the same place the tag's hole is in.
2. Tie bow to the top of the bottle. Run twine through the tag and tie to the back of the bottle and let the tag hang in front.
3. Die cut the label from the chalkboard sticky back paper. Use the marker to write on the chalk board paper. (Or use pre-cut chalkboard labels *)
4. Place the label on the jar making sure the jar is dry before applying.
Give and drink!
* Removable Chalkboard Labels 50% off regular prices (reg. $4.99) until September 21st, 2014


