Showing posts with label tattered angels. Show all posts

Saturday, November 26, 2011

Card Making with Design Team Member Amanda Sherman

PhotobucketHi!  I’m Amanda, one of the Design Team members.  Sometimes I think there are funny twists in life.  I started scrapbooking after some failed attempts at card making. 

However, once I had a photo and story in hand to tell, the world of paper to me was completely changed and I embraced it and am now a full fledged addict.  (Yes, I’ll admit it, but I’m certainly not changing it!)

Well, now I find it ironic because I’ve struggled with cards after I took up scrapbooking.  Wait, maybe I never actually grasped cards in the first place.  At any rate, I’ve found there is a whole new world of paper products out there that make cards a bit easier. 

You see, they are 6x6 paper stacks.  Yes, really!!  I know, you’ve probably seen them at least a dozen times at Craft Warehouse.  I stayed away from them for a long time because the pattern scaled to 25% of the 12x12 size never did much for me.  Until I realized two things.  First, I can make a card out of a sheet of paper and not feel guilty for cutting a new 12x12 sheet.  Secondly, the print scale really is much better for cards.  AND if you want to make 6x6 cards (additional postage required), the hard part is done for you!!

Recently I embraced this whole thought process as I set out to make a card for my Mother in Law.  I kept the sentiment simple (well, non-existent) because I wanted it to be completely visual yumminess.  And not really knowing how the end result was going to be when I stared, I ended up having this divine card that I must say is one of my very favorite cards I’ve ever made.

lovejoypaper card
01

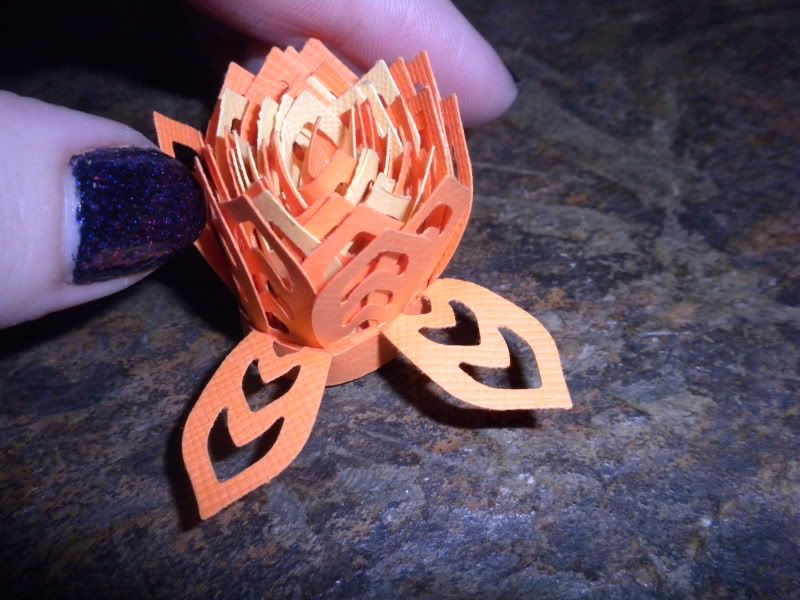
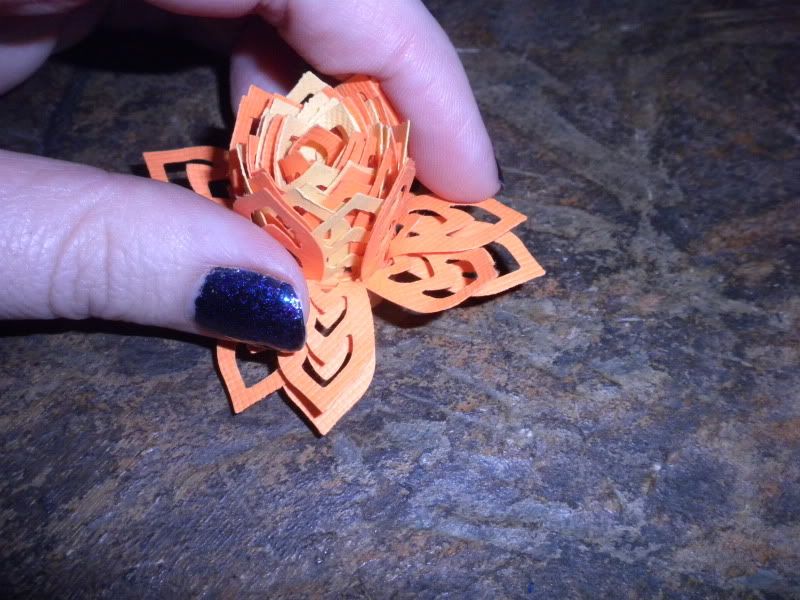
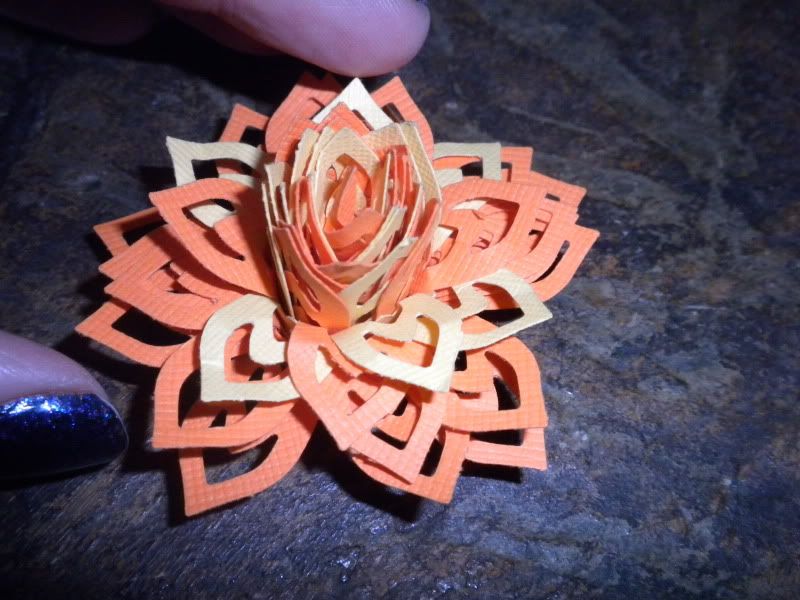
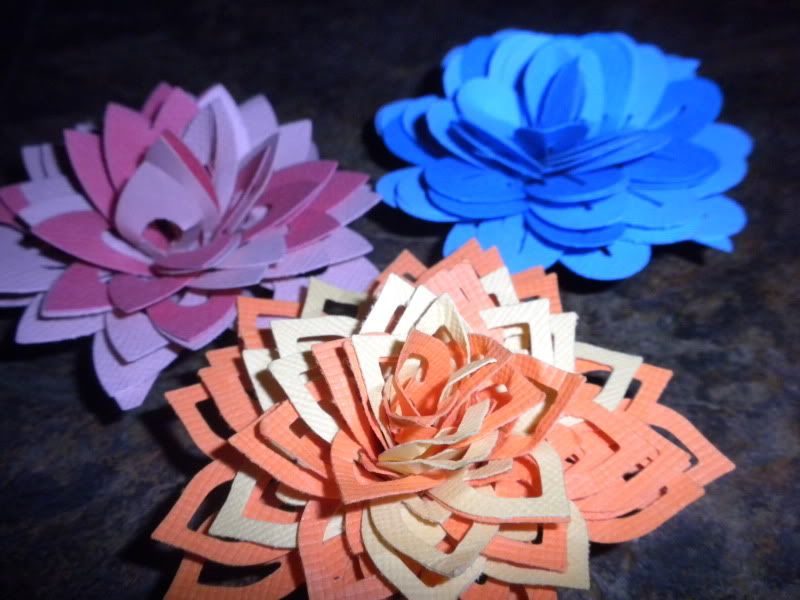
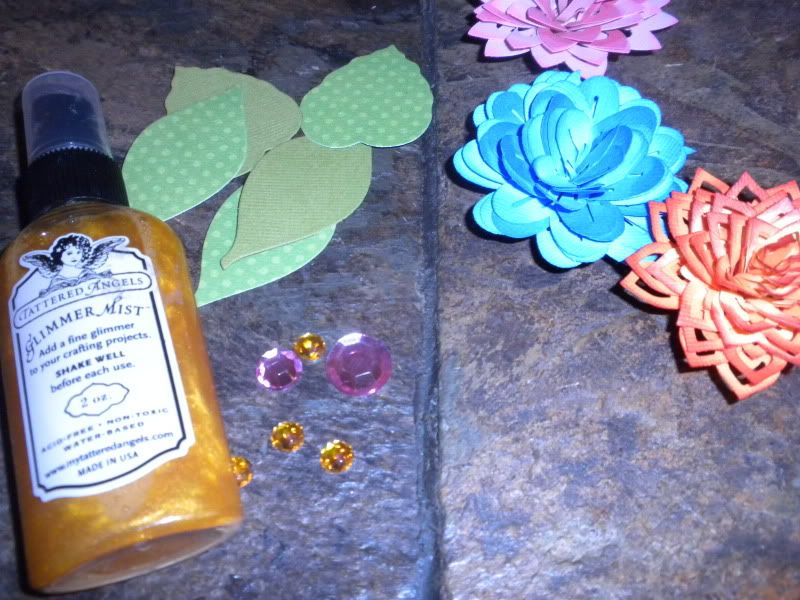
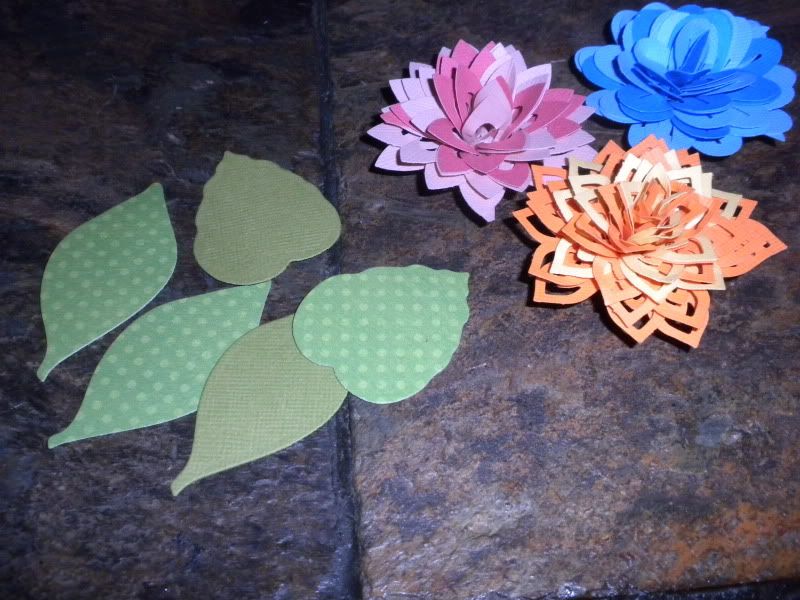
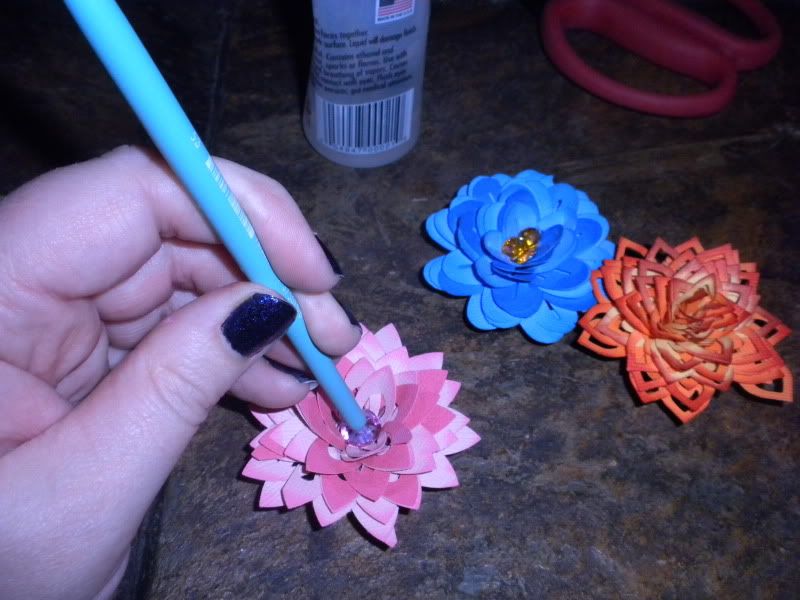
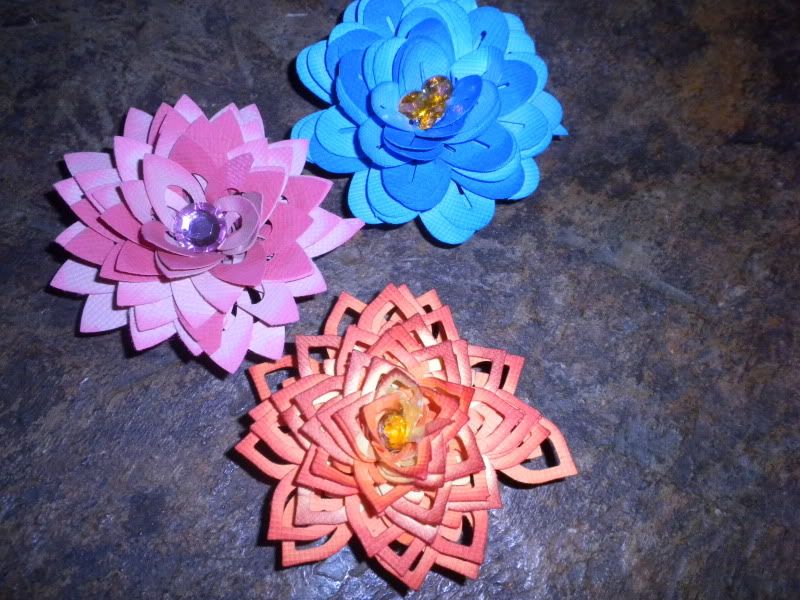
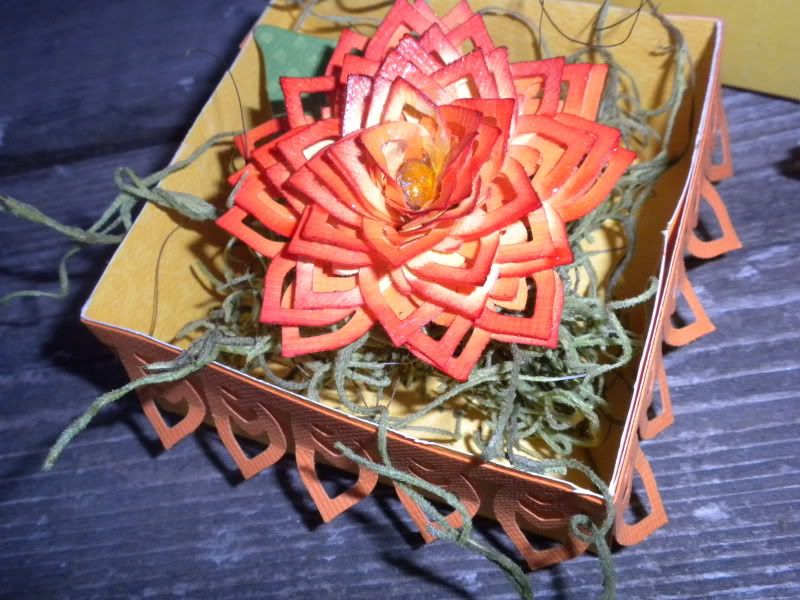
For the handmade embellishment, layer two pieces of tissue paper over matching cardstock.  Die cut the layers together.  Then hand stitch & spray with a Glimmer Mist for the final touch!  It makes the tissue crinkle and adds shimmer at the same time.  A definite handmade touch.

Supplies:  My Minds Eye Lost & Found Two (paper & trims), Glimmer Mist, misc (floss & button), brown ink

Friday, September 2, 2011

3-D flower punches- a tutorial

Handmade flower punches made EASY with the fun new punches from EK Success.


We've just received these amazing 3-d flower punches from EK Success.
wanted to share with you how to use them!

There are 4 punches to choose from. They all work just like any other edge punch.

you need 12" paper to create your flowers. I'm using 2 colors of cardstock,
but a double sided pattern paper would be fun too!

punch 3 12" strips with whichever flower petal punch you like.
- for mine, I punched 2 of 1 color, and 1 of another color.


Other supplies you'll need:
strong adhesive. I'm using red line tape, but a liquid glue would also work,
might just take a bit longer.

to enhance the flower more I used:
ink pad in similar color to flower
foam blending tool (or a makeup sponge)
glimmer mist (i used gold)
pearls, beads, or rhinestones to make flower centers
die cut leaves (or hand cut your own) from green cardstock/paper


How to:
Punch a total of 3 12" strips
apply glue to the FRONT side, or pretty side of one of the punched strips.
They all have a 1/4" solid strip at the bottom so it's easy to apply glue just along this edge.


now lay a second punched 12" strip on top of the one you just added glue to- be sure to OFFSET this
second strip so the petals are alternating- you don't want them stacking up on top of each other.
Again- this should be pretty side up.


now apply glue to the narrow 1/4" strip on this layered stack-
you are apply the glue to the pretty side.

now start rolling! just coil up the layered strip, using the straight edge as your guide.
keep quilling all the way to the end of the strip


now apply glue to the narrow strip of the last punched out 12" strip.
apply glue to the pretty side!
now wrap this around your double layered coiled flower.


(doing the 3rd and final layer on it's own allows you to be more fussy about where the petals
fall so you can pleat or cut off and start again where you like so your petals don't all stack.
if the petals stack on top of one another your flower wont be as symmetrical.)


now, it's time to 'bloom' your flower. gently peel back one petal at a time, kind of like
peeling a banana. Keep going all the way around and around until you have your flower
fully bloomed.


you can stop now- cause it's really pretty as is.


But to enhance these flowers....


apply stamping ink in similar color with foam applicator. just rub the ink on the
edges of the petals.


glue a die cut or hand cut leaf to the bottom of the flower


apply a gemstone or pearl to center of flower. I used the end of a paint brush
to force the gemstone into the center.


give it a fine misting of glimmer mist for a fresh dewey sparkly look!

nestle in a box filled with faux moss.


Tuesday, June 21, 2011

Mini Shadow box with a twist...

Loving the new My Minds Eye new collection!


Each frame comes unfinished and measures about 5x7. They are little mini shadow boxes!


On the boy frame I sprayed it with Tattered Angels "Jupiter" spray mist.


On the girl frame I used Tattered Angel "Key Lime Pie" Mist spray. I love using the sprays on unfinished wood because it gives you such a brilliant color!


Wednesday, June 8, 2011

Just a sneak peek of what you can do with Crafters Workshop Stencils...


All models arriving in our stores next week...


"Family...the friends you meet along the way" was created by painting the base with acrylic paint. Then I placed the stencil over my frame. Then placed molding paste over the top of my stencil. After it was about 3cm high I lifted up my stencil and it left the design on my frame. Once the molding paste dried I painted it with white acrylic paint and attached my vinyl words.


This canvas I used the same technique as the 12 x12 frame. once the molding paste was dry I used tattered angel spray to give it the blue finish and the used Tim Holtz distressed ink.


This canvas was also the same technique with the molding paste. Then Sprayed it with Tattered Angel Sprays (Jazz Blue, Midnight Blue, Moonlight & Denim Blue) Last I added some flowers from our scrap booking department.


This was made by sanding down my canvas to remove and clear finish. Then I placed the stencil over the top and sprayed it with all different Tattered Angel sprays.


I started out with our already made canvas bags. Then placed the stencil over the top and stenciled the design on to the bag using Acrylic paint. To make the flowers I used my new favorite item called Glubers!


I love how this Shadow box turned out. It was so simple to Engrave on the glass using an engraving tool by Darice! It's battery operated and is safe for kids to use. It's hard to see in the picture but I took the glass out of this 8x8 shadow box and etched the clock stencil on the glass. It give it a 3-dimensional look....

This was created by appling molding paste to burlap...


Here again just stenciling on molding paste. After it's dry you can color it with ink pads.


Thursday, May 26, 2011

Mix media memory keeper


Why put your family picture in a frame when you can create a home for it?


I started out with a simple 8x8 pine box and painted it black with acyclic paint.


Then I took sand paper and distressed the edges.


I added an antique handle that we just received in scrap booking by Tim Holtz.


I love these curio knobs! I'm putting them on everything.


To make the "our" pendant. I cut 6 pendants and then sewed them together so that the fabric is double sided. Then I stenciled on the letters using Tim Holtz Distressed Ink. I also distressed the pendents. Next I spray painted the mini clothespins in black. Using jute twine and tacks I tacked up the pendant. Brads were placed in each corner of the photo and glued into the box.

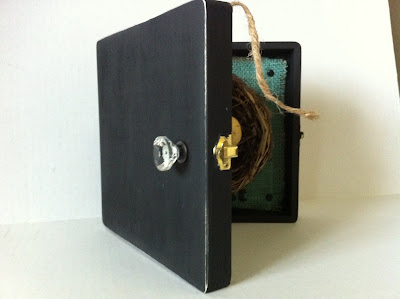
On this side of the box I cut a piece of burlap 71/2" x 71/2" when I used the Tattered Angels spray (Jazz Blue) to give it the bright blue color.


After the burlap dried I added 4 black brads to each corner and glue it into the box using E6000 glue. I used Thickers stickers to spell out nest and glued my nest in with E6000.


There you have it a home for you treasured photo!


LinkWithin

Related Posts Plugin for WordPress, Blogger...
Blogging tips