Showing posts with label smash. Show all posts

Thursday, June 6, 2013

Travel Mini Smash Book by Guest Designer Rebecca Grinder


When we saw this mini travel Smash Book by Rebecca Grinder, we had to ask her to share it on our blog! It is the perfect idea for those traveling this summer! Create a fun 3D Smash Book for your kids to keep themselves busy in the back seat. I will let you see how Rebecca filled it with items from the Smash Book Retro Grab Bag!


How fun would it be to get a travel mini game book to play with while on a summer road trip? 


The pages are already printed inside this Smash 3D Mini Folio, all I had to do is fill them up with fun things that will keep your kids busy! You can see what the inside of this album looks like by watching the video below (the 3D Folio is at the 1 minute mark).


Using the Smash Activity Pad, I created a game of Tic Tac Toe page for hours of fun.


I also added a pocket to add more pages from the Activity Pad. I love how the Mini Folio also has a pen already on the side of the book so that there is a quick pen at reach!


The Mini Folios still can be used for scrapbooking and smashing! After your trip, print photos of your travels and just add them into the book with hole punches and twine.


There is plenty of room in the book for your little artist or doodler too!


I printed out fun ideas off the internet, like this fun pop up shark! The kids can make it...

Then, I just used some Smash Tape along the edge of the shark to add it to a page to enjoy later!


For even more fun, the Retro Grab Bag has this fun Magic Mustache! Remember these?!

I printed a blank Travel Bingo from the internet. You could add your own images or words in the squares and let them put the Retro Grab Bag scrabble letters on the places as they find them. Gluing the little bingo board to a small magnet sheet and then adding magnets to the back of the scrabble pieces would keep the pieces from shifting in the car.

Lastly, I added a clear pocket in the back to keep the 3D glasses that comes with the folio. Unfortunately, when you open the album and remove the glasses from the book, there is no way to "put them away". So, make sure you add a little pocket to the book so that your little ones have a place to put them when they are finished looking at all the 3D pages inside the album!

Rebecca Grinder is on our 2012-2013 Craft Warehouse Guest Design Team! Do you have a great idea to share with us? Would you like to design for Craft Warehouse? We would love to hear from you! To apply for our Craft Warehouse 2013-2014 Design Team, click here

Tuesday, July 24, 2012

Creating With Heidi Swapp Memory Files

I love Heidi Swapp's concept behind Memory Files. I have several piles of lovely photos sitting waiting to be scrapbooked but have never made my pages yet. Why not?

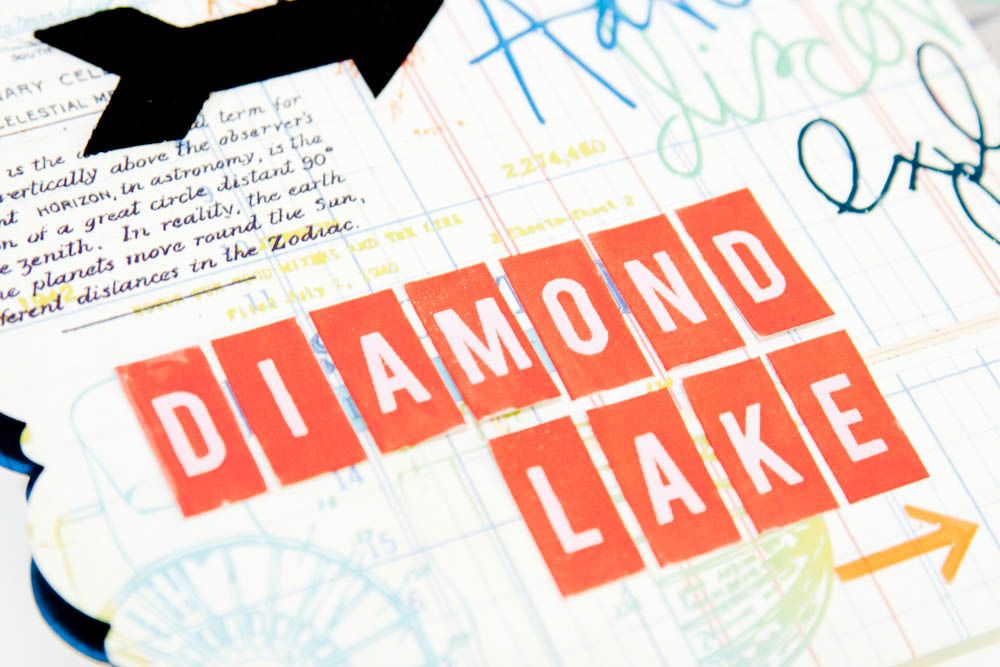
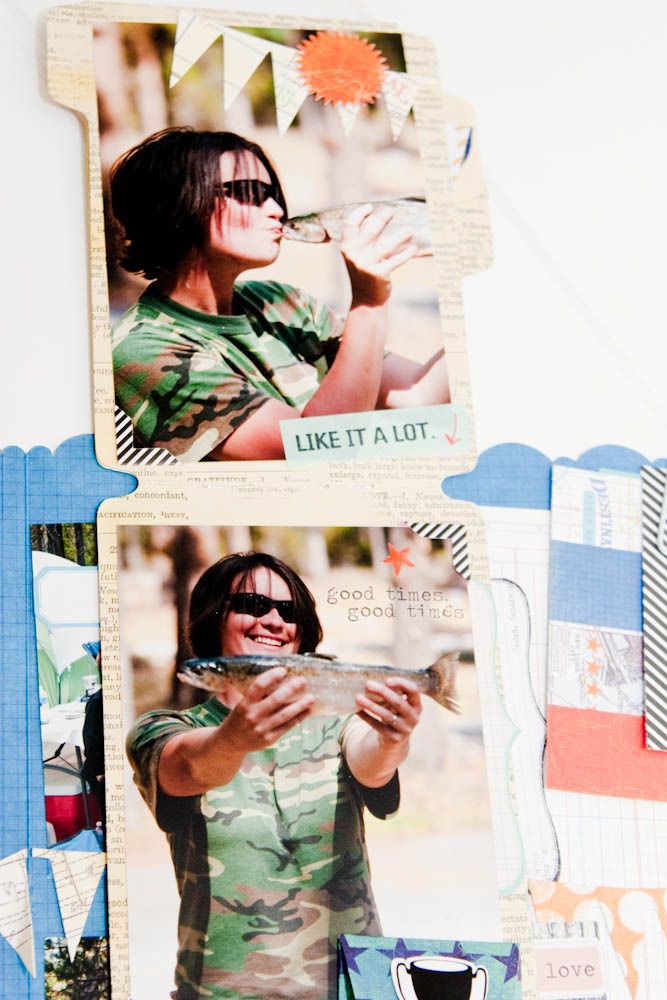
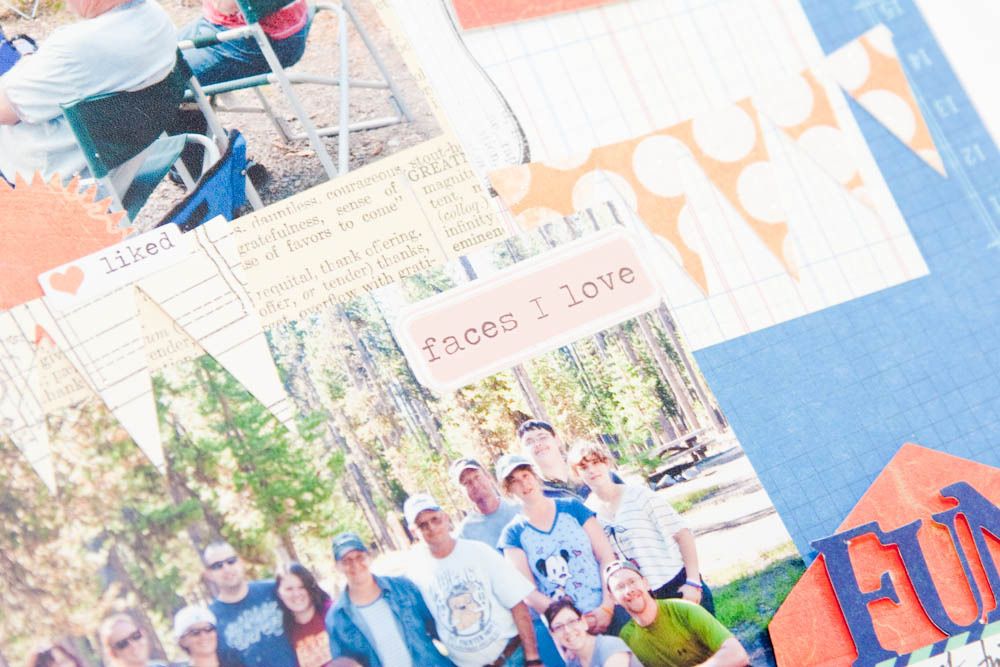
For example, take last year's camping trip. We spent almost a week of taking amazing photos. There were so many with so many stories to tell that I just couldn't get very many on even a double page spread. I didn't have a lot of the right sized photos that worked with a page and honestly, didn't find paper that would go with so many different photos.


So, they just sat. 

Until now...


It is even better than a Smash book because your file is just that. A file. You're done when you say it is. You can make it as many pages as you like. Or keep it a single file like I did.


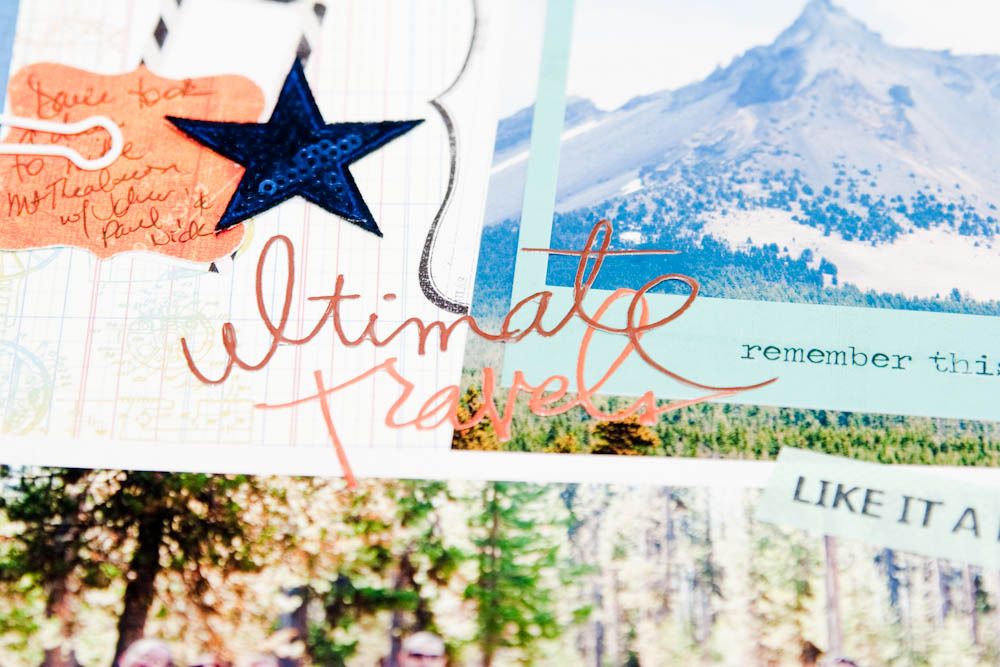
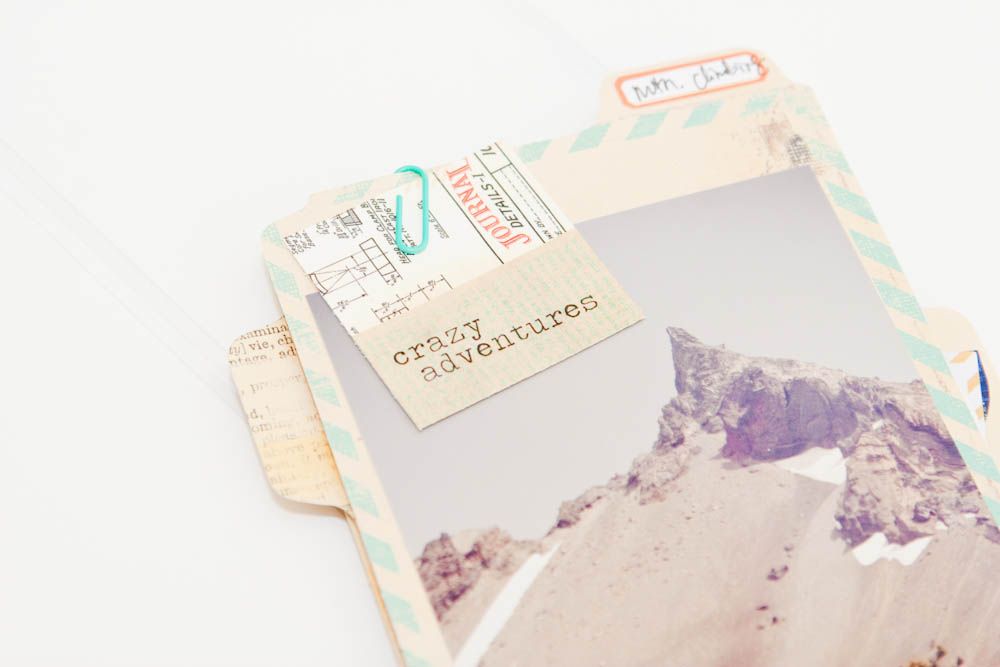
My husband took a day to climb that mountain, so I knew I was adding those photos! The Instaframes make it pop off the file!


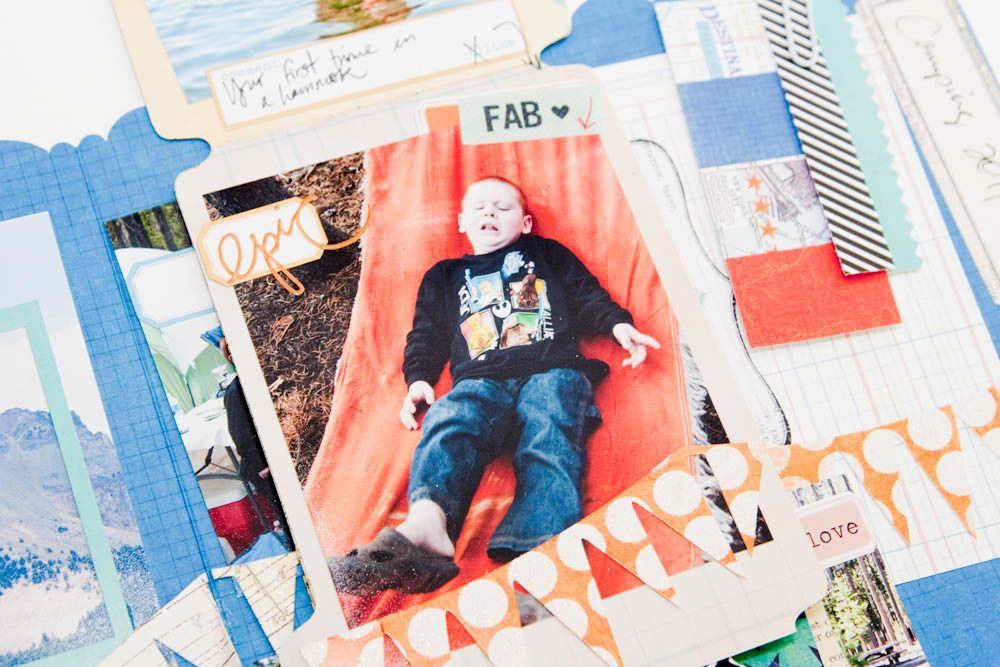
This photo is priceless... but I knew I couldn't do a whole spread on my son's reaction to sitting in a hammock for the first time. ;) This is a whole lot better.


Our family has some pretty awesome traditions. I love how I can share them in little envelopes through out the file.


I still kept my "Smash" style of adding paperclips with tags through out the file.


This was so fun! I have several piles of pictures that I will be creating more files with!

Thursday, June 21, 2012

Guest Designer Carisa Zglobicki


We are excited to launch a new blog series called, Designer Spotlight. This will be our opportunity to generously display the talent of one particular artist at a time! This week we will be featuring color artist, Carisa Zglobicki. Carissa is the owner of the new online (and soon in print) magazine, Designed to Color which is devoted to inspiring readers with techniques using different coloring mediums for stamping. Carissa also designs for Unity as a Unity TV Design Team Member, Helmar, Saturated Canary Digital Stamps, and Freckles and Pigtails. We are excited to share with you what she has created using Craft Warehouse products tomorrow, but first, asked her to share with us a little about herself.


How long have you been crafting?
3 years but I've always loved coloring. I remember filling up coloring book after coloring book as a kid and always asking for a new box of sharpened crayons. I just loved seeing all those beautiful colors & the names were awesome like atomic tangerine and blizzard blue!

What Craft Warehouse products do you love to use (and why)?
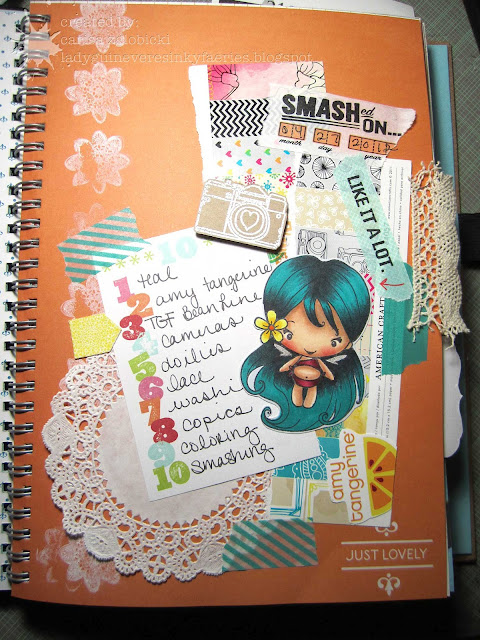
I think CW carries a lot of my favorite coloring mediums. I am also in love with Smashing recently. You can use anything to decorate a smash page, my favorite lines right now are Amy Tangerine and Studio Calico.
People email me or tell me that I color so beautifully and that they wish they could do the same. I always respond letting them know, they can!!! Just start with whatever coloring medium they like or prefer. And color something every day or at least 2 -3 times a week (I know as a mother of 3 time is precious) you'll see that as you do something you love more and more often, you'll grow by leaps and bounds in your style and ability.

Stay tuned in tomorrow, as we share Carisa's coloring tutorial!

Tuesday, June 19, 2012

Smash Books Made Easy


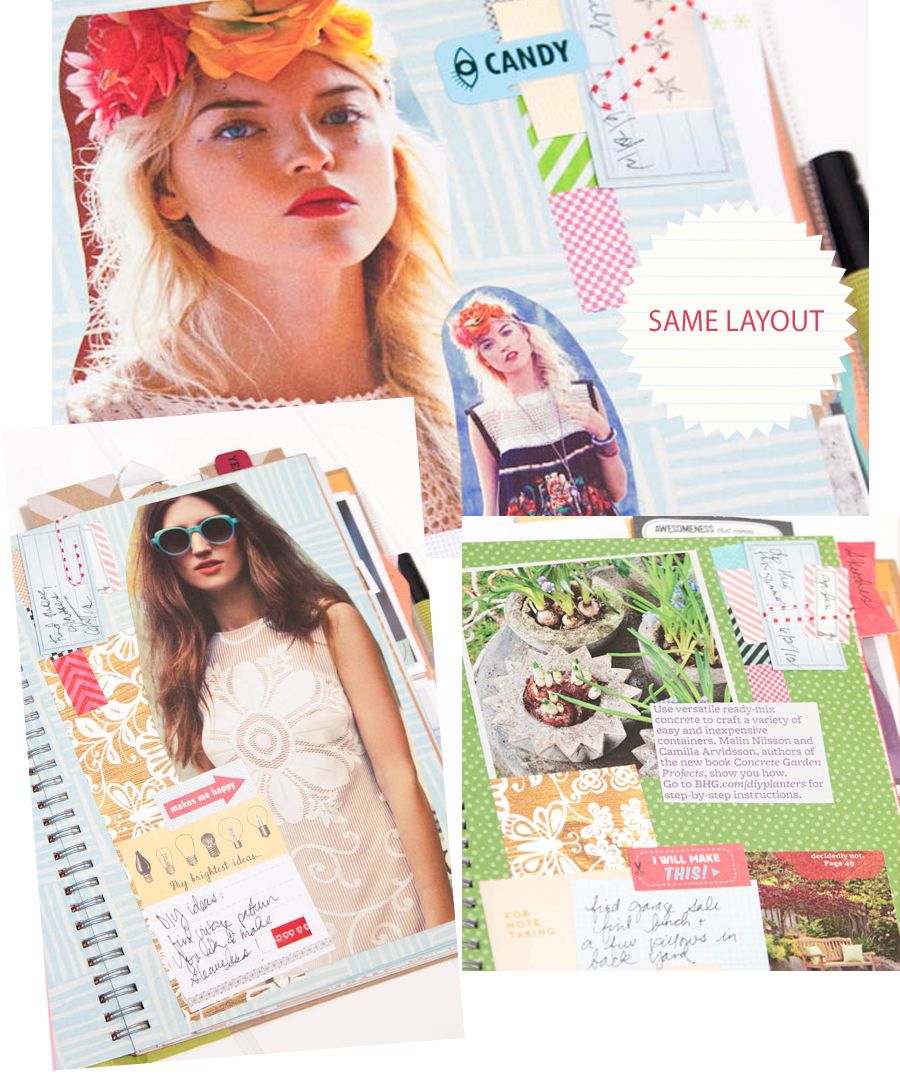
Creating Smash pages doesn't have to be hard! Like a layout? Duplicate it on another page! Using different pictures on different background pages can give it a different look entirely!

Here are some I created below. If the colors of the page didn't match the magazine clipping, I just flipped through the book and found one that did. (See below photo.)


I love using photos from my favorite inspirational magazines and catalogs, Pottery Barn, Better Homes and Gardens, Flea Market Style Magazine, and Free People. I even threw in some of my own photos from Molly Mo's Antique Faire.

Save time Smashing by recreating your favorite pages over again. You won't be able to tell they are the same design when using different photos or memorabilia.

Monday, May 21, 2012

Washi Week


Welcome to our first day of Washi Week, where we inspire you with ideas you can create with the popular washi tape! Washi tape has really become a trend in paper crafting. It is fun and easy to use.

What is washi tape? Washi is a Japanese word used in describing the way paper was originally made in Japan. The traditional washi paper is thin like that of origami paper. The name, washi, means Japanese paper. Washi paper is bold and bright with lots of color.

Washi tape is thin tissue tape that comes in bold and bright colors, like that of washi paper. It is translucent which makes it look differently depending on what background it is applied to.

How do I use washi tape? It works just like any masking or clear tape. Use pull it from the roll, cut it to size, and stick it on your surface.

What do I use it on? You can use it on any surface. It is tape, so your surface needs to be dry for the tape to stick.

Tape by Queen & Co. now at local Craft Warehouse Stores


Paper crafting artist, Kellie Winnell, can't get enough of washi tape! Kellie says, "Well to me washi tape is always that little something extra that can finish off a Smash page. I started using it late last year and it became an addiction very quickly. I also love that every washi tape I have can be lifted and reused if you stick it down and don't like it. It never tears or rips the pages. When I travel with my Smash Book, washi tape is always one of the main things I take....."

I Love Washi Tape Smash Book Page by Kellie Winnell
Mailing Artist, Cathy Vee loves using washi tape along the bottom of an envelope. Here is an envelope she just sent me last week! Cathy says, "I love Washi Tape! Who doesn't? I love the idea of semi-permanent with a boost of color, who ever thought of that is a genius. Any type of adhesive - brads or tapes - are always a favorite in my book because of my option to "play" with layouts and things without damaging my pages. Also, washi tape is great for that special "touch" for wrapping gifts, decorating cards, and sealing envelopes!"
Mail Art by Cathy Vee

Stay tuned into our blog every day this week for more inspiration with washi tape!

Friday, April 27, 2012

Create a Smash Page


Welcome to our blog video series called Back 2 Basics!

Let's face it, we are busy. We don't always have two hours to spend on a layout or project. Back 2 Basics will help teach those that either want to learn how to scrapbook or want quick and fast tips to help you get your project done in 30 minutes or less! Each video in the series will be less than 5 minutes long; which gives us more time to create and less time in front of the computer!

Today we have a Smash Book page to share with you! If you are new to Smash books or want to know what they are, check out this thread on our forum with the video on what it is to even more inspiration!

 
Here is the supply shopping list. Feel free to drag this to your desktop and print it off for your shopping trip to Craft Warehouse.
1. Find photos or magazine clippings to add to your page. There are no rules to Smashing... find anything you want to record to put in place of the magazine clipping I used.

2. Cut your paper 3" x 9" inches and tuck it under the magazine clipping (or photos).

3. Make tags or journaling cards from dies. I used Spellbinders' Labels Four and paper from the Smash pads. Layer them in the bottom right hand corner and add a paper clip. Then glue on a mini envelope from Studio Calico on the top tag.


4. Use Spellbinder's Blossom die by Samantha Walker and glue it down behind the tags, making sure it peeks out  from the top. You can use all these journaling spots to write notes on.


5. Cut out your paper to look like Polaroids and use foam squares to add lift.


6. Place the "Take Note" badge on the corner of one of the Polaroids.

7. Add Smash tape. Cut the end of the red Smash tape to make it look like a flag.


8. Use a "Make It" Smash tag to add to the top Polaroid.

9. Glue a Smash clip to the top of the page. This makes sure it doesn't fall off while traveling with your book.

10. Color your Studio Calico Wooden Veneers with a American Crafts Slick Writer pen. This pen will make coloring these shapes fast and easy! Use a paper piercer to hold the shape still while you color. The pen also will not smear on your pages. Glue them down on your page. I like to keep them in odd numbers.

11. Glue a bracket down from American Crafts' Thickers alphabet stickers. Also, collect the periods from the package and glue them randomly around the star veneers.

Watch the video tutorial below! Enlarge and click on high definition to watch it in the quality it was shot in.


Saturday, April 14, 2012

Back 2 Basics Video Series : Scrapbooking 101 with Authentique Paper Company

Welcome to our blog video series called Back 2 Basics!

Let's face it, we are busy. We don't always have two hours to spend on a layout or project. Back 2 Basics will help teach those that either want to learn how to scrapbook or want quick and fast tips to help you get your project done in 30 minutes or less! Each video in the series will be less than 5 minutes long; which gives us more time to create and less time in front of the computer!


Supply List -


Click on the shopping list photo and print from your browser.


Enlarge and watch it in high definition for even more detail!


1. Cut a green strip about 3"x8 1/2".

2. Cut ivory strip about 3"x4" and tuck under photo.


 3. Add border sticker. Glue photo and add another border sticker.

4. Punch photo with square punch. Glue onto cardstock to mat square photo.


5. Cut Smash tape and add to page.

6. Cut a ticket stick in half and add it to the page. Add another sticker over the raw edge.

7. Add another border sticker. Cut an 3/4 inch of stripes from paper. Cut and glue to page above and below photo.


8. Glue small photo down.

9. Punch 3 scallops from one piece of paper. Punch 3 circles from another piece of paper. Glue the scallops and use foam squares for the circles.


10. Make 3 doily punches by punching first with doily punch from cardstock. Then, punch them out with a circle punch. Use foam squares to 2 of them add them to page. Glue 1 down to the page.

11. Cut 3 flowers out of the doily. Glue them over top of the showing foam squares.


12. Cut and add ribbon.

13. Use a paper piercer with foam mat and add 3 large brads and 6 small silver ones.

14. Put foam squares behind title sticker and add any other stickers you would like to the page.

15. Add journaling and you're done!

LinkWithin

Related Posts Plugin for WordPress, Blogger...
Blogging tips