Nothings easier than picking up a package of Studio g blank cards at your local CWH to make cards for any occasion, here I'm using this "Summer Honeycomb" kit put together by Craft Warehouse.


Supplies used:
·
Studio Calico - Classic Calico: Frequency
·
Teresa Collins - Everyday Moments: Ornate Flourishes, Sentiments
·
Teresa Collins - Carolina Breeze: McKay
·
Teresa Collins - Blingage: Taylor's Clips
· American Crafts -
DIYthickers: Poolside

Additional Supplies: (that can be purchased at your local
Craft Warehouse)
·
(grey) Cardstock
·
Studio g - i·craft
Blank Cards
·
Lawn Fawn clear Stamps - Hello Friend
·
Studio Calico - Wood Veneer: Butterflies
·
Teresa Collins - Everyday Moments: Buttons
·
American Crafts - Ribbon
·
Queen & Co. - Pearls
· Vellum

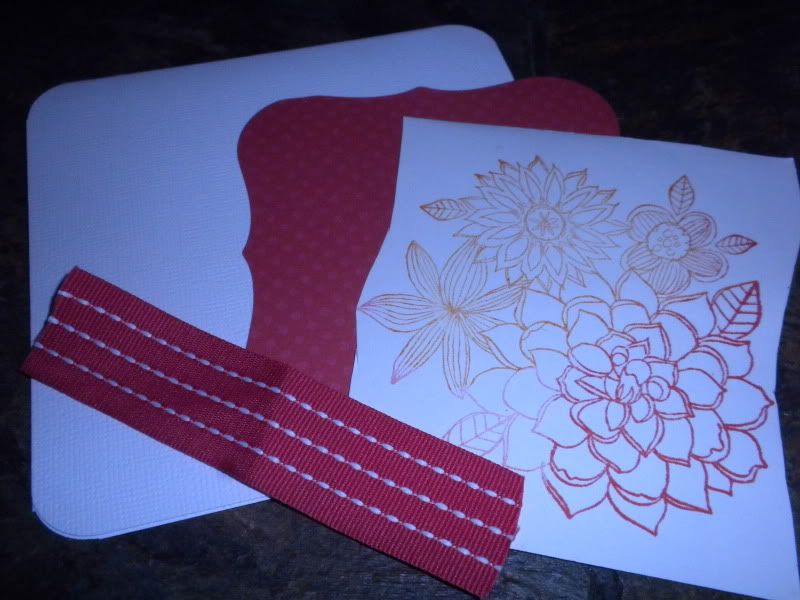
Step #1
Using a blank card from Studio g as you card base . . . trim a piece of patterned paper to 3 3/4" x 5 3/4" to use as the background on your card. Go ahead and cut (3) more this exact size to use on your other (3) cards, set aside. Using a corner rounder, round all four corners.

Step #2
Decide on the sizes of circles you wish to use on your cards, cut and emboss using Spellbinders die templates.

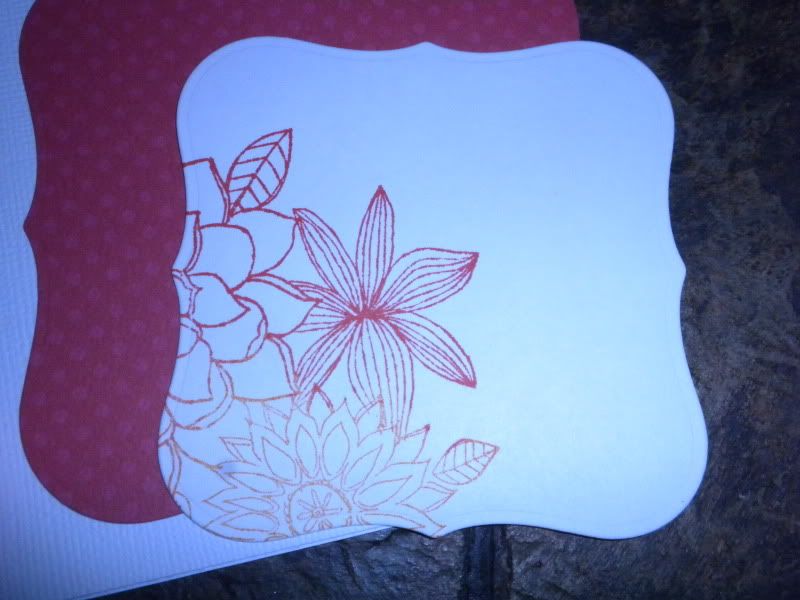
Step #3
Trim a coordinating piece of patterned paper to 2 x 4", round the two bottom corners.


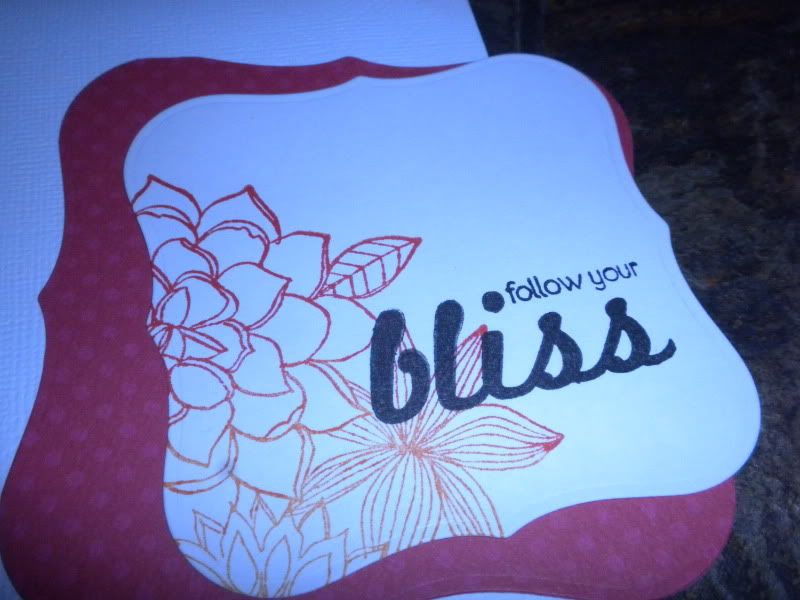
Step #4
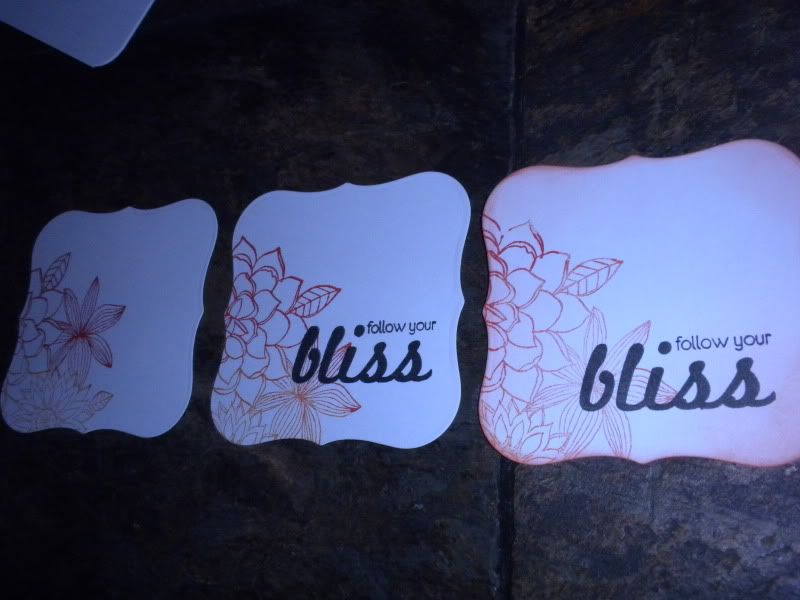
Choose and stamp a sentiment using one of the Lawn Fawn sentiment stamps, cut and emboss using a Spellbinders circle die template.

Cut from several different patterned paper some banners varying in lengths.

Step #5
Take on the Teresa Collins - Taylor's Clips and pop off the rhinestone.

Step #6
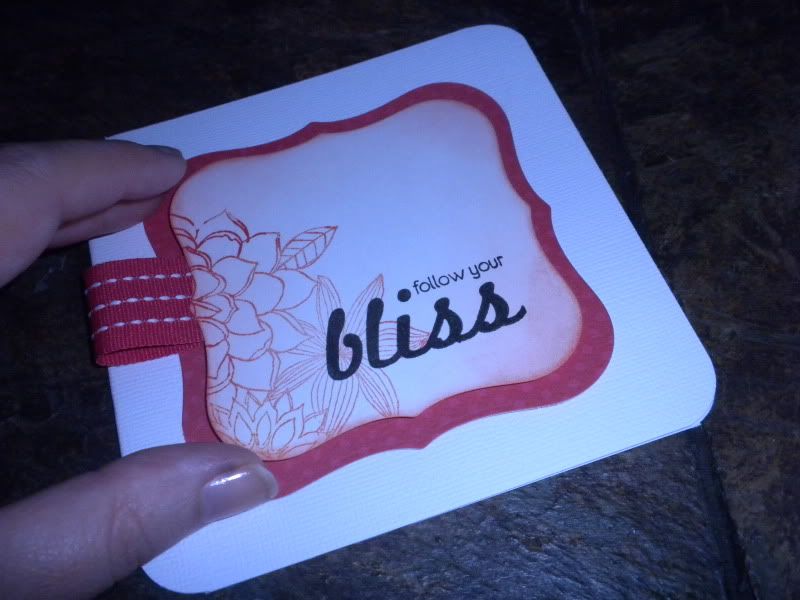
Arrange all the little pieces of cut patterned papers and attach the rhinestone to the center of a wood veneer butterfly using a 3-D pop dot.

For your remaining cards . . .


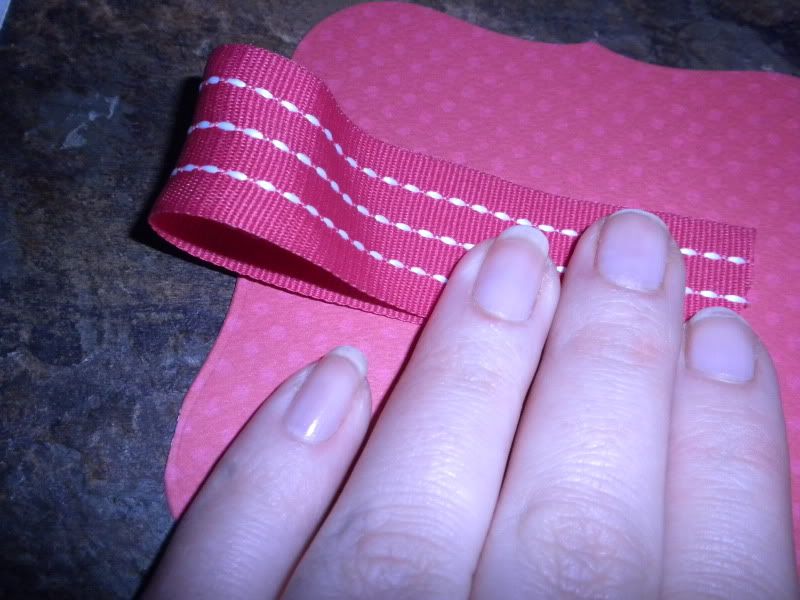
Trim a piece of coordinating (blue) patterned paper and adhere across the center of your card. Gather your finishing touches and arrange on your card.


- Gina Hanson