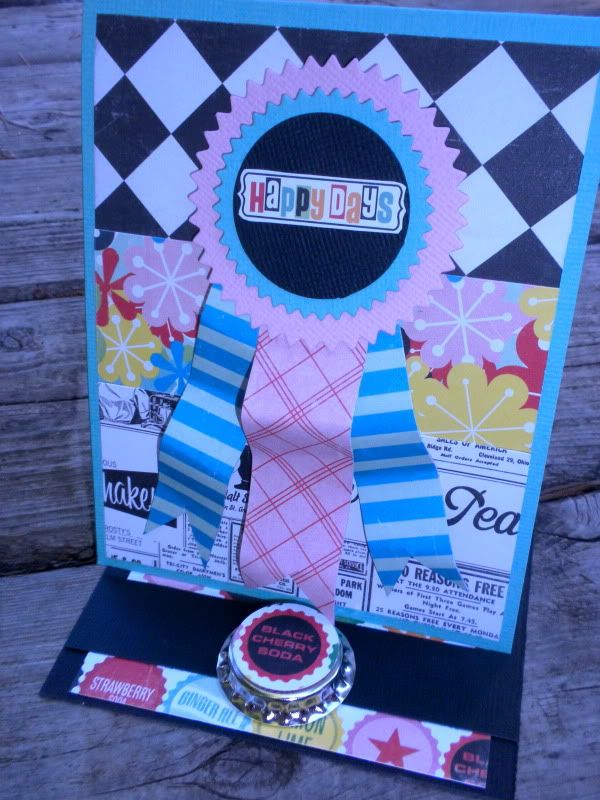
Happy Days Easel Card Tutorial.
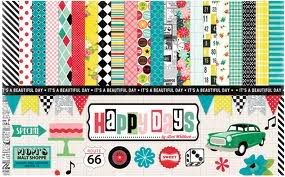
Inspired by the super fun new collection of scrapbook papers and embellishments from Echo Park called ' Happy Days'
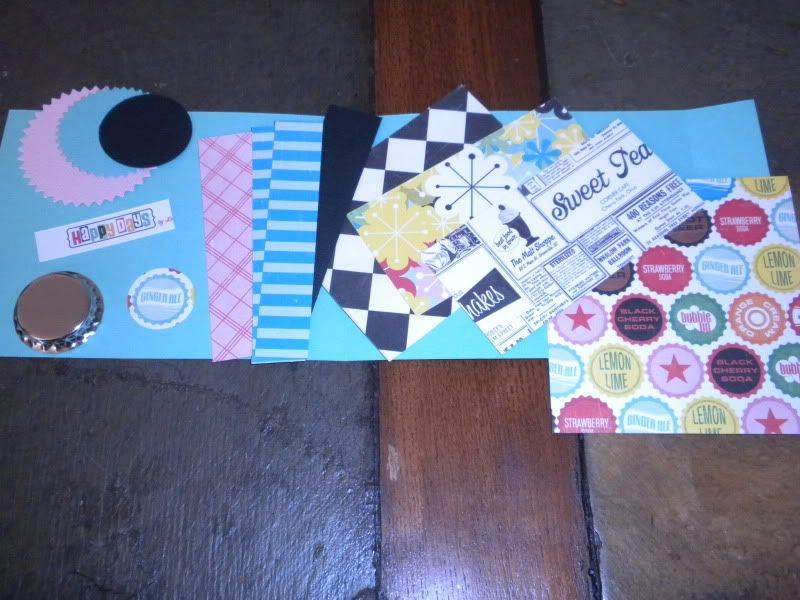
Supplies:
aqua cardstock 12" x 4 1/4" (score along 12" length at 5 1/5" and at 11")
Black cardstock 4 1/4" x 1"
Black cardstock scrap for punching
aqua cardstock scrap for die cutting
pink cardstock scrap for die cutting
Happy Days paper bottle caps 4 1/4" x 4
Happy Days retro paper 4" x 2"
Happy Days ADs paper 4" x 2"
Happy Days paper 4" x 2"
Happy Days bottle caps paper (pink plaid side) 1" x 4"
Happy Days retro paper (aqua striped side) 2 strips cut to 3/4" x 4"
Happy Days bottle caps paper scrap for punching
Salvage one of the label that says 'happydays' from one of your pattern papers and fussy cut out to be your greeting.
Sliver bottle cap
Required tools:
scissors
circle punch or die cut 1 1/2"
circle punch or die cut 1"
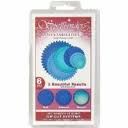
pinking circles die cut spellbinders nestabilities set
die cutter like the Big Shot or Cuttlebug
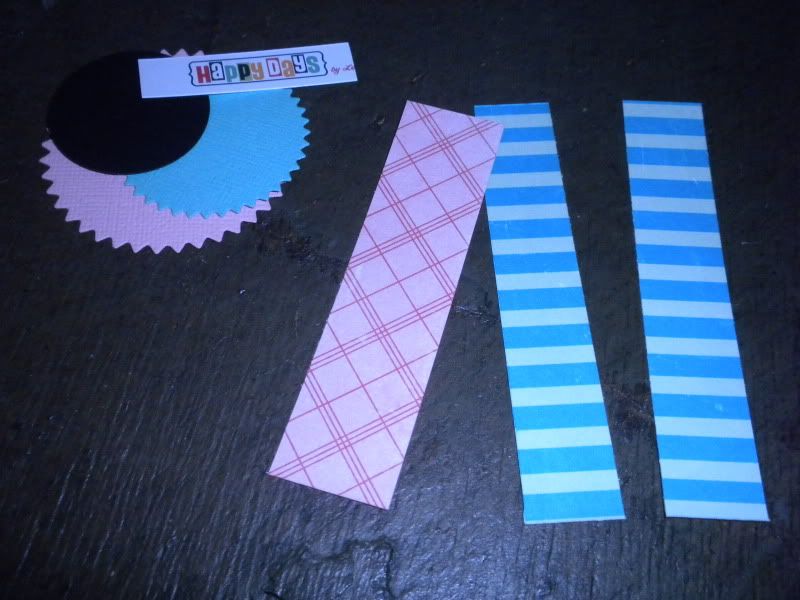
Step 1.
Gather supplies
punch a 1 1/2" black cardstock circle
punch 1 of the bottle cap print designs from scrap bottle cap patten paper with 1" circle punch
die cut a 1 3/4" pinking circle from aqua cardstock
die cut a 2 1/4" pinking circle from pink cardstock
cut all other papers to size
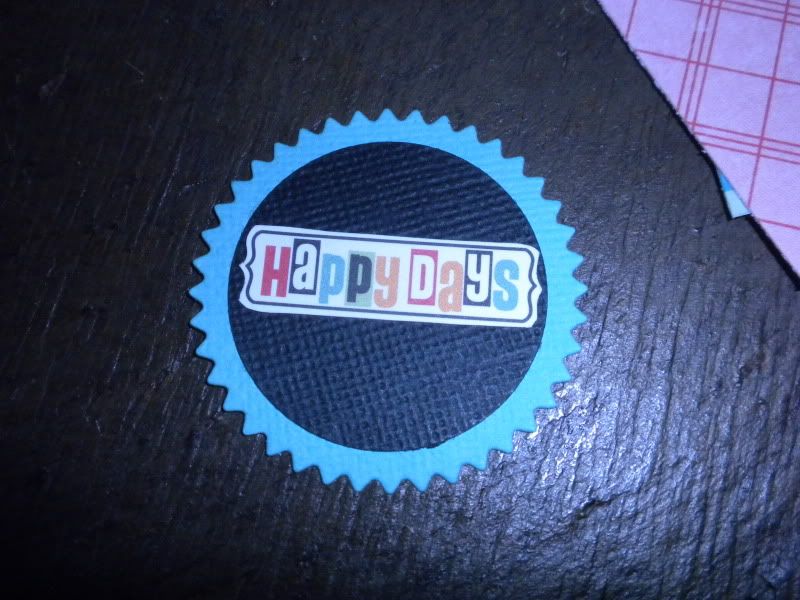
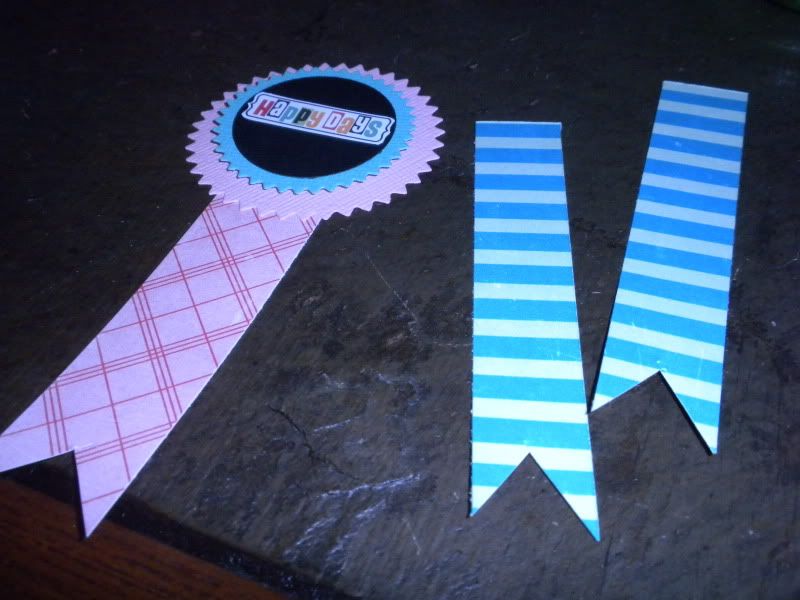
Step 2.
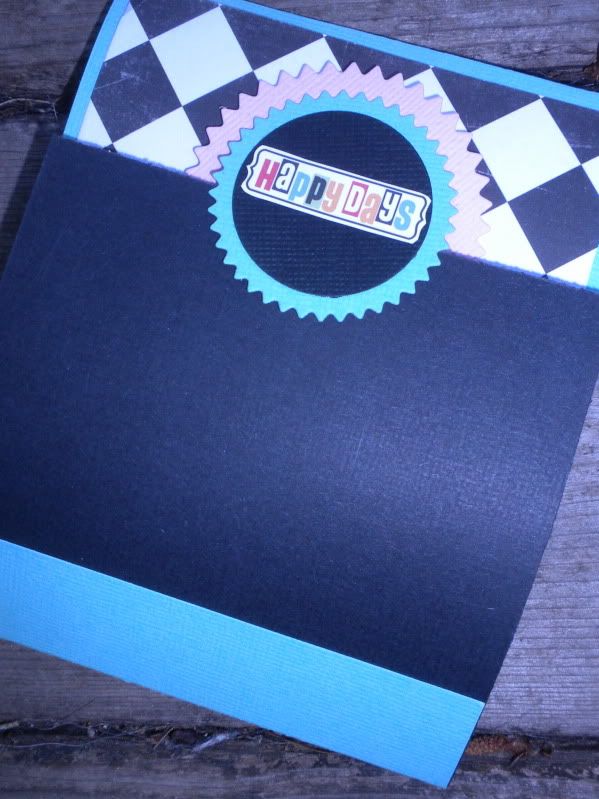
creating the 'award' embellishment
fussy cut the Happy Days label and adhere to center of black cardstock circle
adhere to aqua pinking circle die cut
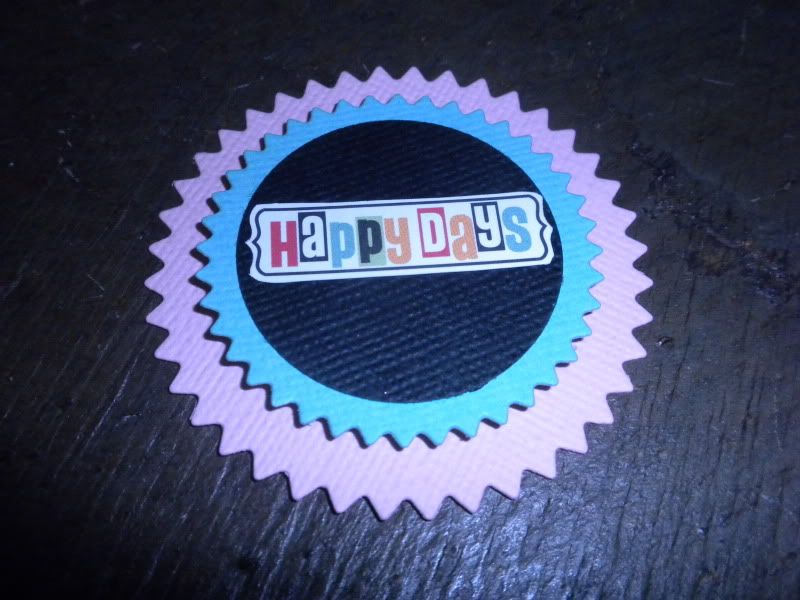
use a pop dot or foam sq to adhere the aqua die cut to the larger pink die cut.
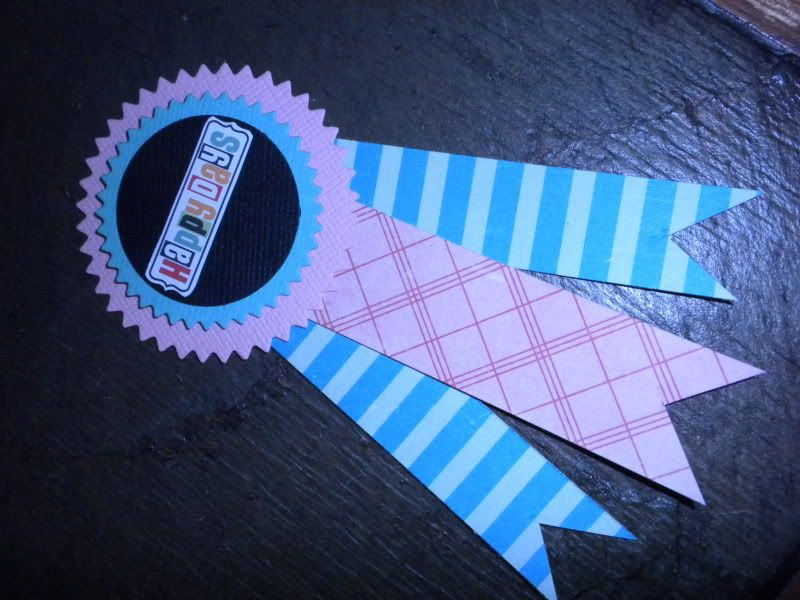
cut a notch in your 3 strips of pattern paper to create faux ribbon tails and adhere to back of layered award.
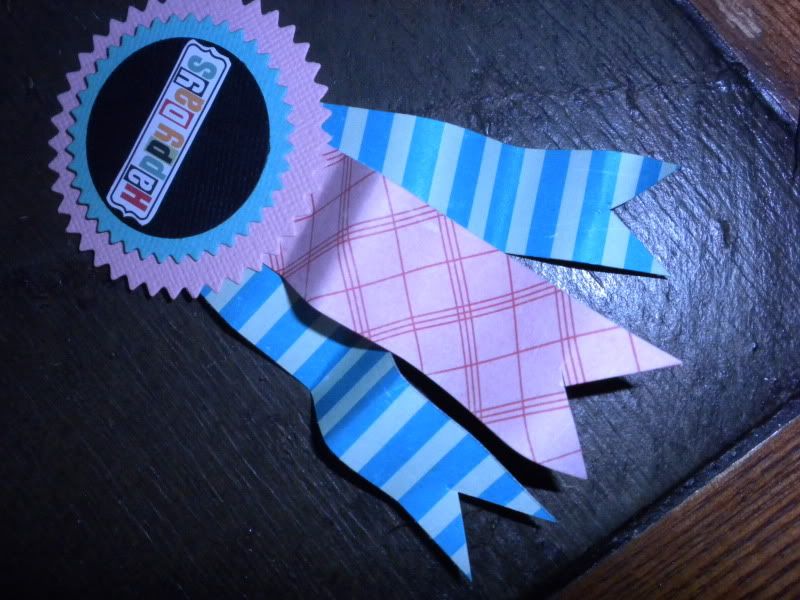
you can bend the paper back and forth in different places to create the look of ribbon if you like.
set aside.
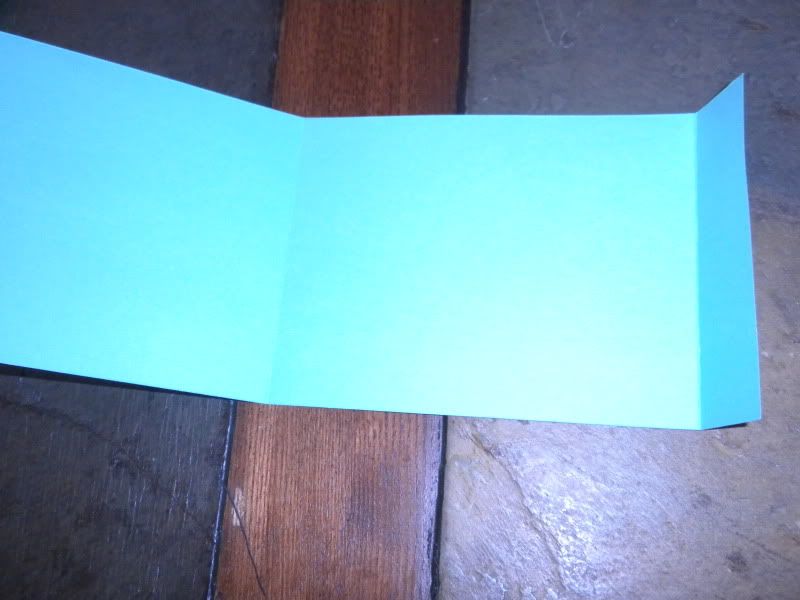
Step 3.
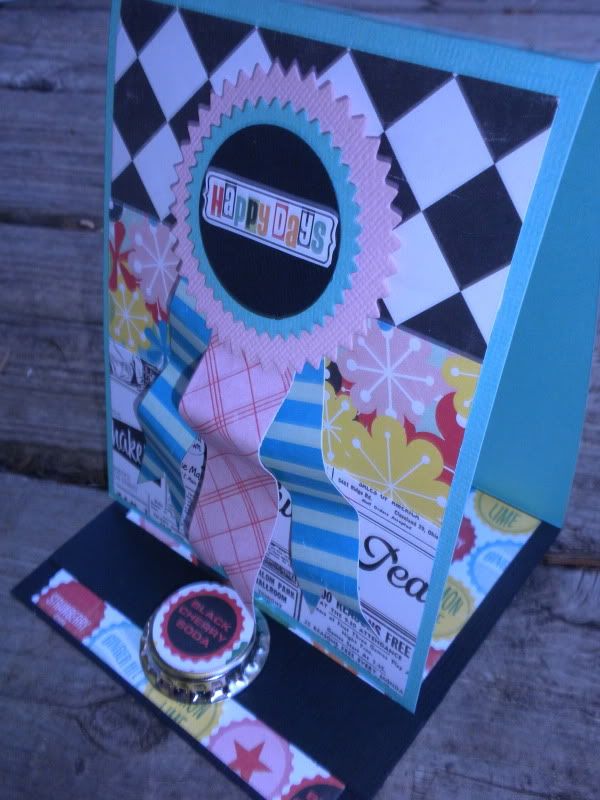
creating the easel card shape.
fold at scored lines.
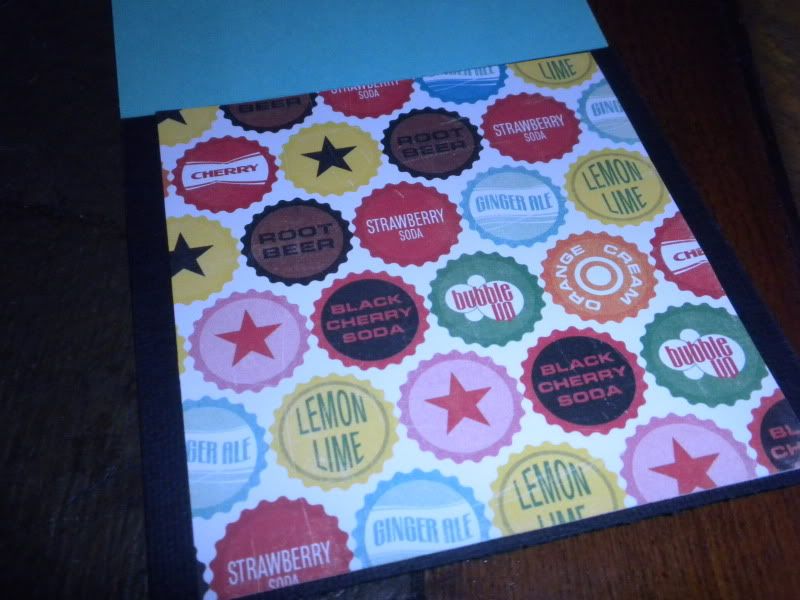
adhere the 4 1/4" x 4" bottle cap paper to the small 1" x 4" folded portion of your aqua card. This now will become the bottom of your easel card.
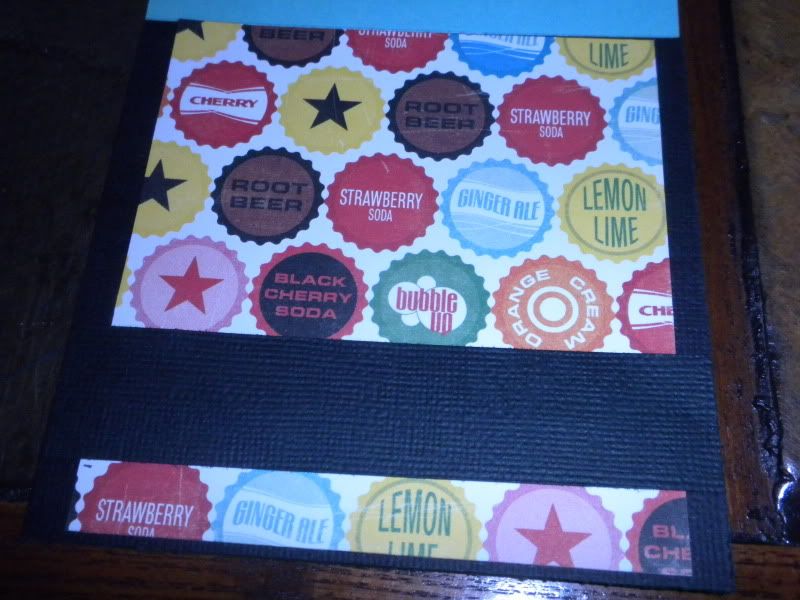
Now glue the 1" x 4 1/4" black cardstock strip across the bottle cap layer near the bottom edge.
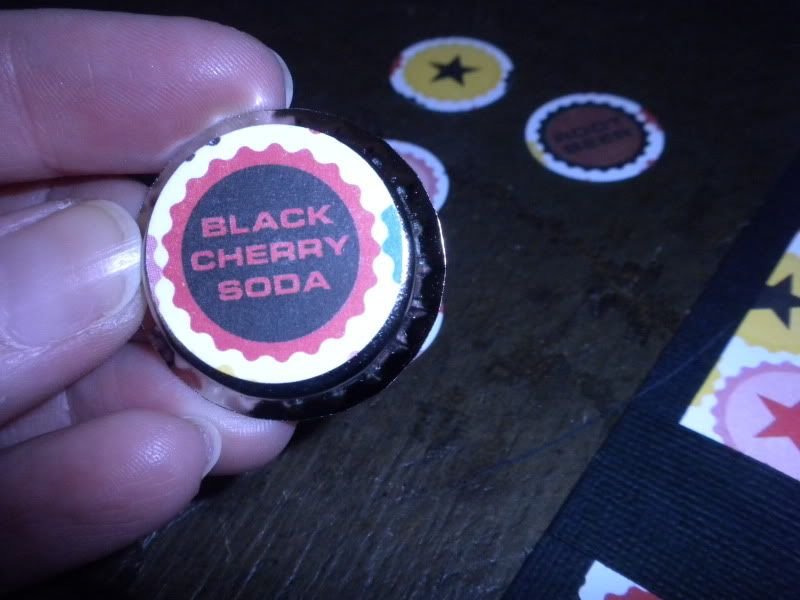
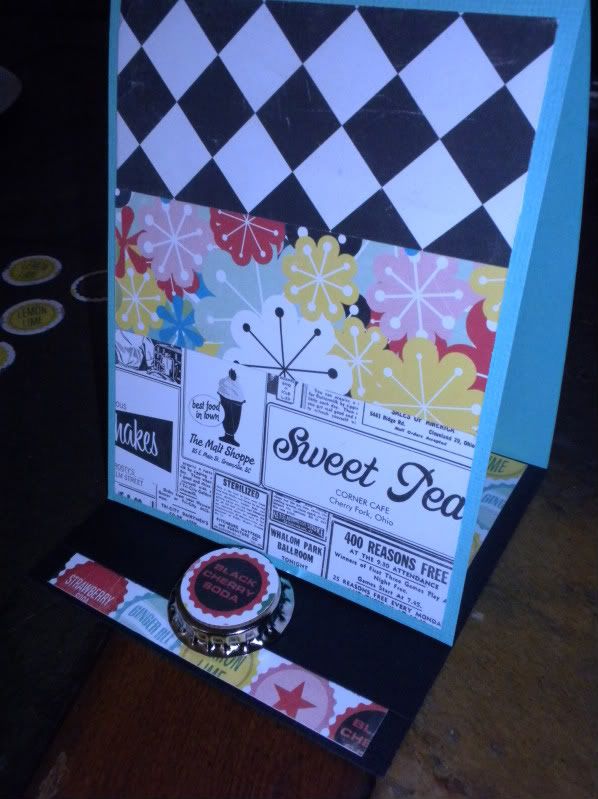
To create a 'stopper' that keeps the card upright you need something with a little dimension- we are using a bottle cap.
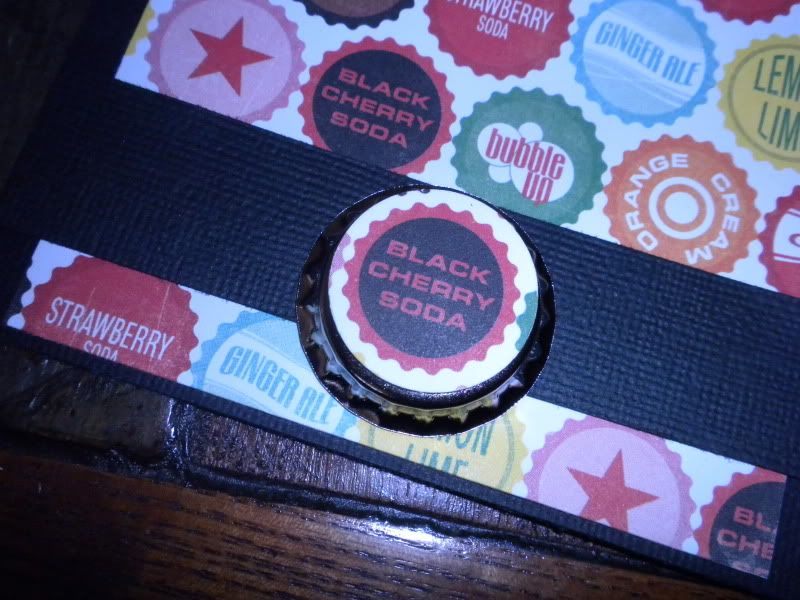
layer the punched out bottle cap pattern paper to the top of the bottle cap. use foam tape or pop dots (you'll likely need to stack a couple on top of each other to make it thick enough) to the inside of the bottle cap and glue to center of the black strip. Now you can fold your card so that the stopper holds the card upright to make sure it's working for you.

Step 4.
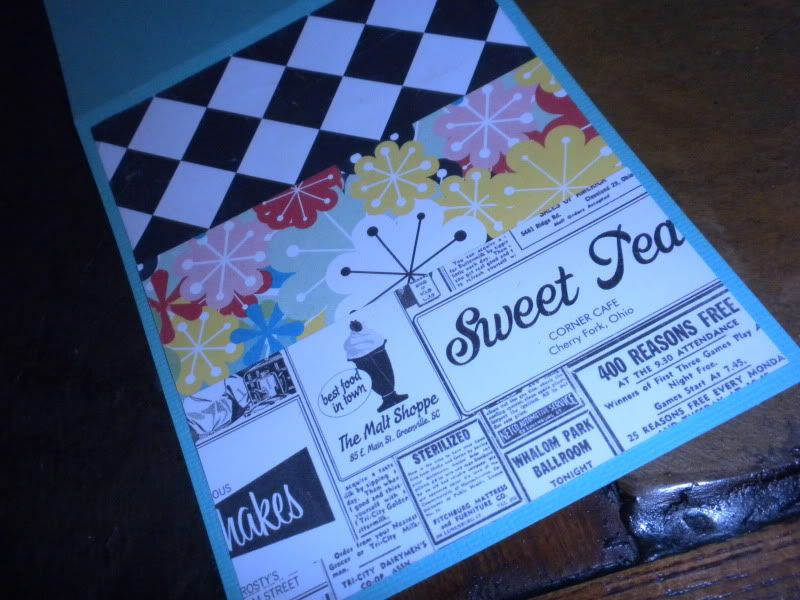
adding the paper layers and finishing card.
you have 3 pieces of pattern paper cut to 4" x 2"
mix and match these overlaying one another to the card front.
Add glue dot or foam tape behind the prepared award embellishment and layer to card front.
Easel cards are great design for sharing photos or invitations too as your photo or invite is always on display.
This design you can fold closed and tuck the bottom under the layered award too.


So cute--I love this paper line! Just picked up some of it on Thursday! :)
ReplyDelete