
Hi! I’m design team member Amanda. Today, I have a confession. I have an addiction. To bag. Cute bags. Frilly bags. Simple bag. Charming Bags. Sophisticated Bags. I pretty much like them all. If only I could carry 20 at a time, I'd be happy. Of course, I might end up on "What Not to Wear" because of my major fashion faux pas, but I'd be happy!!
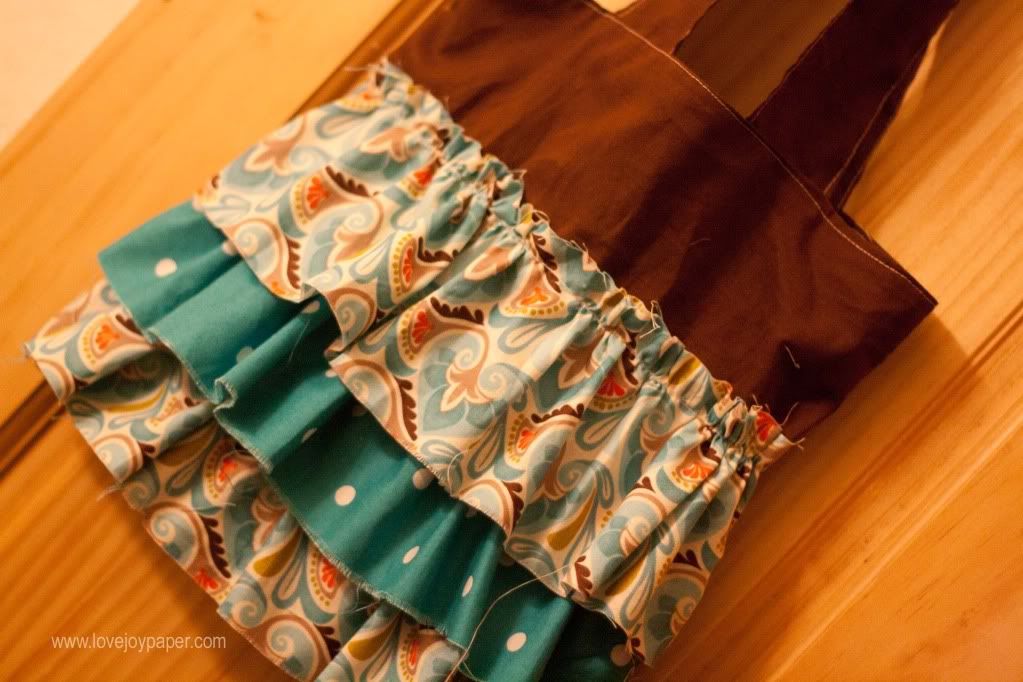
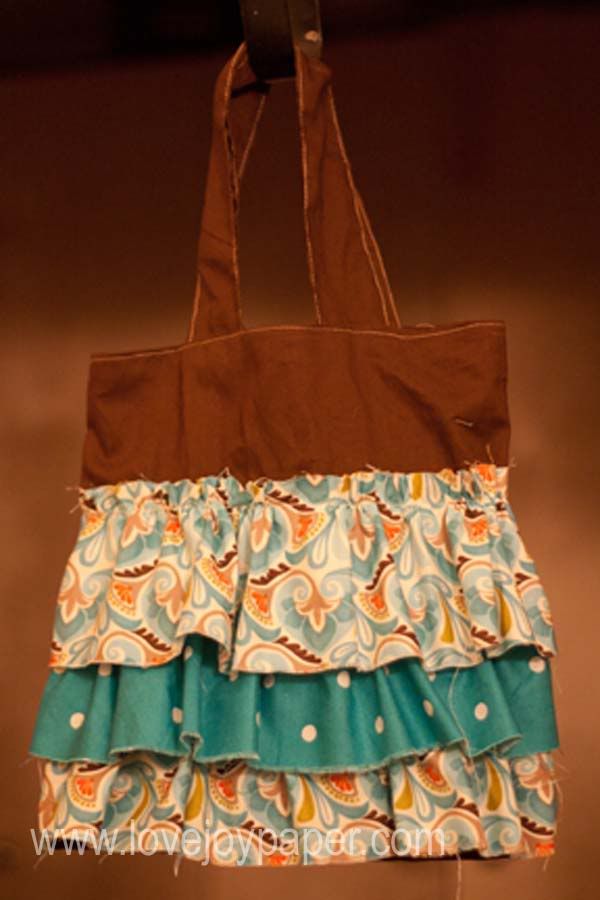
A couple weeks ago, my addiction was tempted....we were walking through downtown waiting for the Christmas parade to start and I saw an adorable whimsy ruffled bag. SO cute! I almost bought it until I realized I could probably make it on my own. Now, I'm not the best seamstress in the world (not even sure I qualify for the name "seamstress"), but I knew that even my basic skills would allow me to make this adorable bag. So I set out. And I did! And today, I'm going to share the pattern with you.
Before we begin, let me say, I am a self-taught sewer (wait, that isn't the right word, I guess I will have to call myself a seamstress, because I'm most definitely not a sewer! LOL). So as you are reading these directions, if you know a different way to do this, them please do! I've just figured out what works for me (aka a lazy seamstress), whether it's "proper" or not, I have no idea because everything I know I've figured out on my own.
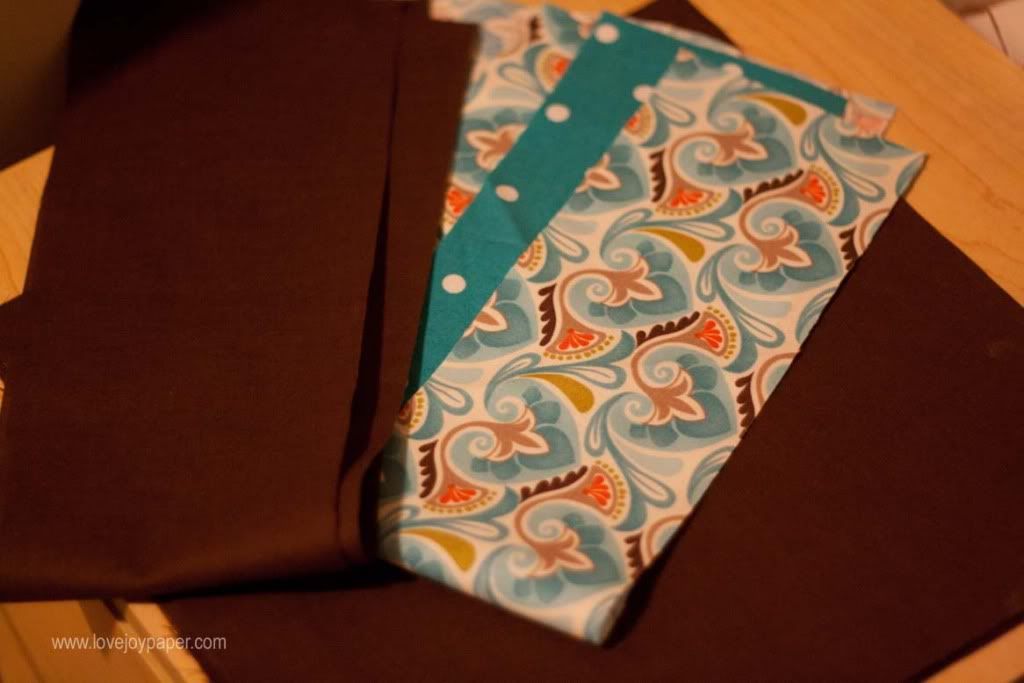
Fabric:
Cut pieces of Fabric: (note – no printable pattern because these can all be cut easily with scissors and tape or rotary cutter, or a sheet of 12x12 scrapbook paper can work great as a pattern)
3 4 x 22 pieces of patterned fabric (2 or three patterns)
2 squares 12x12 of patterned fabric (should be same pattern as one of the 4x22 strips)
2 squares 12x12 solid coordinating fabric
2 strips 4 x 16 solid fabric
(For shopping, purchase 1/4 yard patterned fabric, 1/2 yard coordinating fabric, 1/2 yard solid fabric)
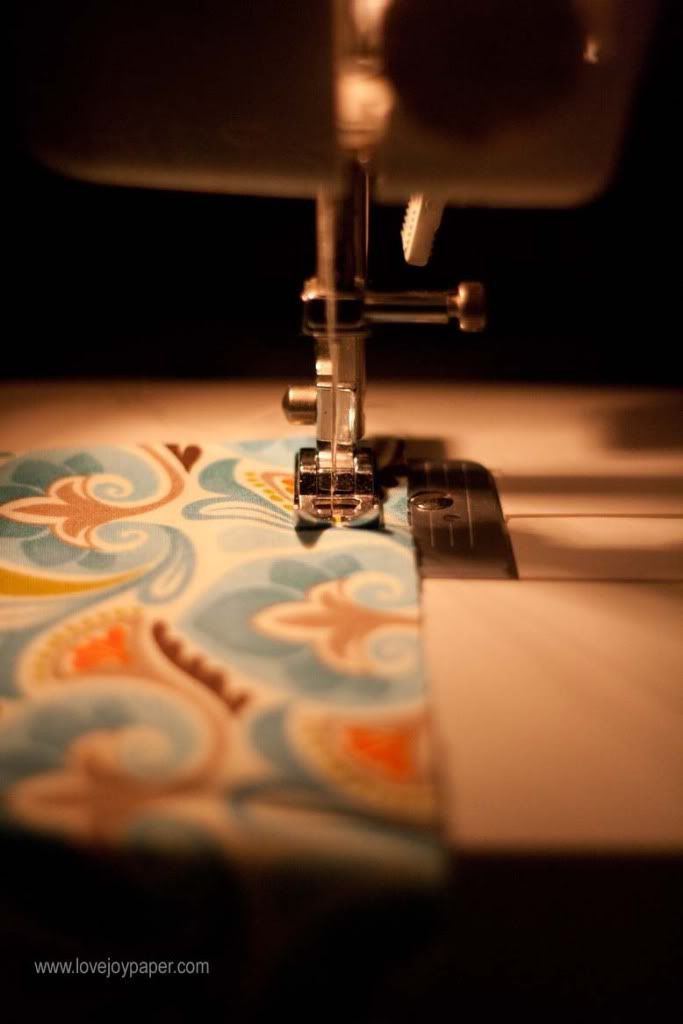
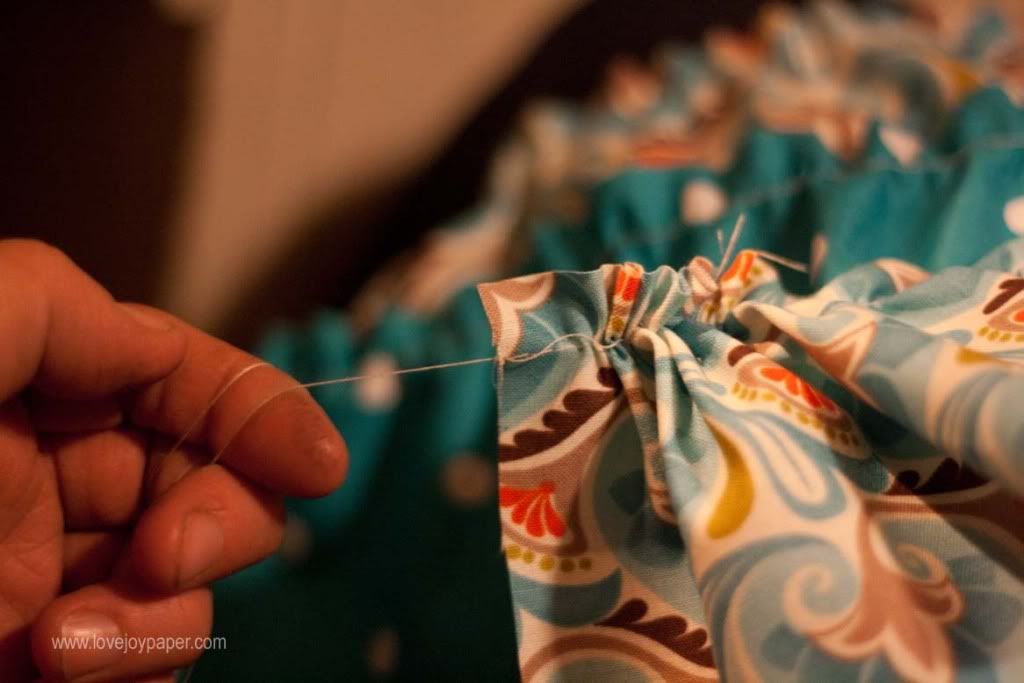
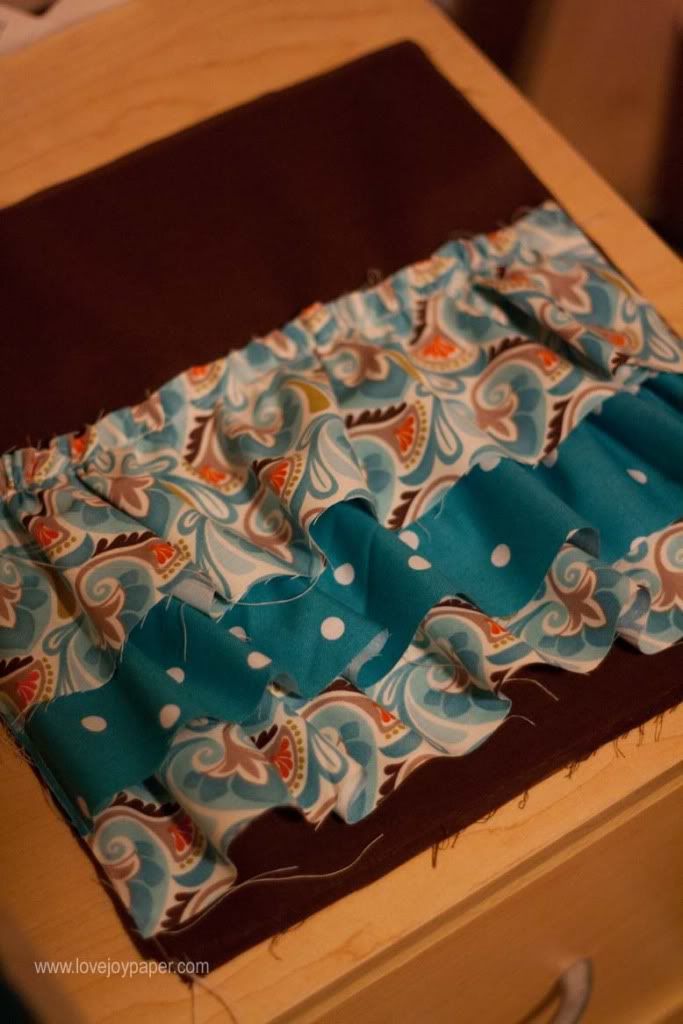
The first thing we'll do is gather the ruffles. Stitch a long stitch and gather.
Note: I didn't hem the ruffles. Part of the charm of the bag is that they'll fray and be more whimsy. If the perfectionist in you can't allow that, then hem away.
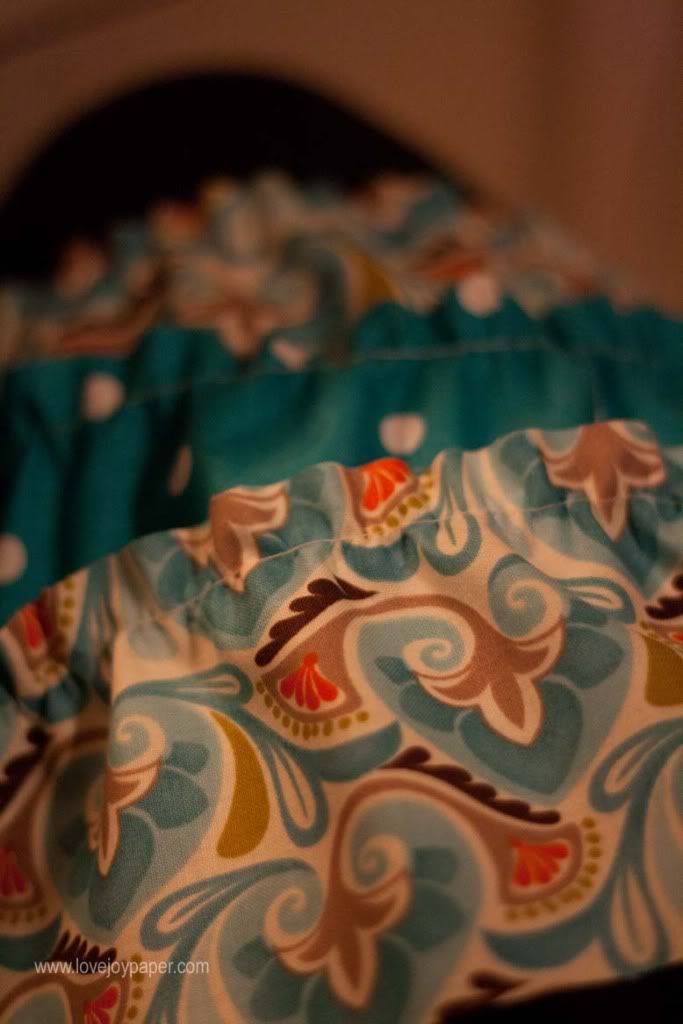
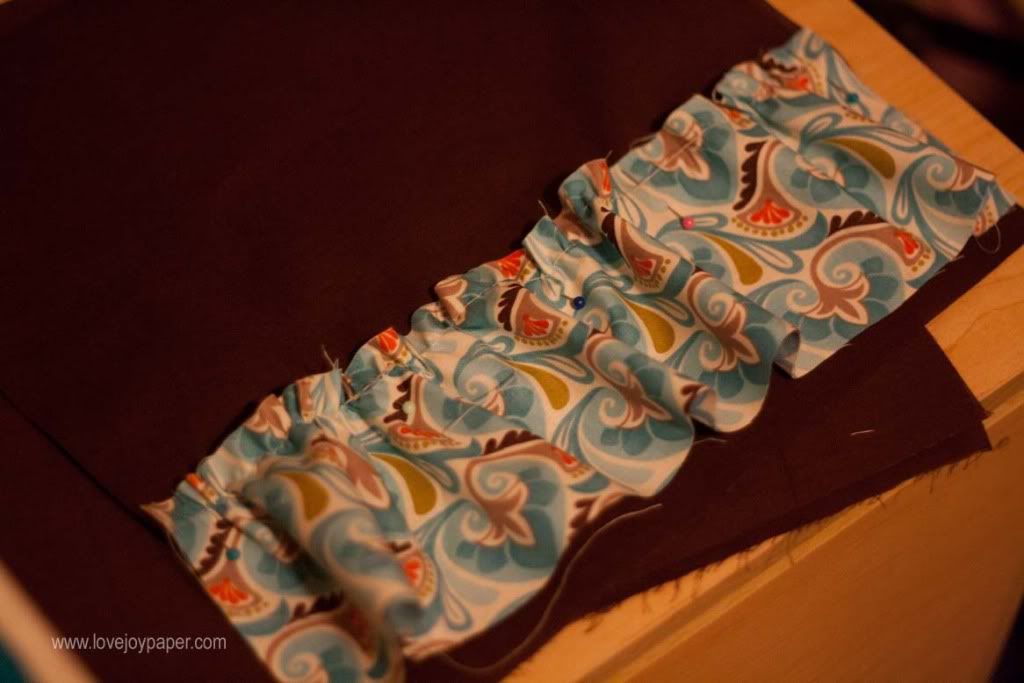
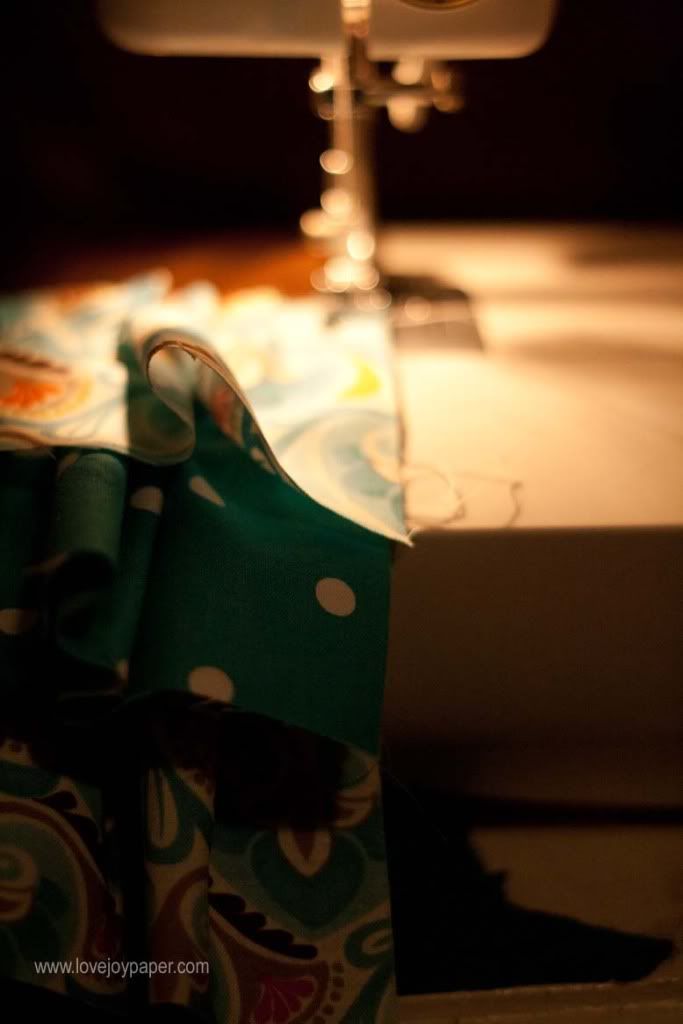
Stitch along the gather stitch. Repeat with additional two ruffles, placing each on 1" above previous.
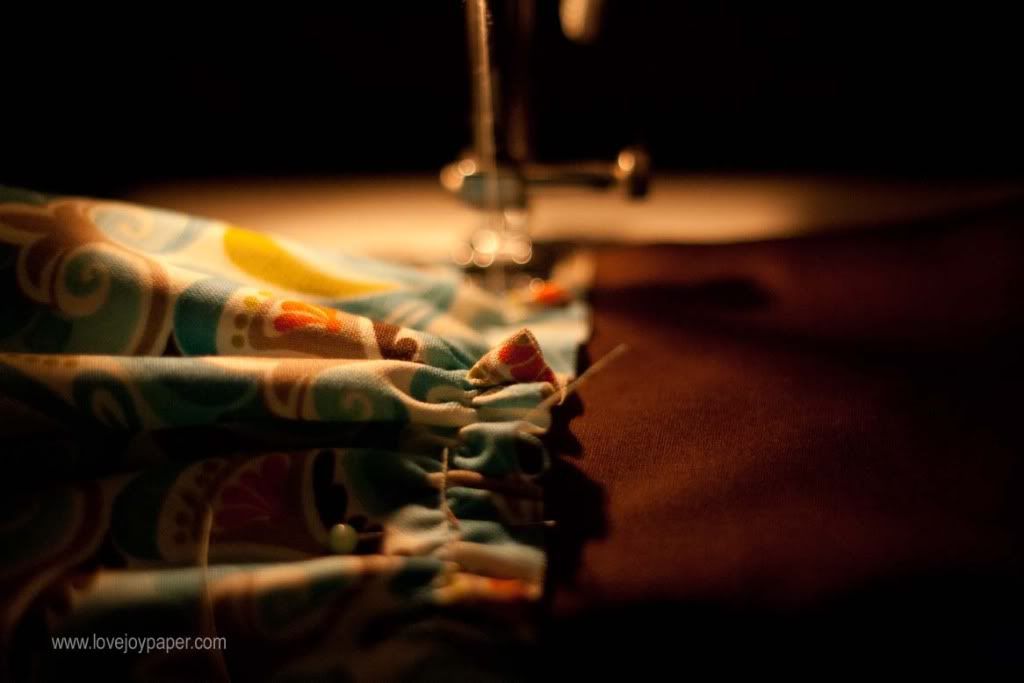
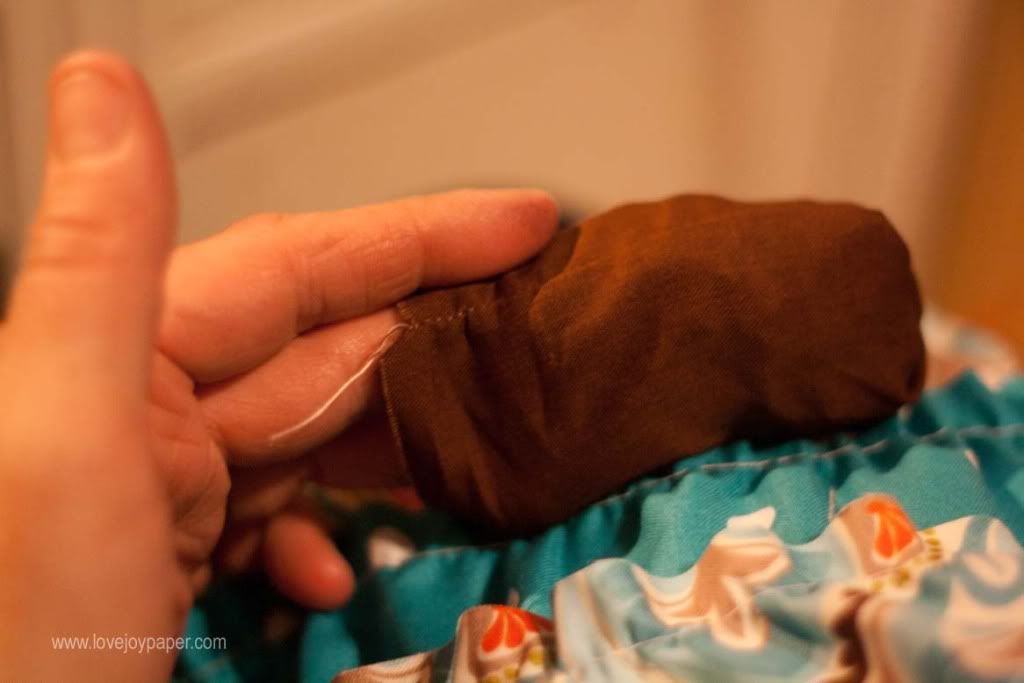
When all layers are stitched, stitch down the side to keep the ruffles in place for assembly.
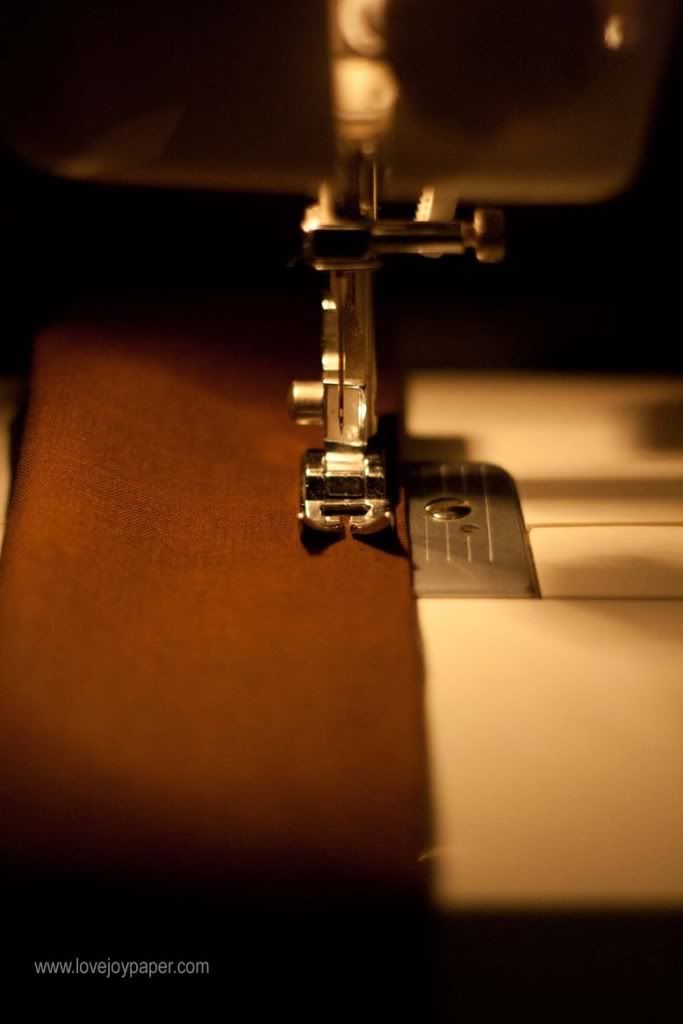
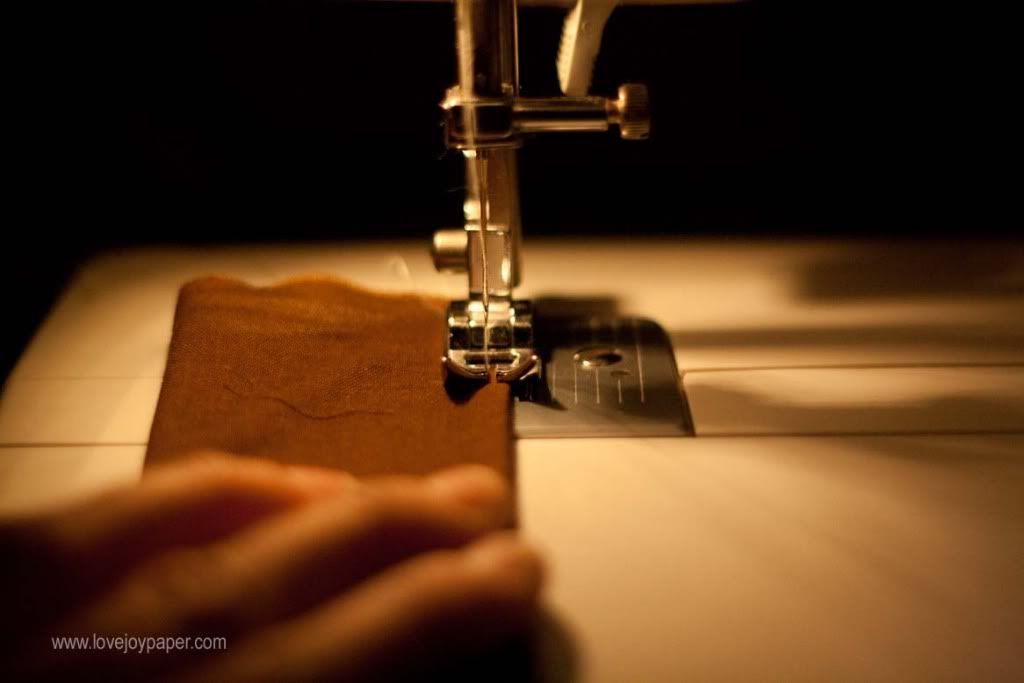
Now we will move on to the straps. Fold one piece in half and stitch the open side together with a 1/4 seam allowance.
Repeat with second strap.
Turn the strap inside out.
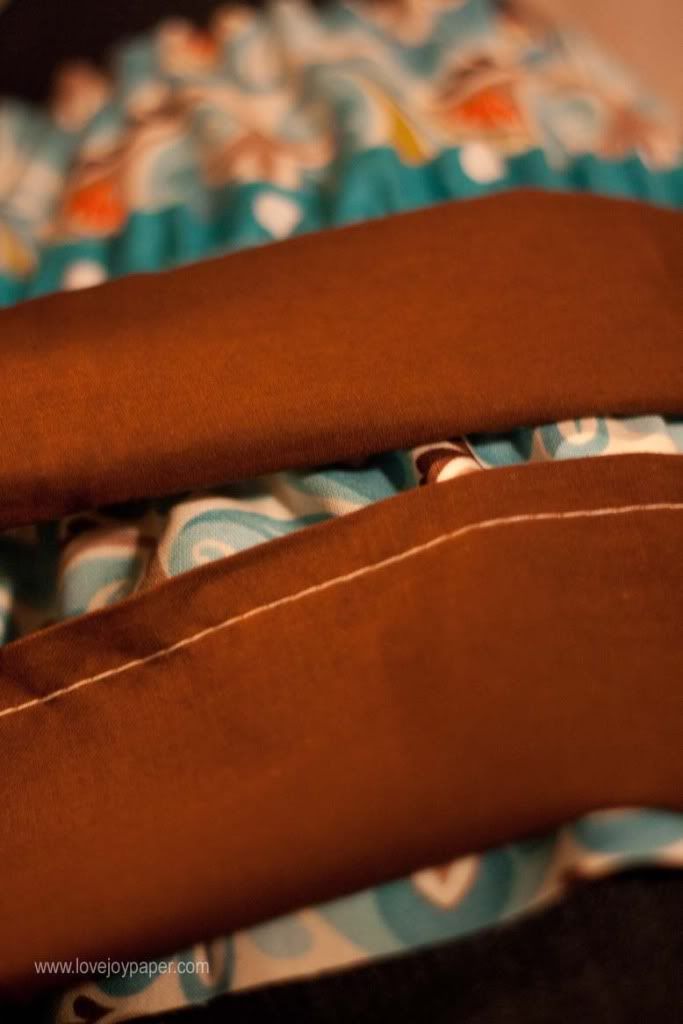
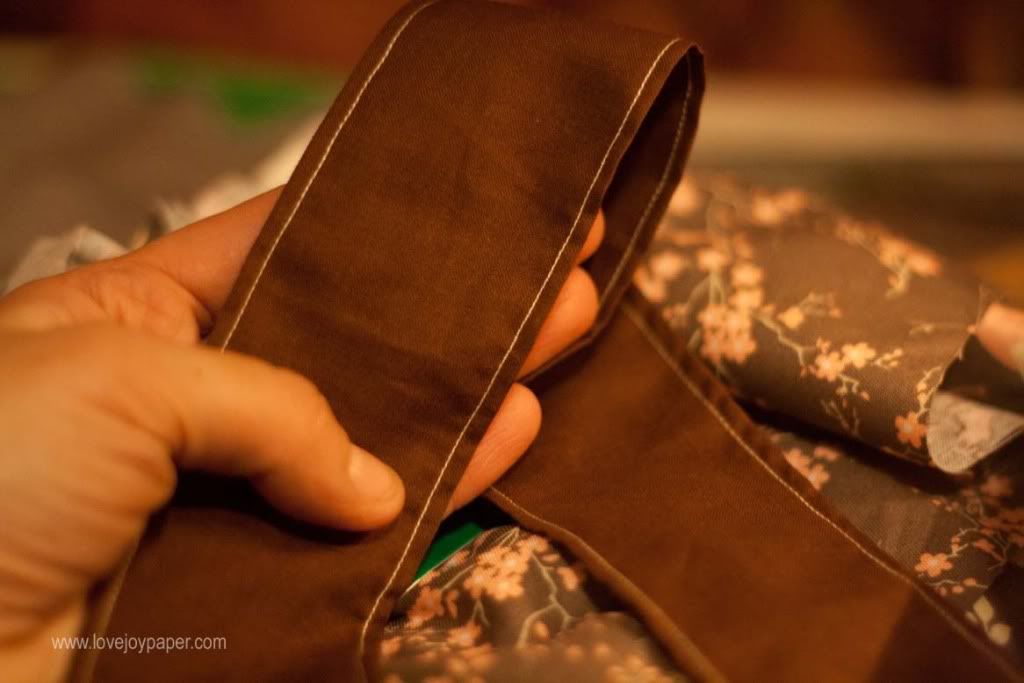
Stitch strap flat using an 1/8" seam allowance. Repeat on second strap
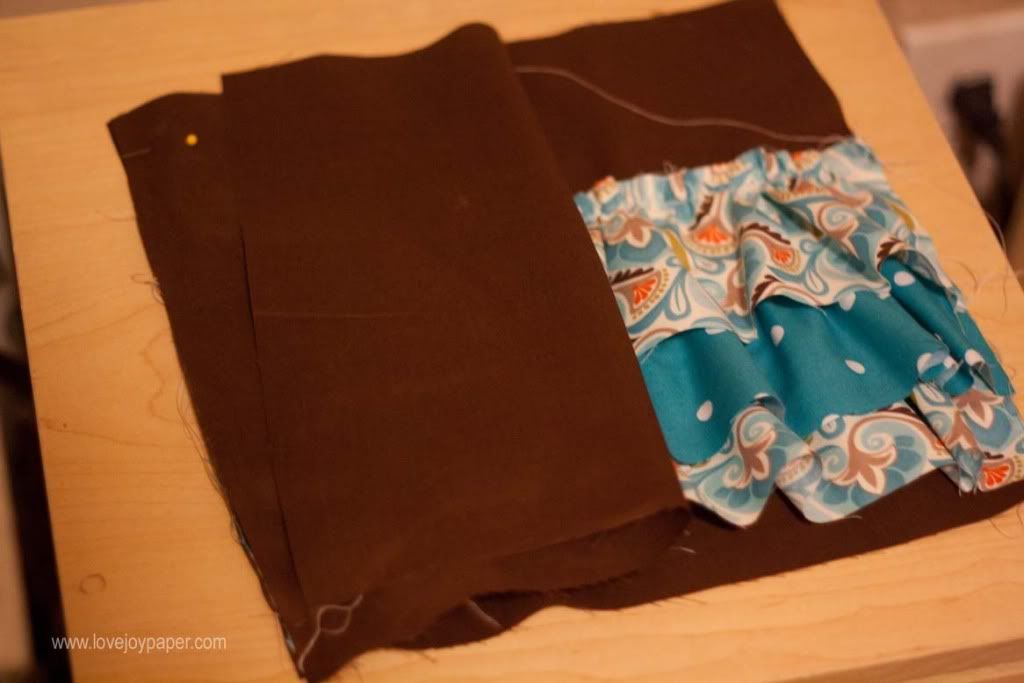
Next, begin assembly. Pin back to font with right side of fabrics facing each other. You will see the wrong sides.
Stitch together left, right & bottom.
Now we need to pin in the straps. I have a picture for visual, but PLEASE don’t assemble it exactly as seen. The straps need to both be placed inside the front & back just as you stitched it. Do not do anything to the front & back you stitched together. Leave it exactly as is and place straps as seen here except between the two layers instead of outside.
Stitch the handles to the outside.
Now, we need to stitch the lining together. Place the two right sides of fabric together. Stitch around sides & bottom with a 1/2” seam allowance.
On the lining only turn right side out.
Now slide the lining (with the right side out) into the front/back piece with the right side in. You should have the two right sides looking at each other, while you are seeing the wrong side.
Pin together.
Stitch the two pieces together using a 1/2” seam allowance. Stitch nearly around the entire thing, but leave a 3” opening so you can turn it right side out.
Fold the lining and the outside down where the hole was that you left for turning it. Stitch.
Pull the right side out. If you’re not comfortable getting it to lay right, now is a time you can use the iron to iron the bag into the “shape” you’ll want it to be.
No, to finish it off, after you have the bag laying correctly, stitch around the very top with a 1/8” allowance to hold everything (including the straps) in place.
Enjoy!!




Wow! You have been an extremely busy, crafty girl! Love ALL your projects! So cute! :)
ReplyDeleteLove, love, love this bag, Amanda! You did a beautiful job!
ReplyDeleteThis bag is adorable...thanks so much for sharing Amanda!
ReplyDelete