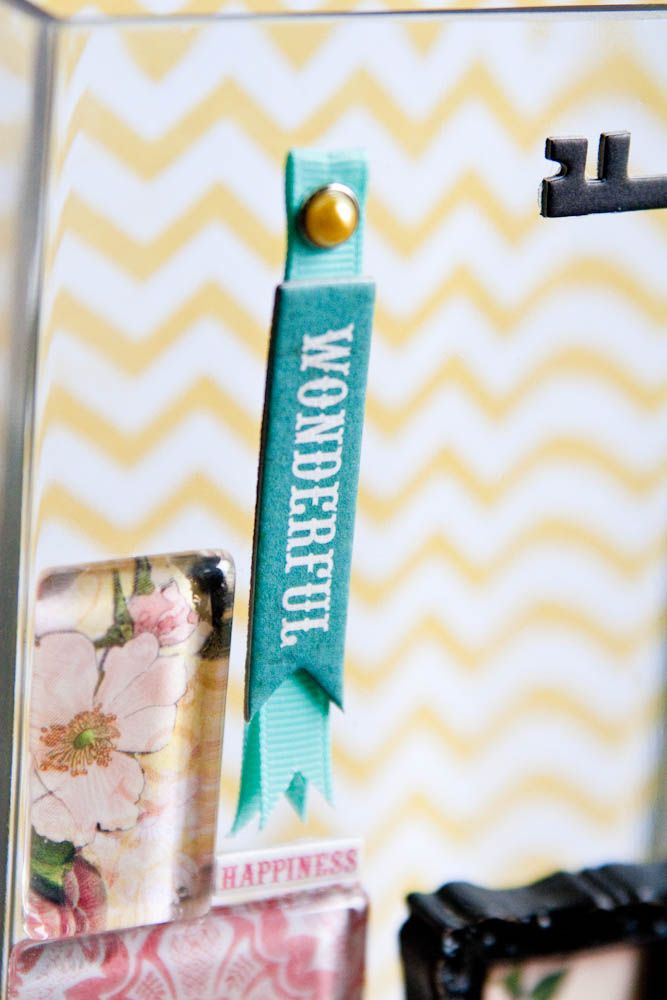
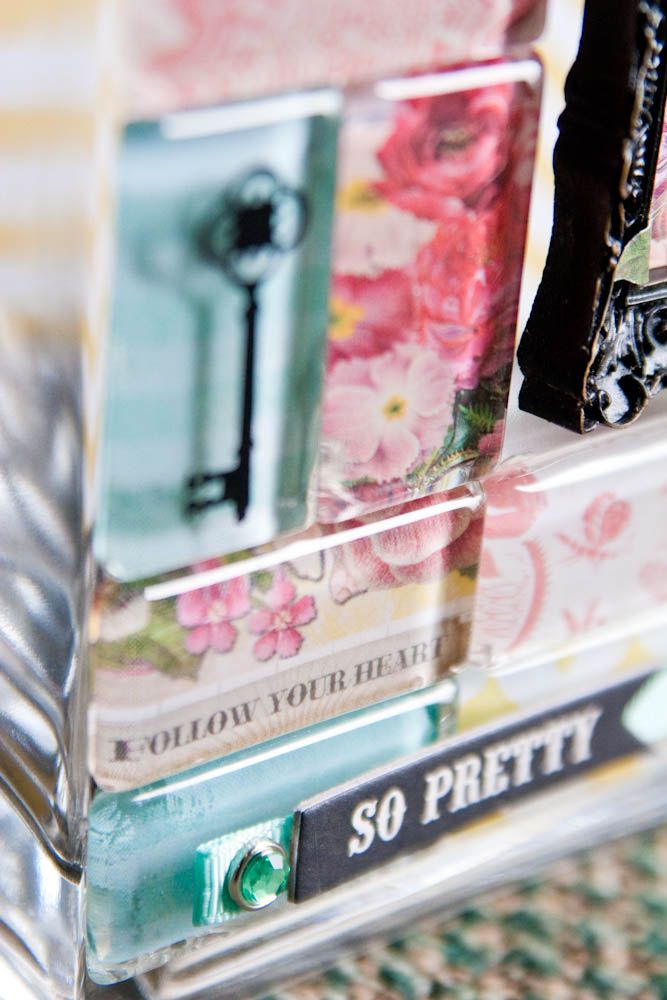
Today Julie Zweig, Craft Warehouse Design Team Member, shares with us a unique way to dress up a vase using basic scrapbooking supplies. Can you imagine filling it with spring and summer blooms?!
Hello, today I am sharing a paper craft twist using a glass vase. It’s crisp, shiny and takes on the freshness of spring and combines scrapbooking supplies with a vase.
Supplies used:
Make and assemble your embellishments
Plan out the layout before using adhesive:
My youngest son (9) assisted with the placement for this particular photo. He found some wildflowers and thought it would be perfect to frame the vase.
Enjoy Spring!
Hello, today I am sharing a paper craft twist using a glass vase. It’s crisp, shiny and takes on the freshness of spring and combines scrapbooking supplies with a vase.
Supplies used:
- Patterned paper from My Mind's Eye
- Chipboard accents from Echo Park
- Brads from Echo Park
- Ribbon by American Crafts
- Glass vase with a flat surface
- Small frame
- Little glass tiles - comes in a packet of 10
- Key shape rub on - found in the magnet display/section
- Rhinestones
- Big glass crystals - found in the bead section
- E-6000 glue (use with good ventilation)
Make and assemble your embellishments
- Trace with a pencil around the items you want as a background for each glass tile. Cut and trim until it fits the back of the tile. This is my favorite step. It is amazing what you can discover in a patterned paper when you glide the glass over the different areas.
- Glue paper to the back of the glass tile - let dry.
- Assemble various pieces of ribbon, with brad and sentiment.
- Select part of a patterned paper to use in the mini frame. I cut out the little leaves from some of the paper and made them three dimensional.
- Pull apart the big crystal beads, hook part of the crystals into cardboard key.
- Add rhinestones where desired.
Plan out the layout before using adhesive:
Trace around the vase on a white sheet of paper and use this as a guide for the exact size you have to work within.
- Clean and dry the glass vase.
- Glue on embellishments.
- Let dry - lay flat
- Place and glue a background patterned paper on the back of the vase, in case you want to use it for real flowers and enjoy!
My youngest son (9) assisted with the placement for this particular photo. He found some wildflowers and thought it would be perfect to frame the vase.
Enjoy Spring!


Very pretty and so clever! Love this, Julie!
ReplyDeleteLike this a lot!
ReplyDeleteJulie, as you know I love this, was fortunate enough to see it in person. Such a creative use of everything. I really want to try one of my own.
ReplyDelete