


Let's start with a simple card like the one above. The Simple Stories kit comes with sheets of 4"x 6" journaling cards. These make the perfect base for a quick card. You can either use a premade card or make one of your own by trimming a piece of cardstock to 6"x 8" Then score your 6"x 8"piece at 4" on the long side and fold in half, you now have a card base that is 4"x 6".

Next, trim the journaling pieces so you have 6 individual pieces to choose from. Each 12"x 12"piece has 6 journaling cards. Select the journal card you'd like to use and attach it to the front of the cardstock card base you made.

Then select the stickers included with the collection to embellish and finish your card. You can stick directly to the card, or if you are like me you'll add some pop up adhesive so the sticker pops off the card. Layer the stickers however you like. Add a little ribbon to a tag like this or leave as is.

One sheet of journaling spots from Simple Stories will make 6 cards and the sticker sheets have enough stickers to that and more. So simple and quick you can have your Christmas cards made in no time.
Now I'd like to share with you a card that is a little more challenging but the result is a fun shaped card festive for Christmas. For this card you can use a cardstock base or you can use heavy weight patterned paper for the base. The Simple Stories papers are heavy enough to use for the base. Without further delay here is a tutorial for a star fold card.


Above is the star fold card made using a piece of patterned paper from the Simple Stories, Handmade Holiday collection. I'm going to show you how to make the card using a cardstock base.
First start with a piece of cardstock trimmed to 8 3/4" x 10". Use a ruler and pencil and lightly mark the center of one of the 10" sides (mark at 5"). Then take your ruler and line up the center mark to the bottom corner and draw a line lightly. Repeat on the opposite corner, you should now have a triangle drawn on your cardstock.
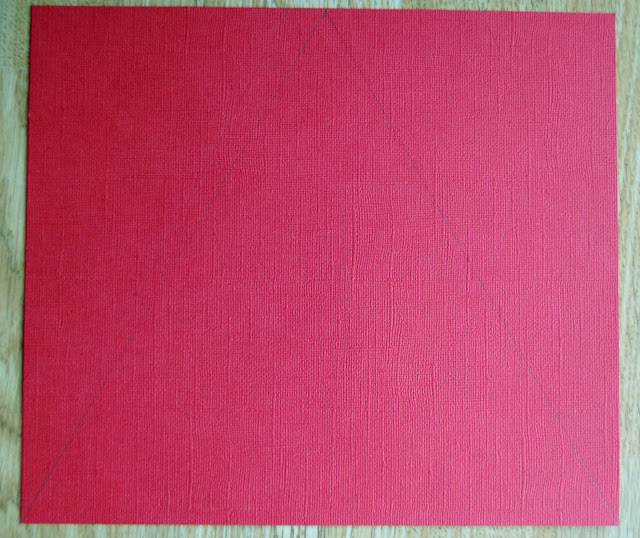
Line up the lines you traced on your paper trimmer on your paper trimmer and trim off the excess cardstock leaving you with just the triangle piece.

Next using the Martha Stewart score board, line up one straight side of the triangle with the left side of the board and score at 4 3/8" and at 5 7/8". Repeat for all three sides.

Use the bone folder to create a crisp fold along the score lines, folding the first score line in towards the base and the folding the second line out the opposite way, as shown below.


Now you'll want to trim some patterned paper triangles to decorate the base. You will need three triangles with sides that are 3 1/4" long. You can use your card base as a template and trace it so you know where to cut. You will also need a larger triangle with sides that are 5" long. Again, you can use your base as a template. (If you are making your card base with patterned paper you will skip this step). Once you have all your pieces, attach the large one to the inside center and the smaller to the triangles on the corners.

Now your ready to embellish, add stickers and or a sentiment to the inside center of the card.

The finishing touch I added to this card was to add a little bling in the form of Stickles Glitter Glue. I used Star Dust Stickles and just ran the tip around the flourishes to add a bit of sparkle.

Now fold your card up, to do this fold in one side at a time, take the third side and tuck one corner under the first side and it will hold itself together.

Since the green on the red looks like a Christmas tree you could simply leave as is or you could continue to embellish the tree with ornaments and a tree topper. The possibilities are endless.
Be sure to check back tomorrow for another card tutorial!
Thanks for looking, Michelle

Nice job, Michelle! Love these cards!
ReplyDelete