Tweet.
is it spring yet? This new bird die set from Sizzex is so fresh and fun for springtime crafts. Here is a sweet little card using this set, and a step by step photo tutorial.
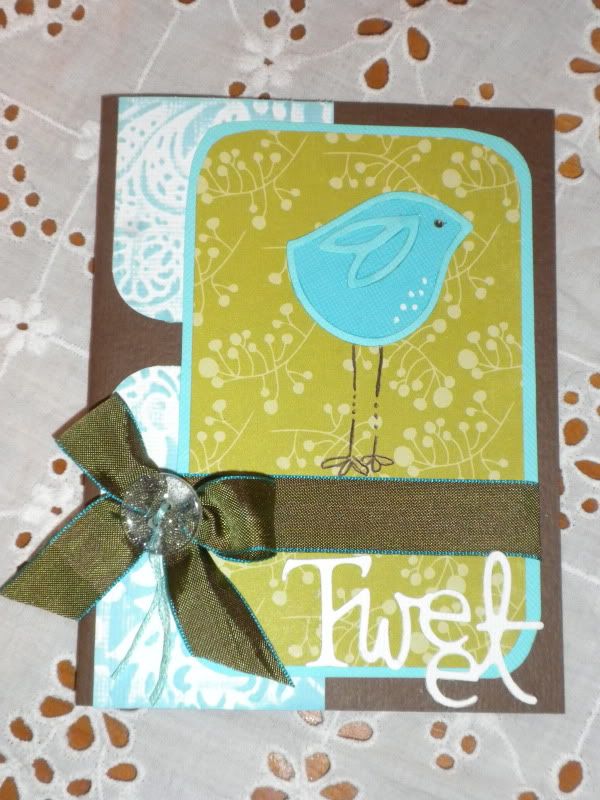
Supplies:
chocolate brown card (A2 size)
aqua blue cardstock cut to 3 1/4" x 5"
green print paper cut to 3" x 4 3/4" (specific paper I used is from Echo Parks springtime collection)
white cardstock cut to 2" x 5"
about 18" of ribbon
about 6" of aqua color floss
button
white cardstock for die cutting
aqua cardstock for die cutting
turquoise cardstock for die cutting
Required tools:
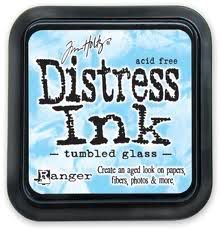
Distress ink tumbled glass color
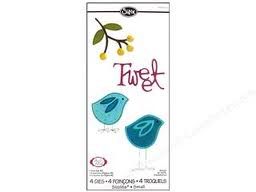
Sizzlets die set bird #2 set
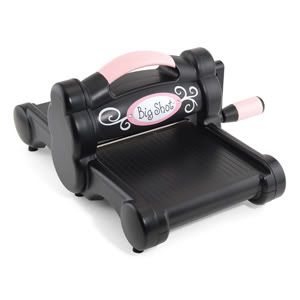
big shot machine (or cuttlebug)
embossing folder of your choice
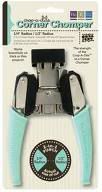
corner rounder punch
scissors
glue pen
white and black gel pens

Step 1)
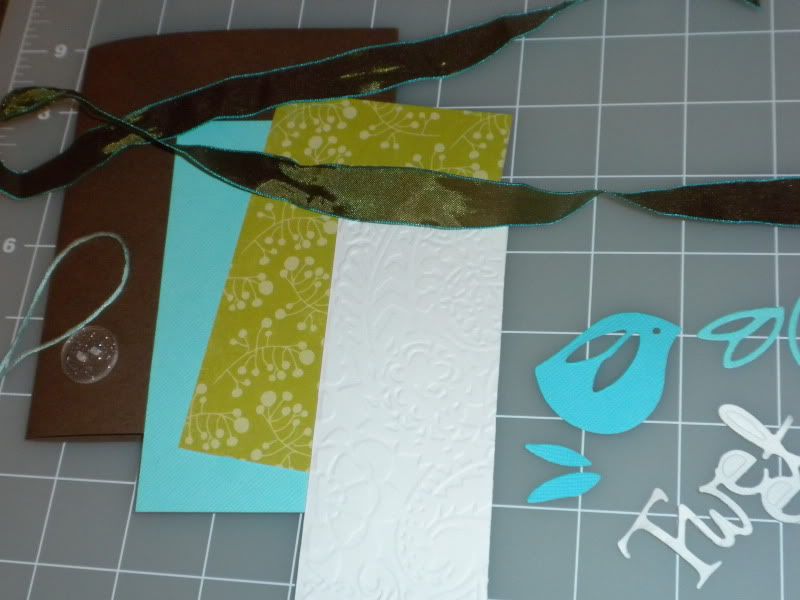
Gather materials, and cut papers to size
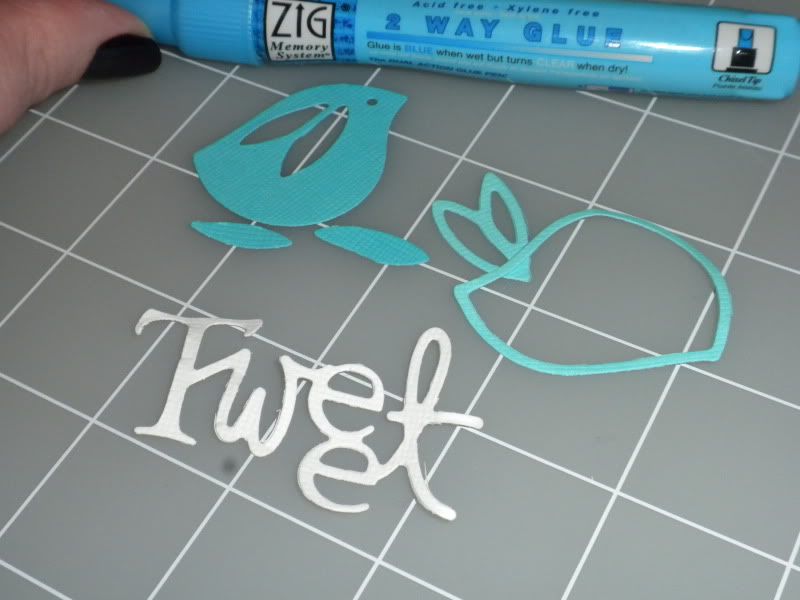
run white cardstock through big shot using the 'tweet' die
run turquoise cardstock through big shot using the solid bird die
run aqua cardstock through big shot using the outline bird die
emboss the 2" x 5" white cardstock through big shot with embossing folder
Step 2
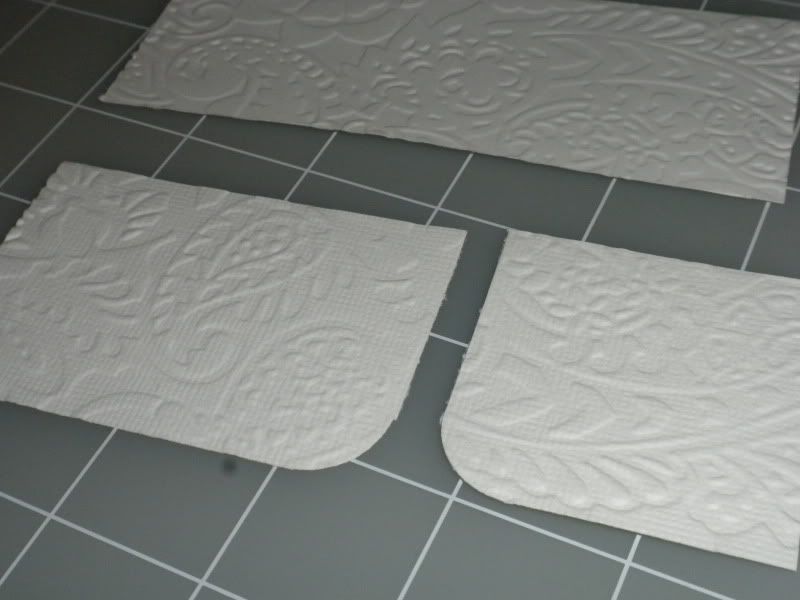
cut the embossed 2" x 5" white strip into a 2" x 3" and a 2" x 2" piece
round 1 corner on each of these pieces
photo shows one before the cut and round, and after in same shot
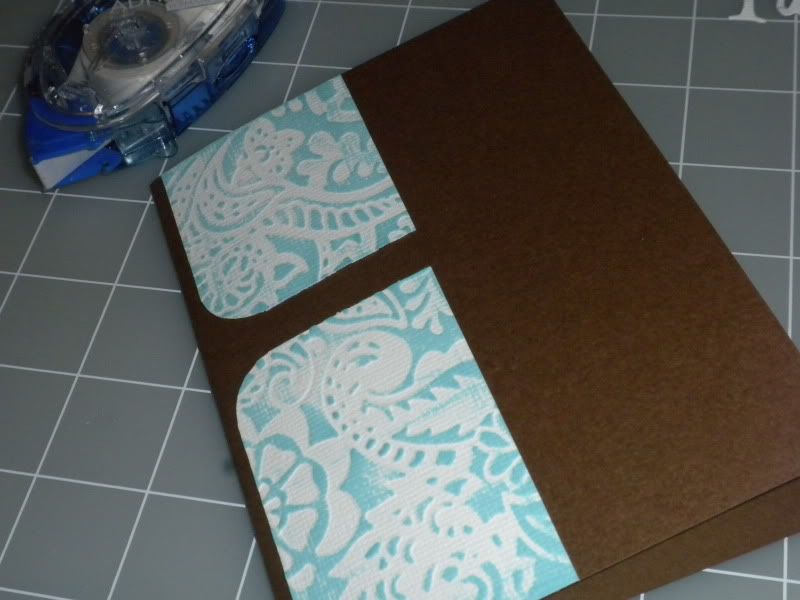
then run the Distress ink tumbled glass blue ink pad directly over the raised embossed areas of these 2 cuts.
photo shows one set before inking, and one after...see how the pattern just POPS out?
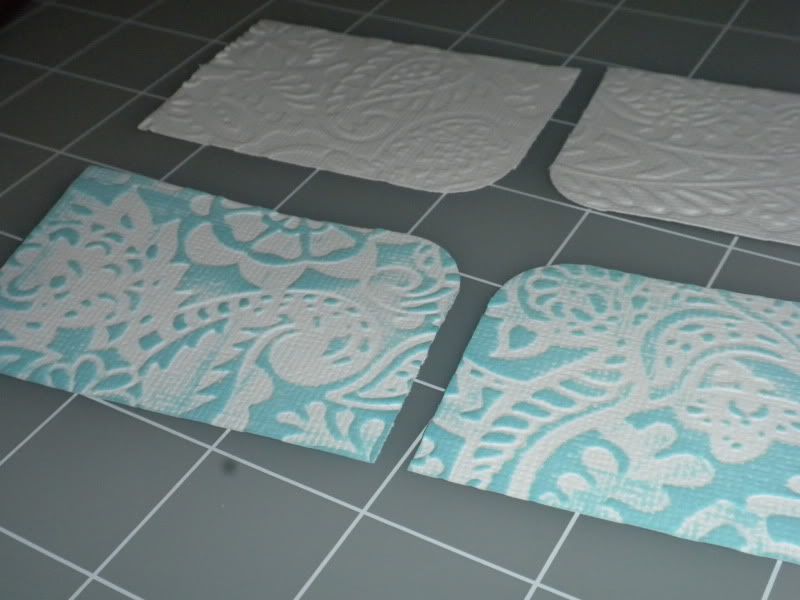
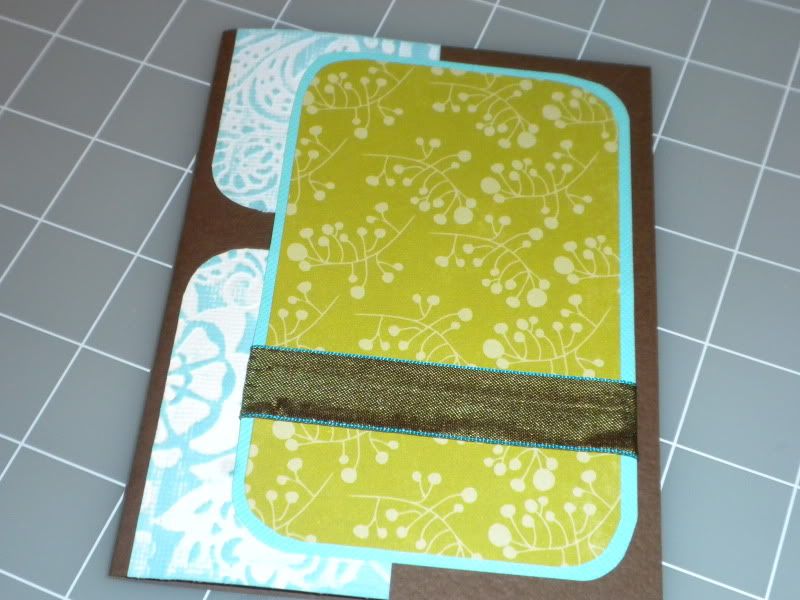
and now adhere these inked embossed pieces to card front so that the 2 rounded corners are facing each other
Step 3
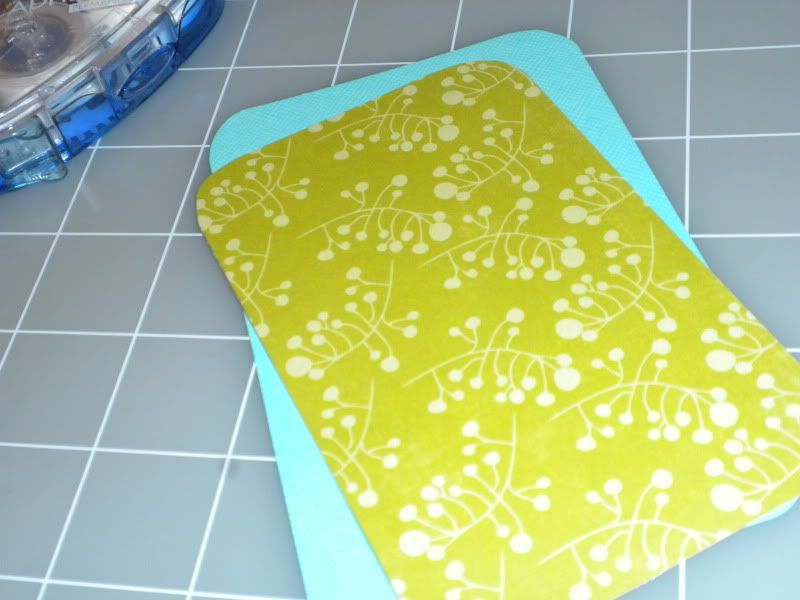
round all 4 edges of the green print paper, and the aqua cardstock mats.
then glue the green mat to the aqua mat
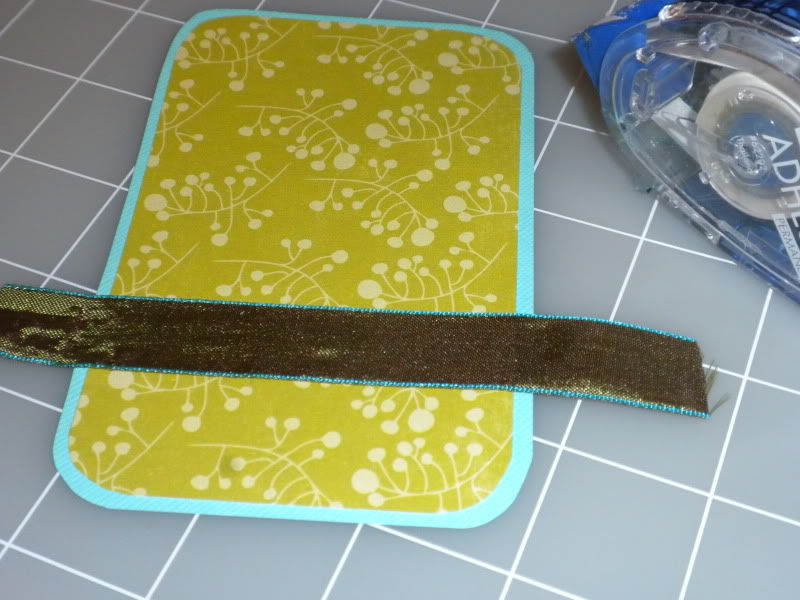
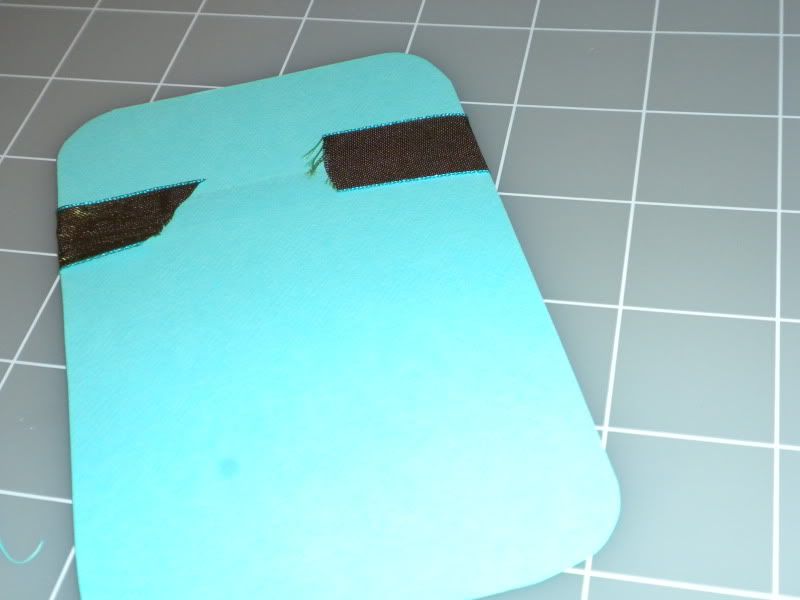
Next cut about 4" of your ribbon and using a tape runner adhere to front bottom 1//3 of your layered mat and wrap to back. And then glue to card front.
Step 4
with remaining ribbon tie a bow. trim ends to desired length
then run floss through holes of button to backside
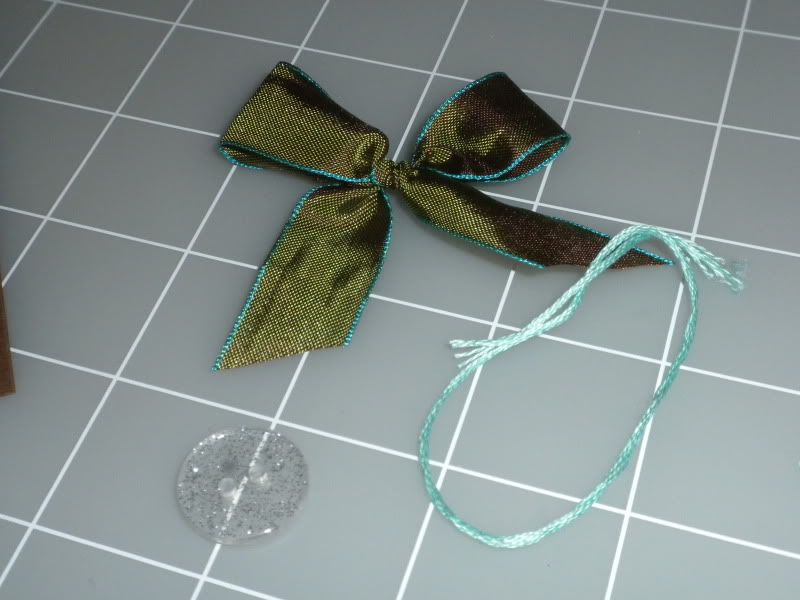
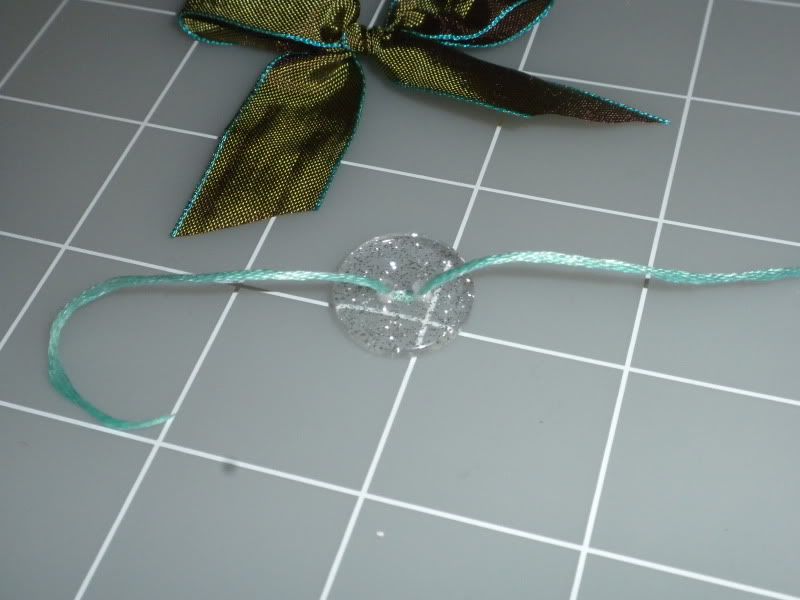
place button over center knot of your bow and turn bow over. tie the loose ends of floss together- tying the button onto the bow.
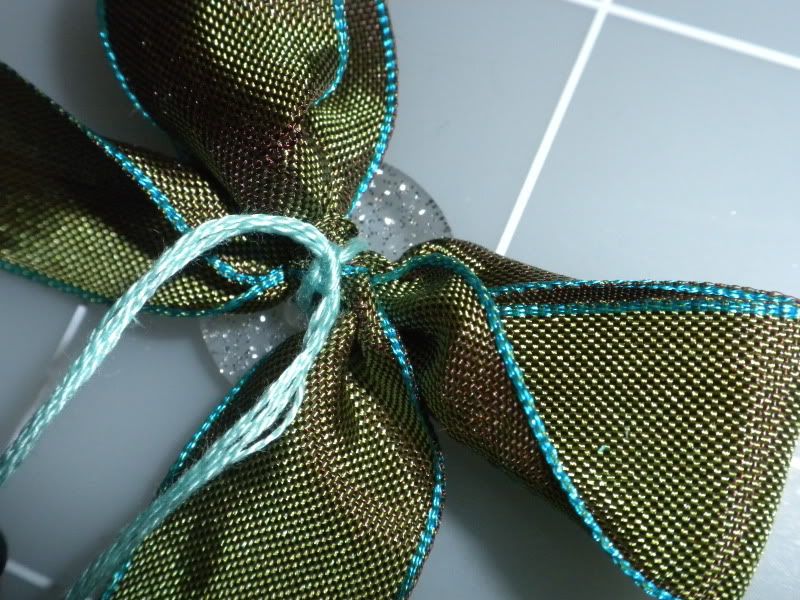

adhere to card front with a glue dot

Step 5
use glue pen to adhere your die cut Tweet to bottom of card under the ribbon
use glue pen to adhere the bird, the outline of the bird and wing to card front
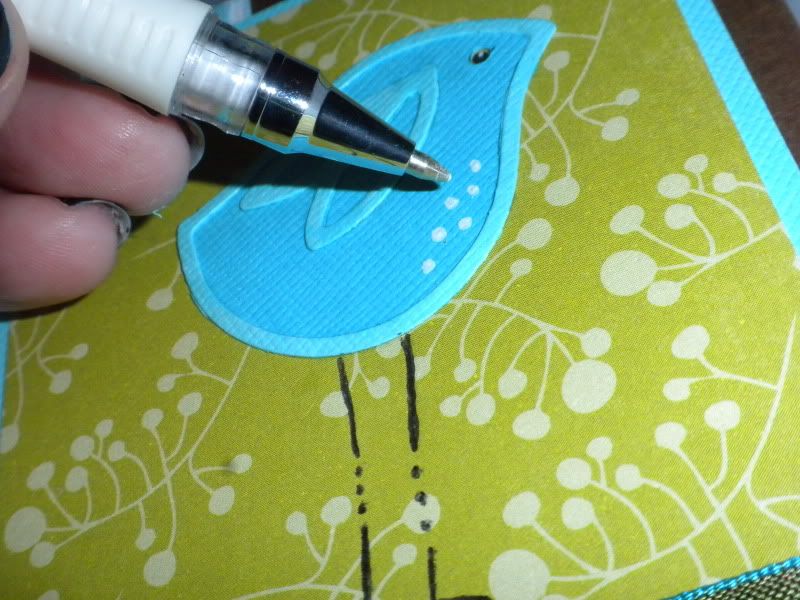
then use black and white gel pens to enhance your bird. draw birdy legs, and birdy feet, and color in the eye. I used a white gel pen to add some spots to the bird too.
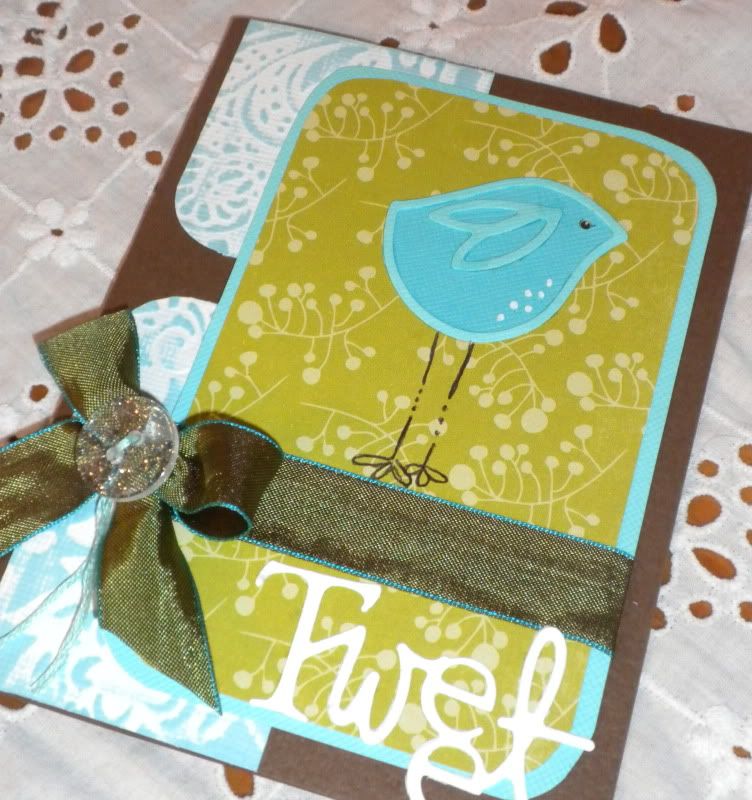

Love this card. I love how you inked the embossed paper. Such a great look!
ReplyDelete