Magnetic bookmark on a card. A Step by step tutorial with photos

Supplies:
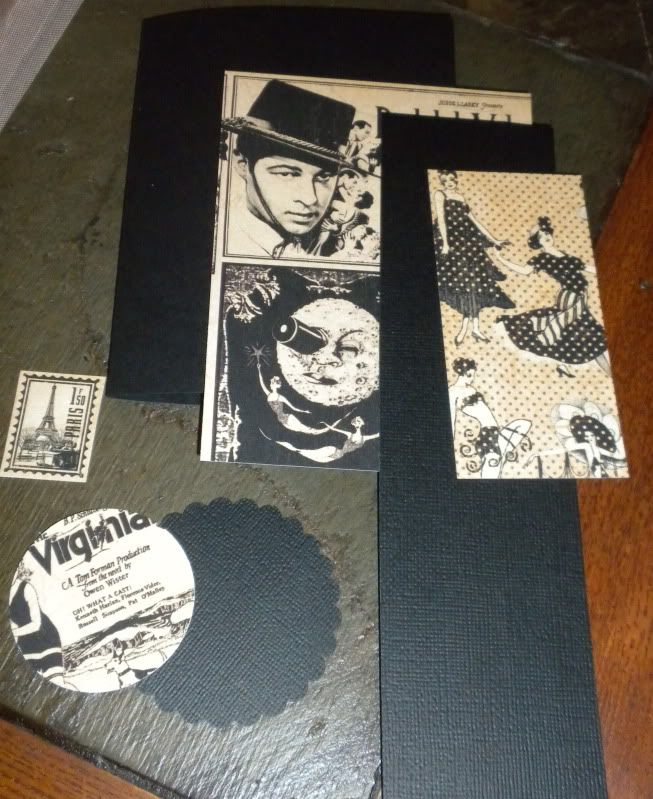
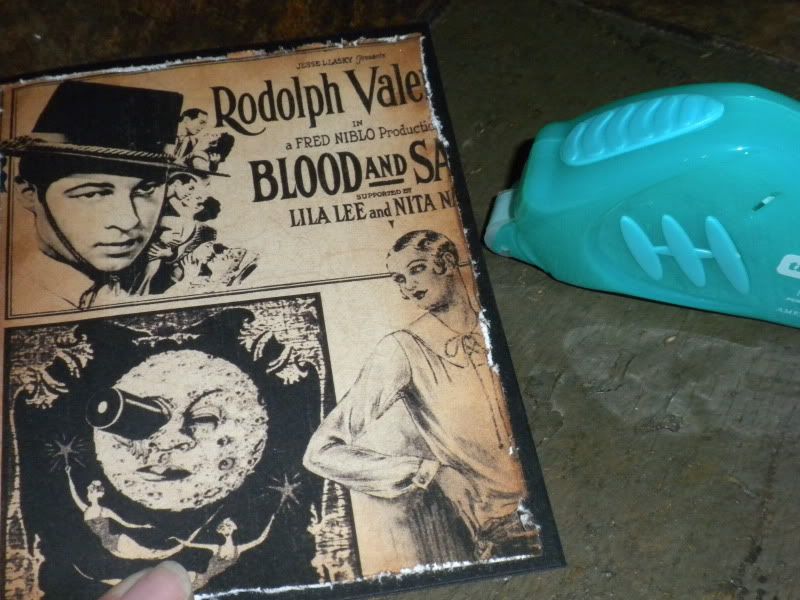
black card (A2 size- 4 1/4" x 5 1/2" when folded)
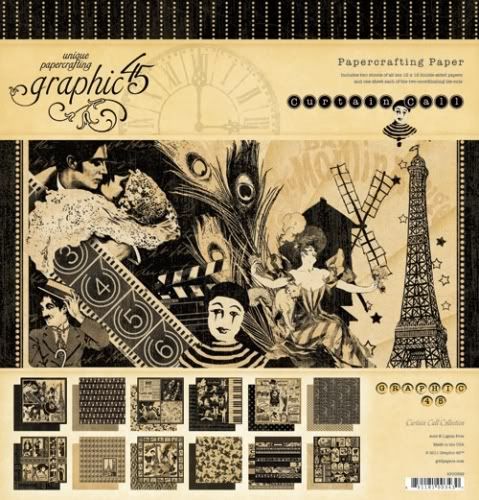
pattern paper mat cut to 4" x 5 1/2" - I used 'top billing' pattern from new Curtain Call collection of papers from Graphic 45
pattern paper panel cut to 2" x 4" - I used 'leading ladies' patter from new Curtain Call collection
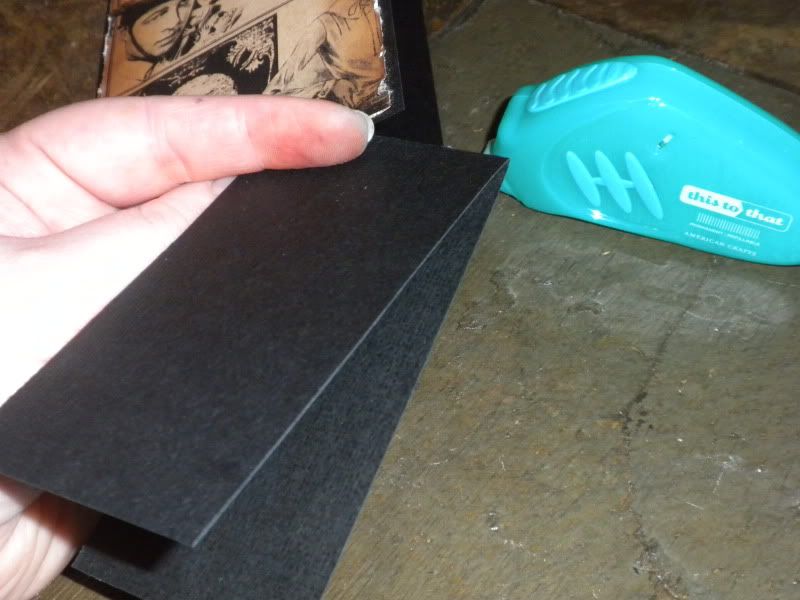
Black cardstock strip cut to 2 1//4" x 8 1/2"
additional black cardstock for punching
additional pattern paper for punching
one postage stamp image cut with a stamp edger scissor from the new Curtain Call collection
Black ribbon about 1/2" wide - about a 6" length
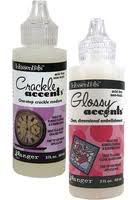
Crackle Glossy accents (photo below)
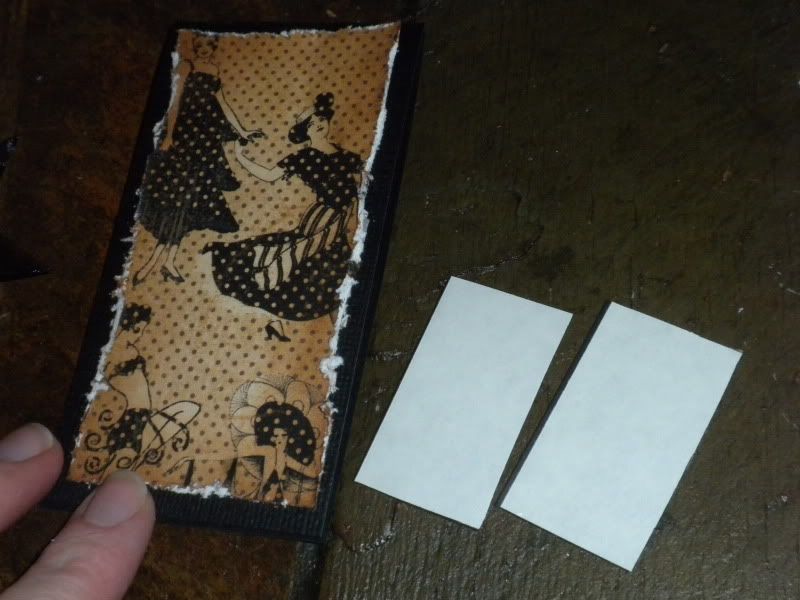
thin sticky back magnetic sheet (you'll need 2 small pieces - approx 1" x 1 3/4"
glue dots, pop dots, and tape runner
Required tools:
Scallop circle paper punch
circle punch
paper piercer
distress edger tool
foam applicator tool
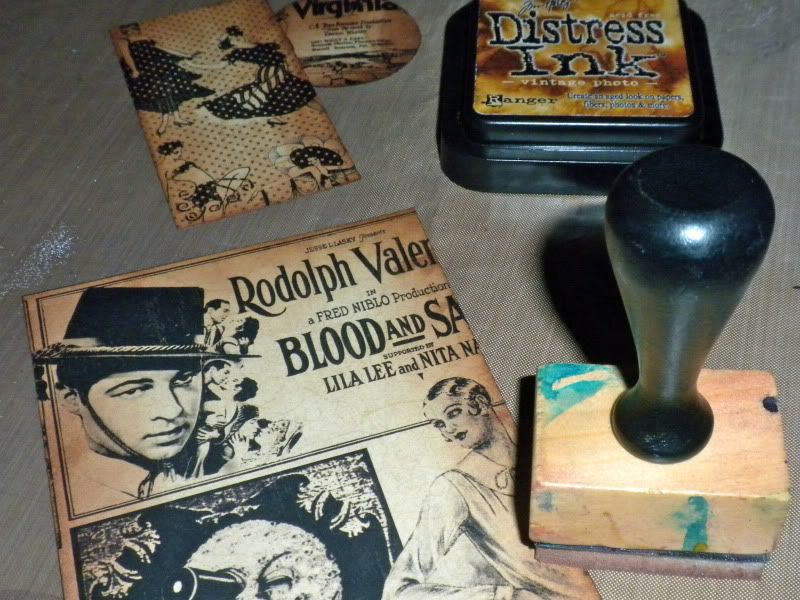
Distress ink pad in a brown color- I used 'vintage photo' color
Step 1
Gather supplies
cut papers to size
punch 1 black cardstock scallop circle
punch 1 circle using the scraps from 'top billing' pattern paper
Step 2
Using the foam applicator add ink to the edges of each of the 3 pattern papers like this:
Step 3
Using a distressing tool - drag the blade along the edges of all 3 inked pattern papers like this:

Step 4
adhere the pattern mat to the black card front
Step 5
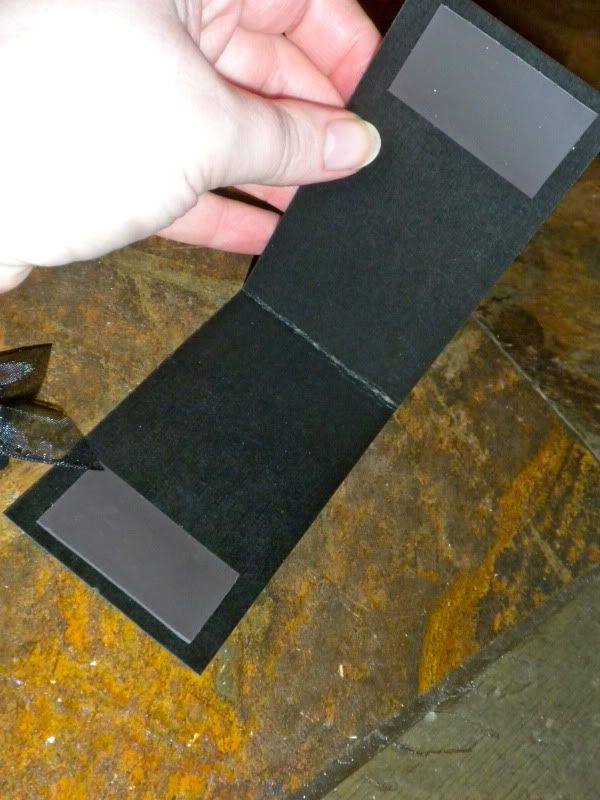
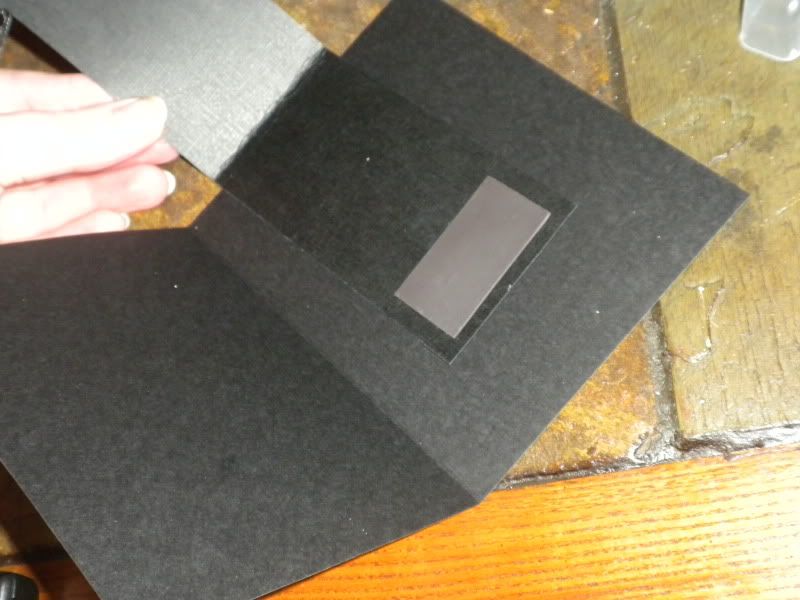
fold the black cardstock strip in half
adhere the leading ladies panel to the front of the folded cardstock. The fold is the TOP so with a pattern like this one you'll want to make sure to position your paper correctly.
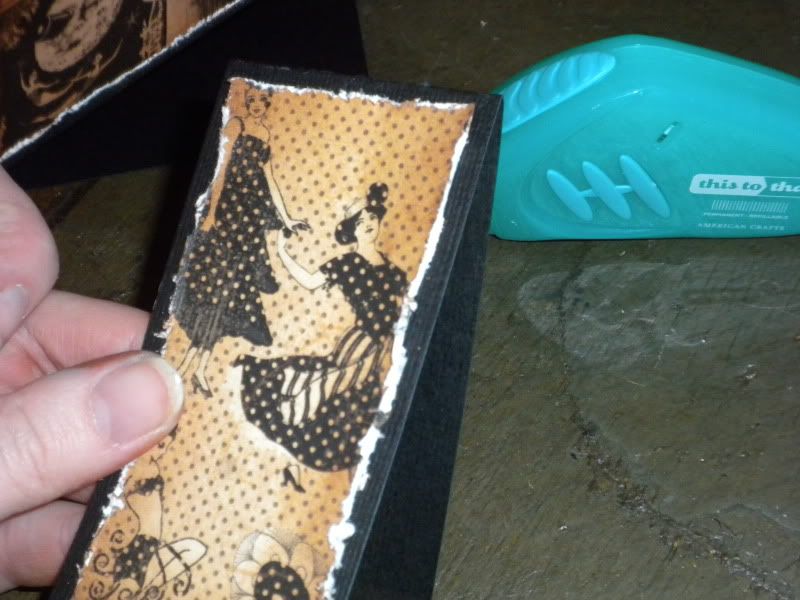
Now adhere one of the 2 cut pieces of magnetic sheeting to the INSIDE of the black folded strip like in these photos. You want them to match up with each other when folded shut.
Step 6
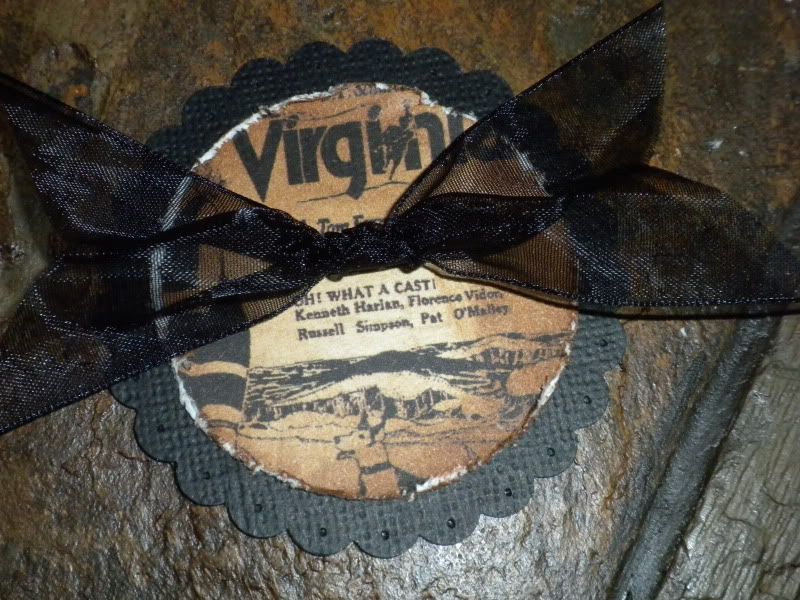
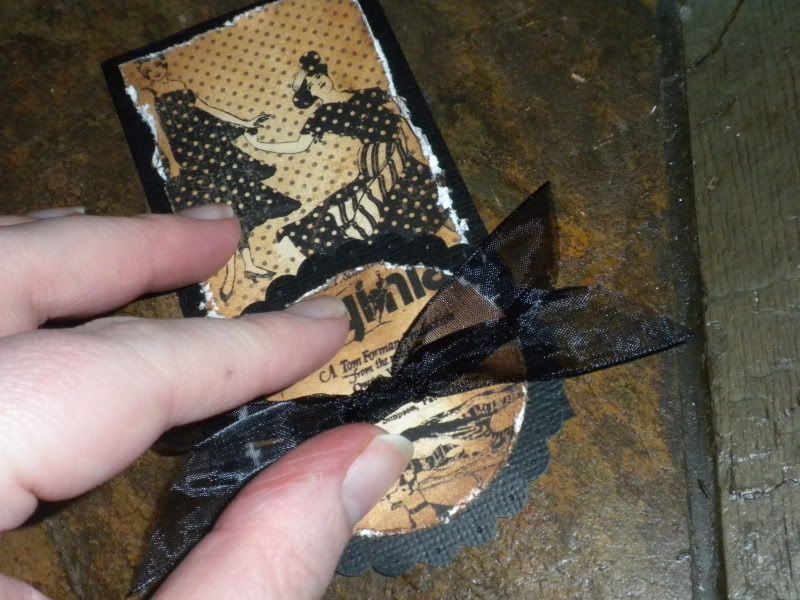
piece holes in each of the scallops of your punched black scallop circle
adhere the distessed punched circle paper to center of scallop circle

tie ribbon into a TIGHT knot in center
trim ribbon ends to desired shape/length
add a flat glue dot to center of your layered circle medallion and place the knot of your ribbon into the glue dot.
set aside
Step 7
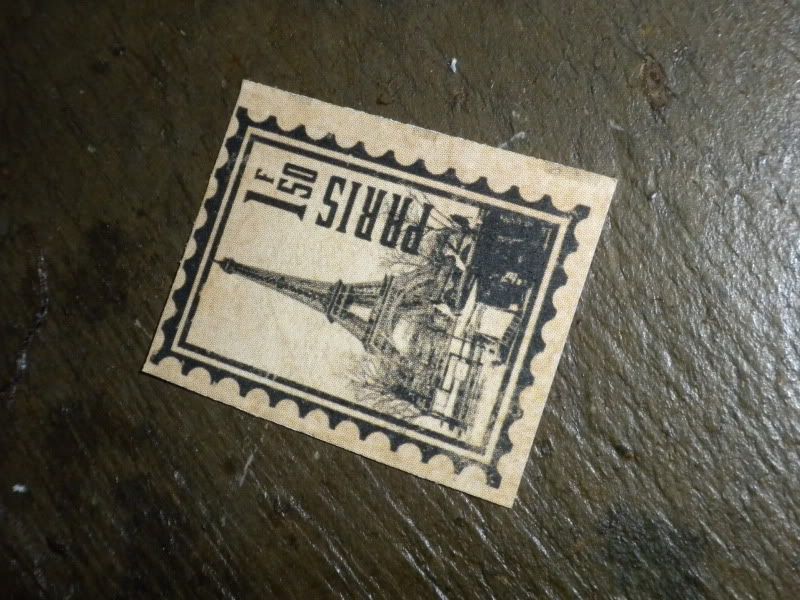
use deco edge scissors to cut out 1 of the postage stamp images from the postage stamp paper
add a layer of Crackle Glossy accents over the surface and allow to dry. this can take about 1 hour- or you can speed dry using an embossing gun heat tool if you have one

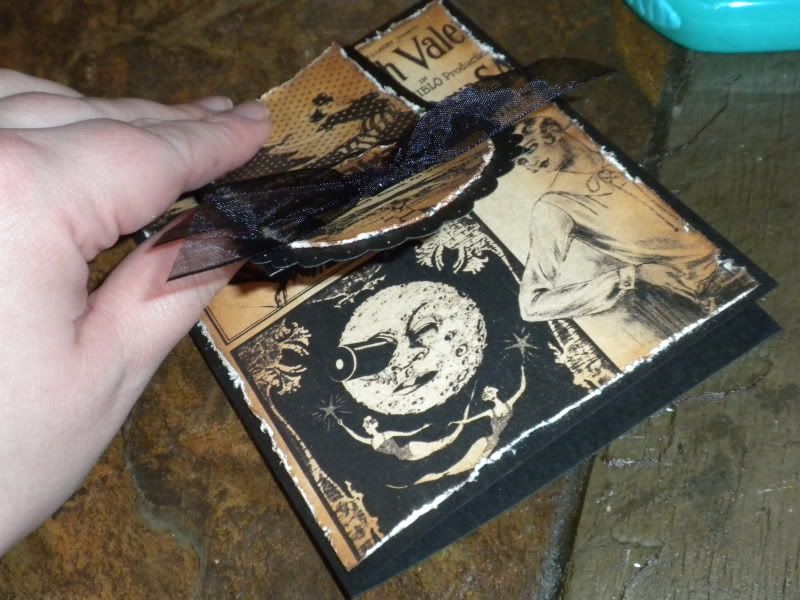
When the crackle glaze is dry, you can add a couple of pop dots to the back side of the image and then place over the knot of ribbon on your medallion like this:
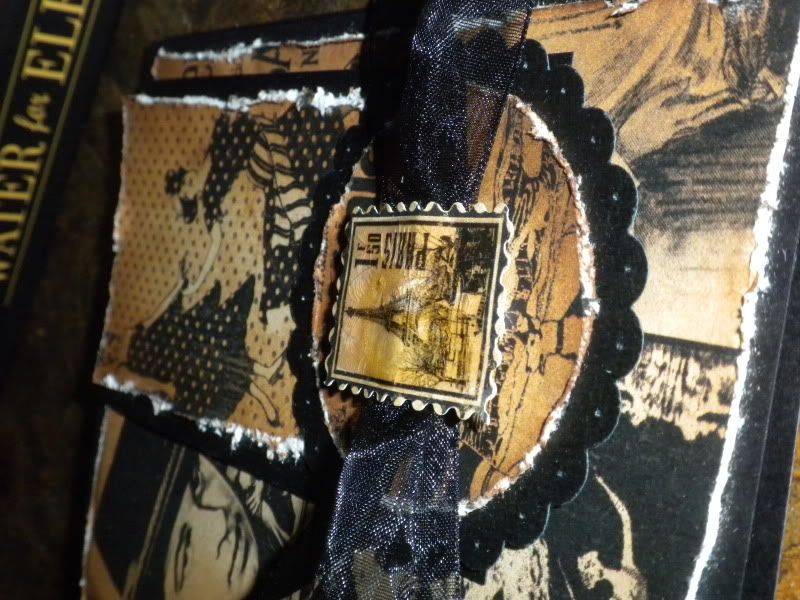
Finally, you can glue the medallion to the folded strip you put magnets on like this:
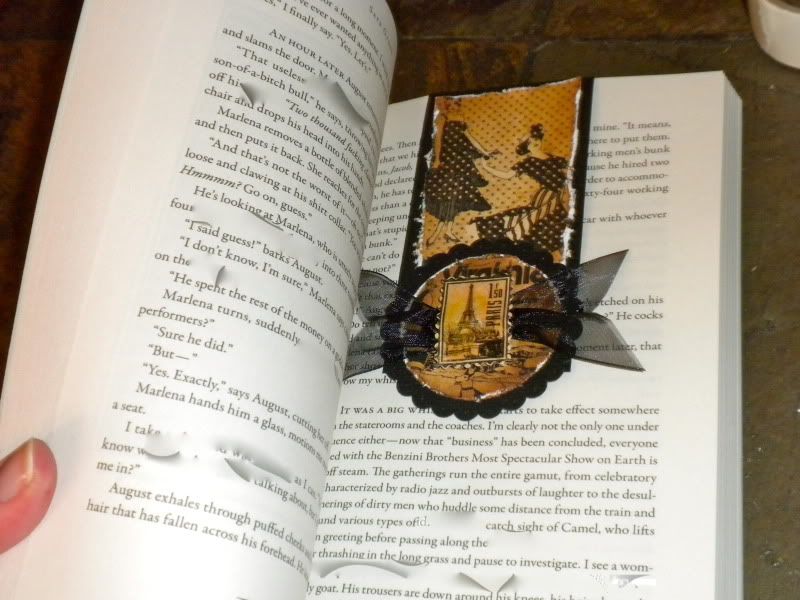
Wrap the magnetic book mark around the card front
The lucky recipient of this card will get to use the book mark portion!
Check out the great New Curtain Call collection, and the new Le Cirque collection now!


I absolutely love Graphics 45 papers and the book mark is a fabulous thing. I have give one away to my son's girlfriend who squealed with delight. I'm setting up to make more!
ReplyDelete